


This gallery shows some aspects of my ongoing personal home renovation. In this writeup I’ll include pictures of various rooms throughout our home with links to galleries specific to each project. Here is the original rancher we started with, which was a kit house built around 1954.
The house as it currently stands (June 2020). Our goal is to make it look like a 19th century stone farmhouse that would have been original to the area. We removed the original porch on the left side and turned that into living space, then added a partial second floor. The remaining 8' or so of the first floor was then shifted to the back edge of the foundation wall to create the offset look of an addition. The main center area of the house has Chester County fieldstone applied all the way around, while the remaining areas have cement board siding. I collected the stone for house by hand from neighboring properties, then had it cut down into veneer stone before it was applied by L.S. Stone Masonry. Luis and his crew did a fantastic job and I highly recommend them if you’re looking for a mason.
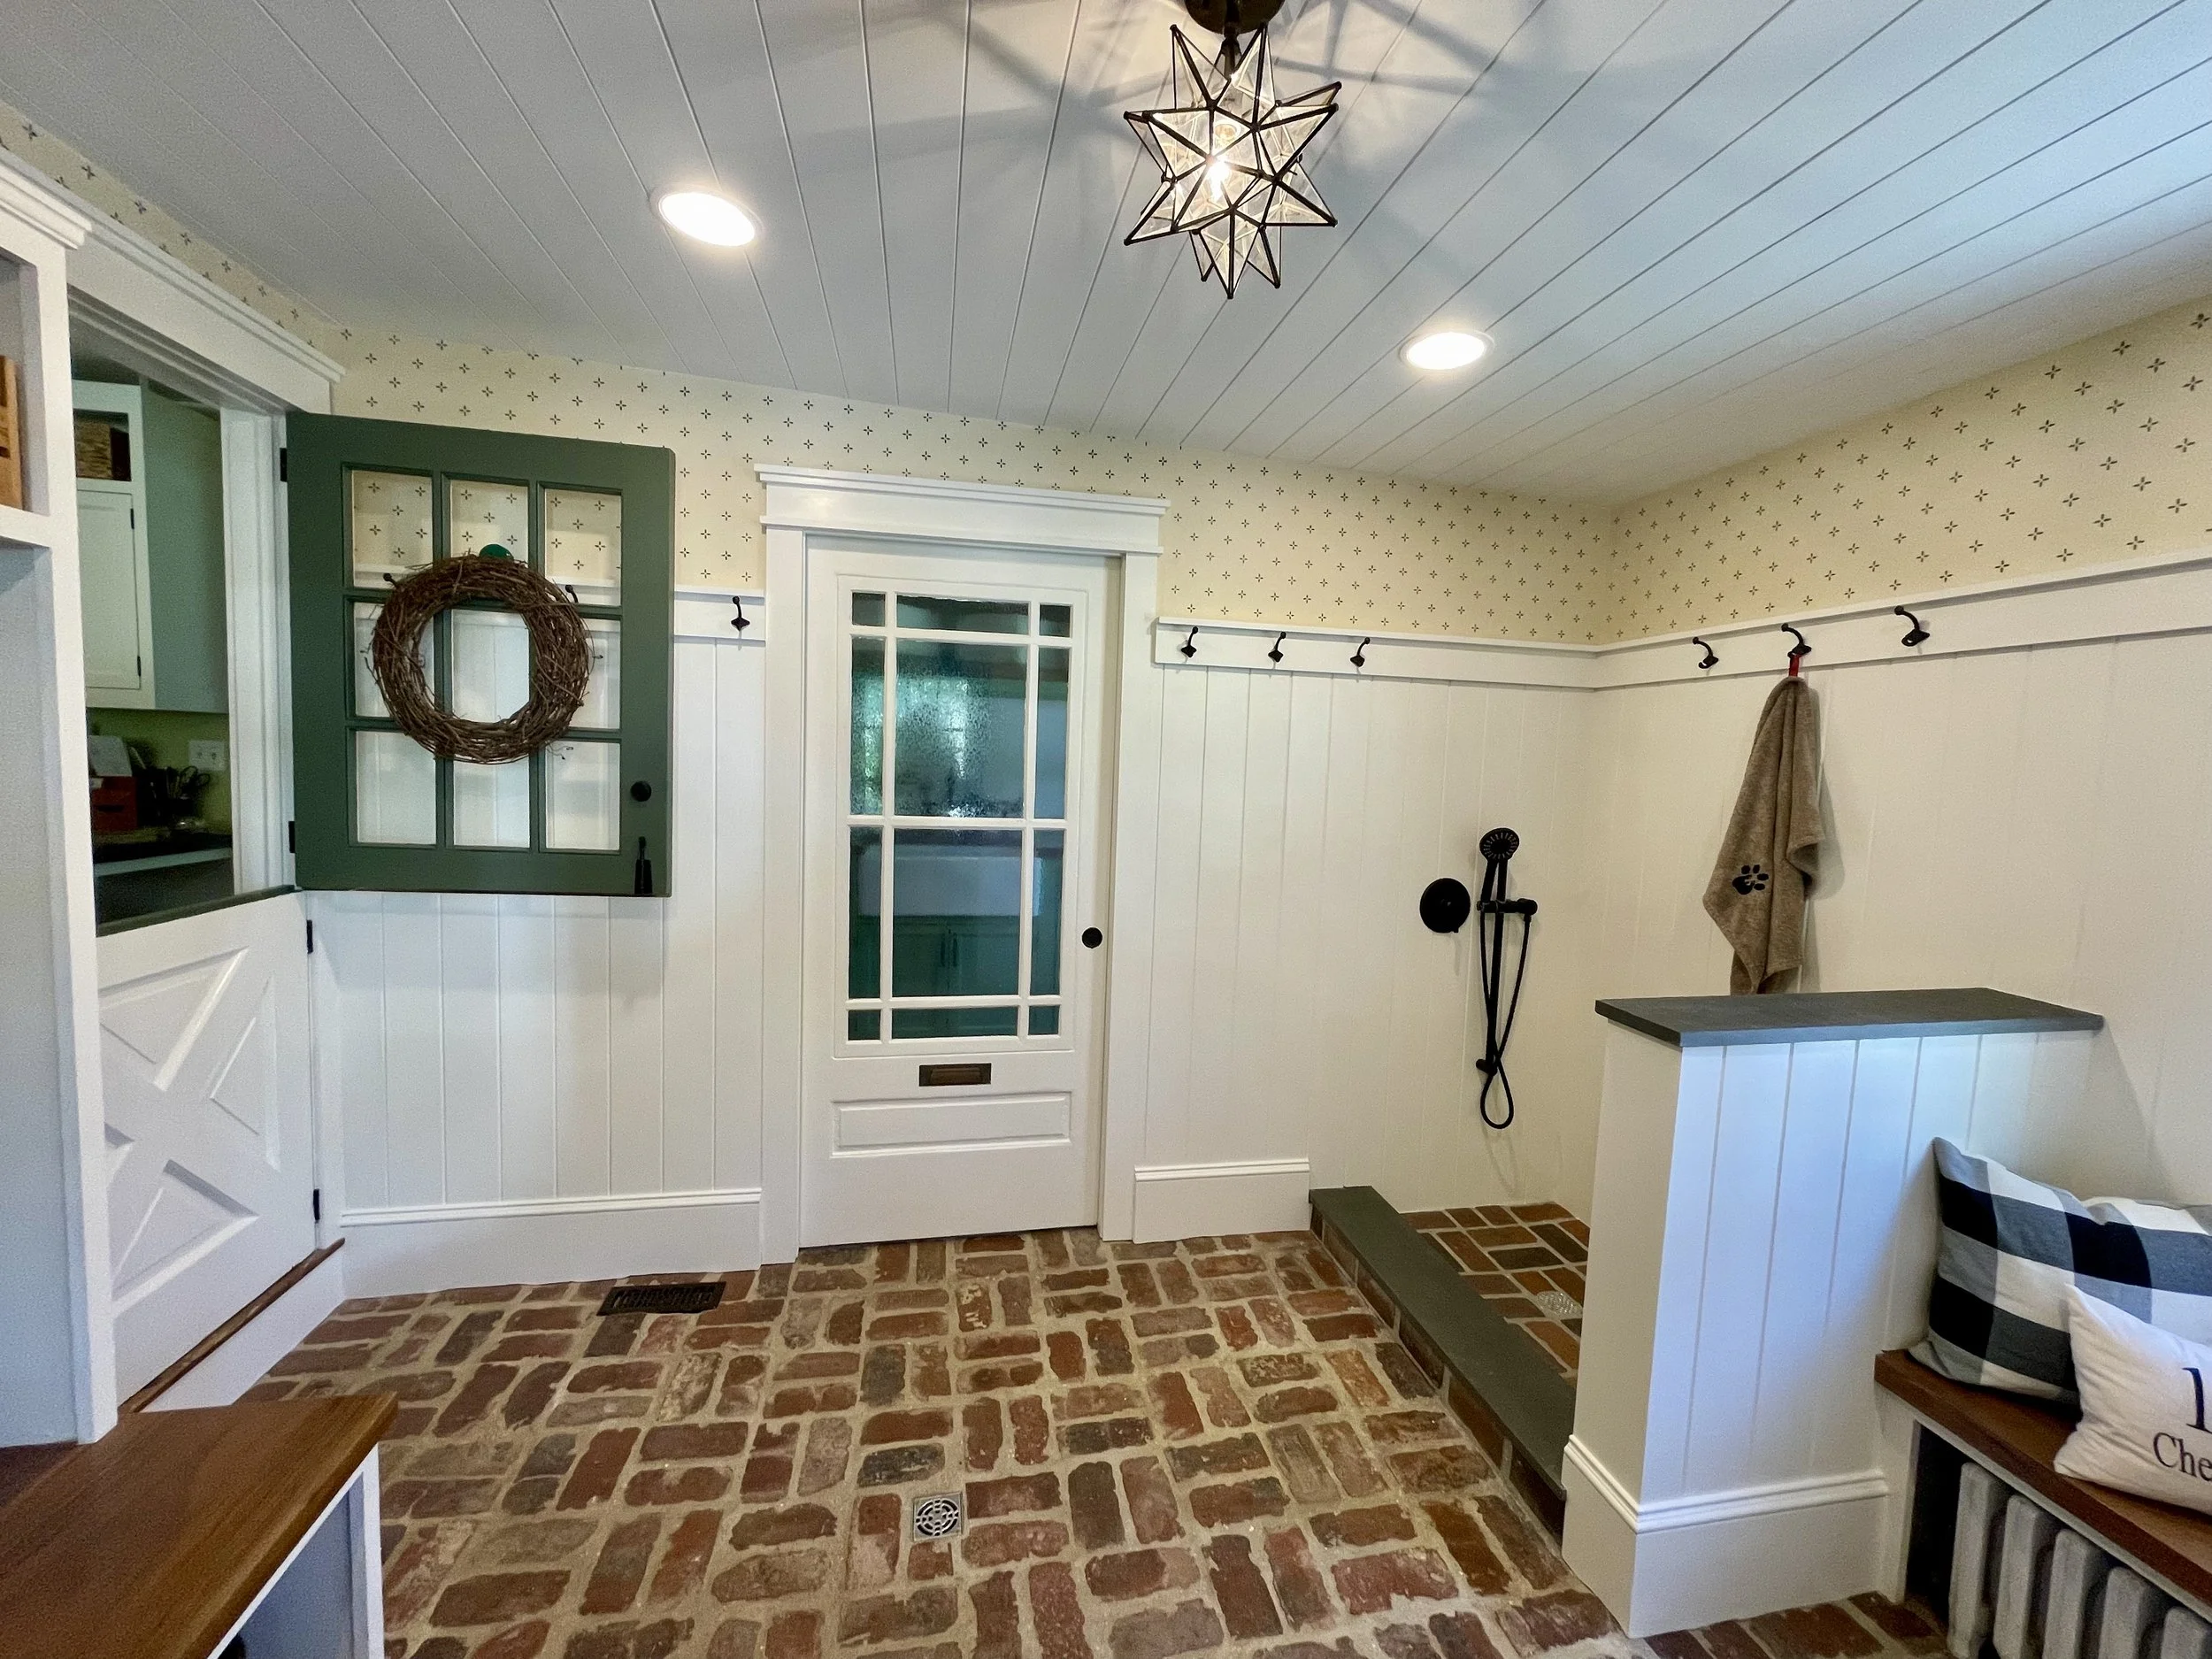
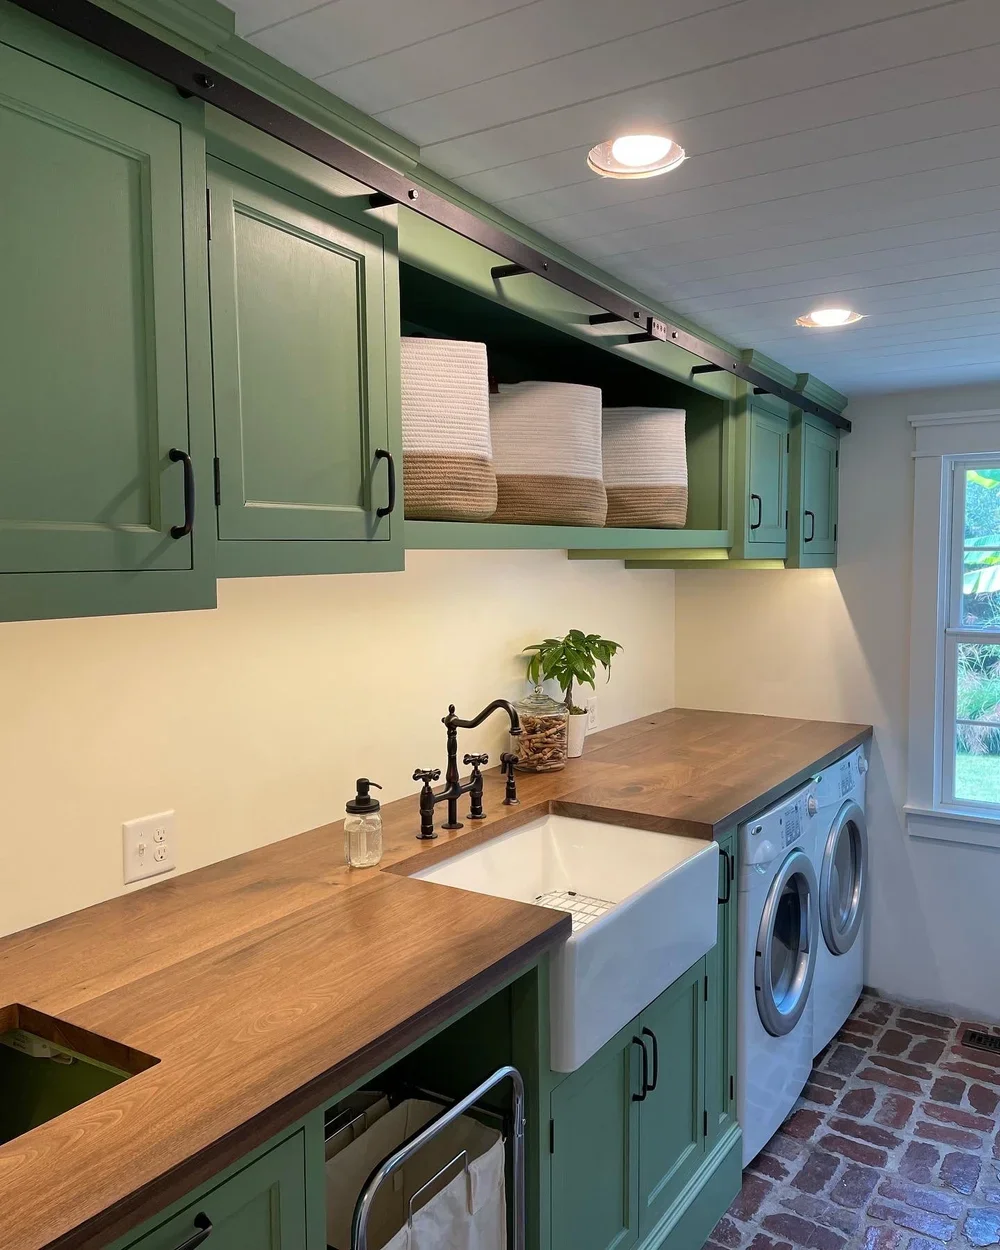
Along the driveway are the three rooms we created in place of the original porch. From back to front there is a mudroom, laundry room, and greenhouse. Above those rooms and wrapping around the back of the house is a roof deck accessible from the master bedroom, with a custom railing made by JGM, Inc. Rope lighting on the roof deck and inside the ceiling of the rear covered porch provide the perfect amount of light for sitting outside on warm summer evenings.
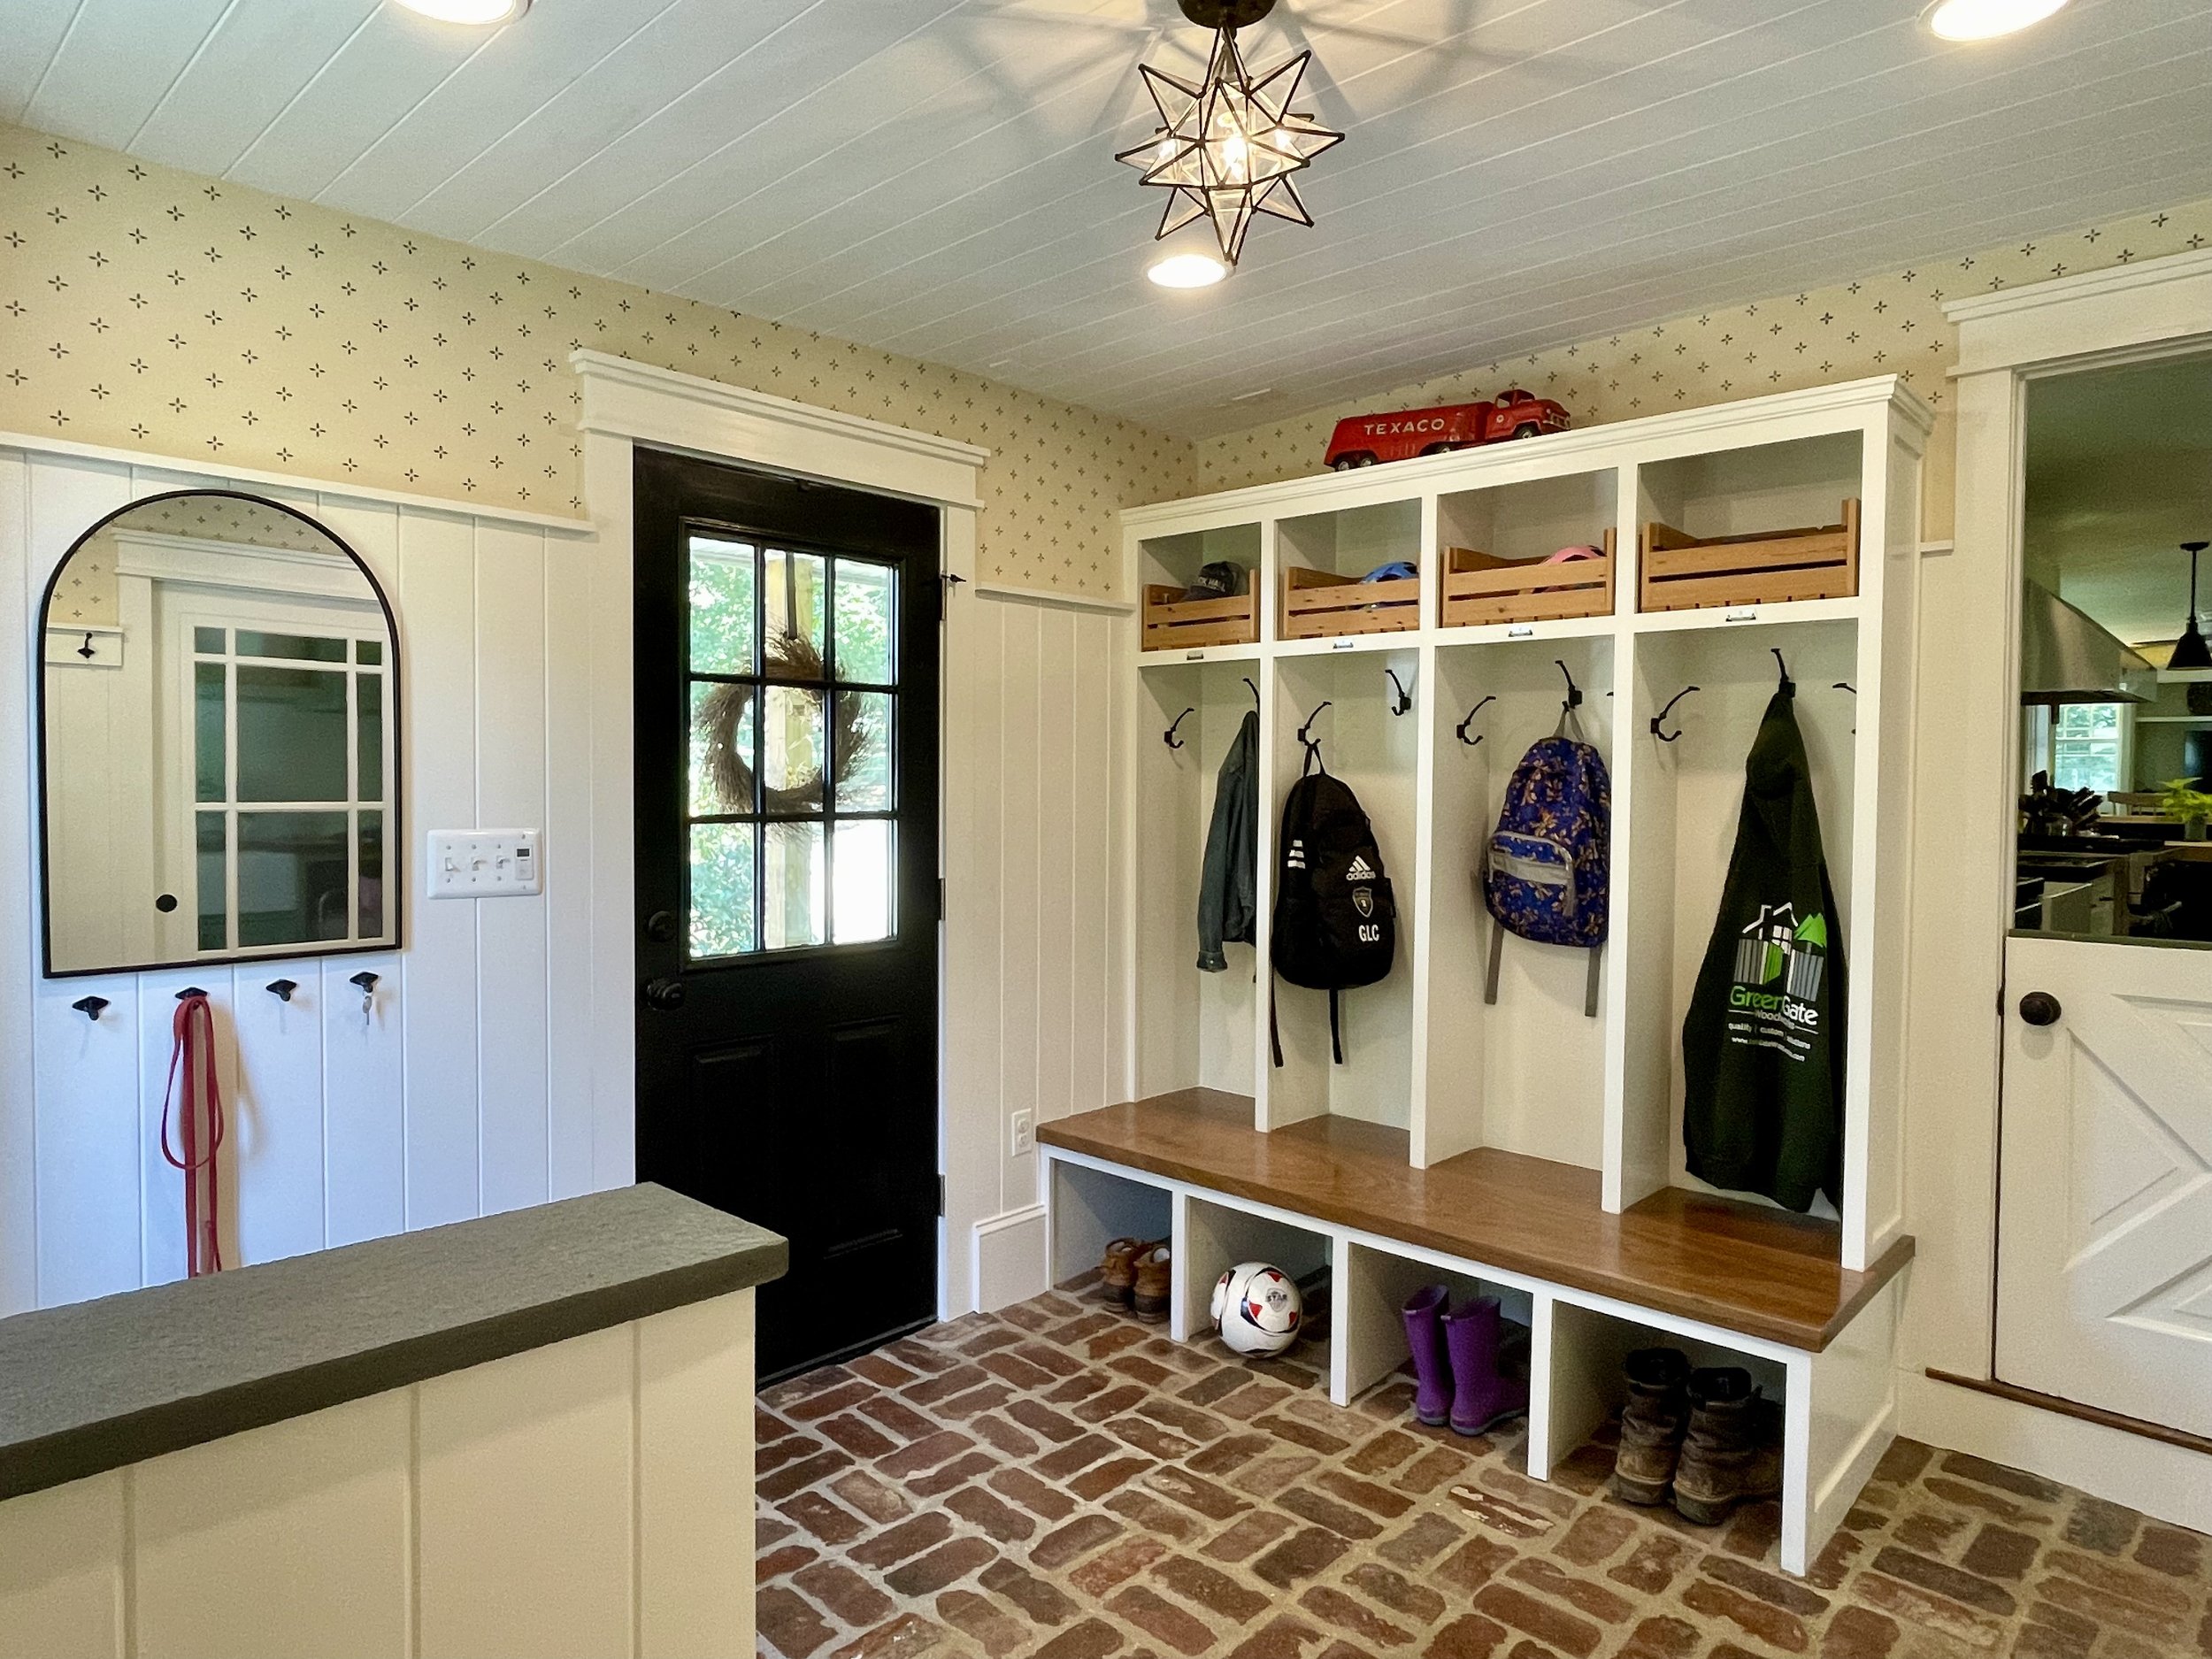
This is our mudroom, the first of the three “porch rooms” as you enter. In keeping with the feel of the original porch that was there, I installed reclaimed brick floors and a v-groove wainscoting ceiling. More pictures of this room build can be seen here.
Our mudroom lockers include a black walnut bench, custom crates up top for smaller items, and true Penco brand locker numbers.
Our laundry room, just off the mudroom, has a black walnut countertop, large farm sink, custom cabinetry throughout, and a hidden laundry chute.
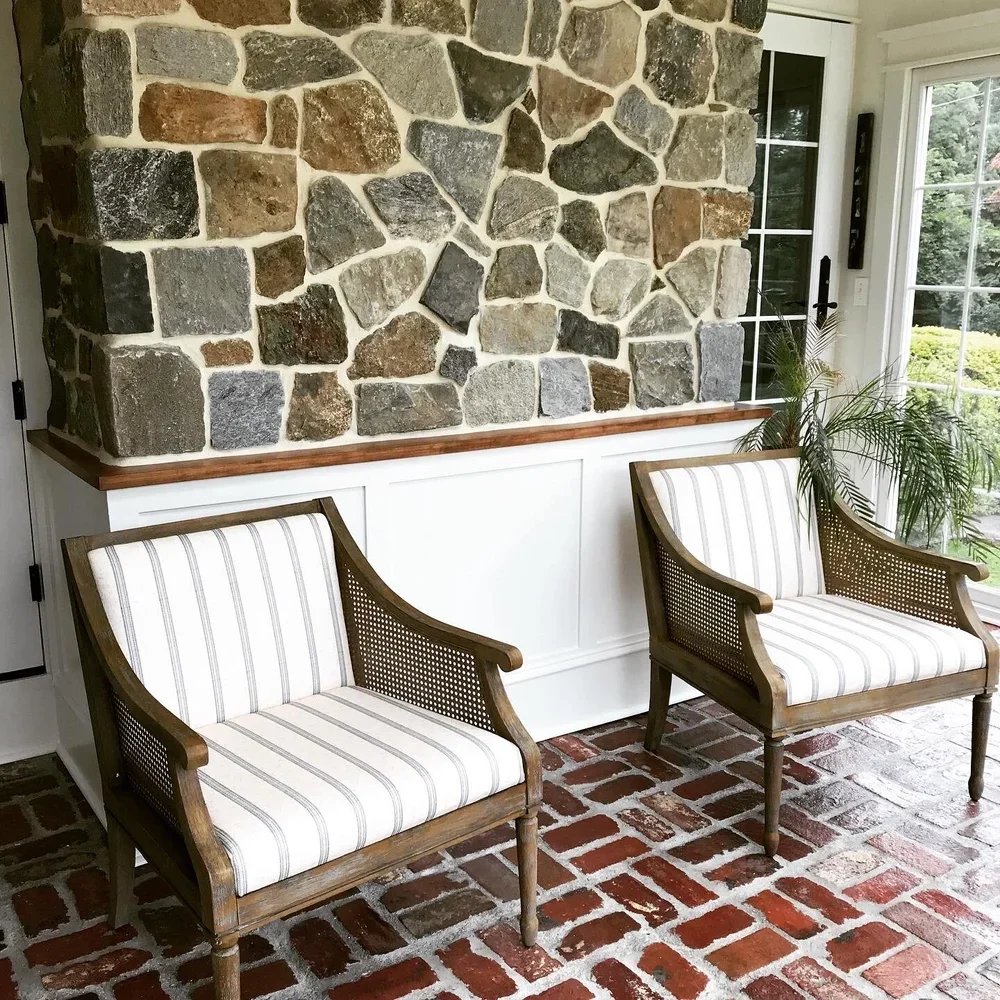
The last of the three porch rooms is our sunroom that we call the greenhouse. In addition to the reclaimed brick floors and wainscot ceiling, it has stone to match the exterior of the house, custom paneling, and, naturally, plenty of plants. Ducts coming from and returning to the main section of the house allow this room to act as a passive heater, circulating warm air through the home with no moving parts.
Moving on to the kitchen, I made all the cabinets, doors, and drawers in my shop. Eventually there will be a peninsula along side the last cabinet on the right which will have a butcher block top and will serve as a prep area for when I cook. The countertops in the picture are temporary plywood ones. I milled rough lumber from a maple tree on our property and will turn that into wood countertops once it is dry, which should be sometime in mid-2018.
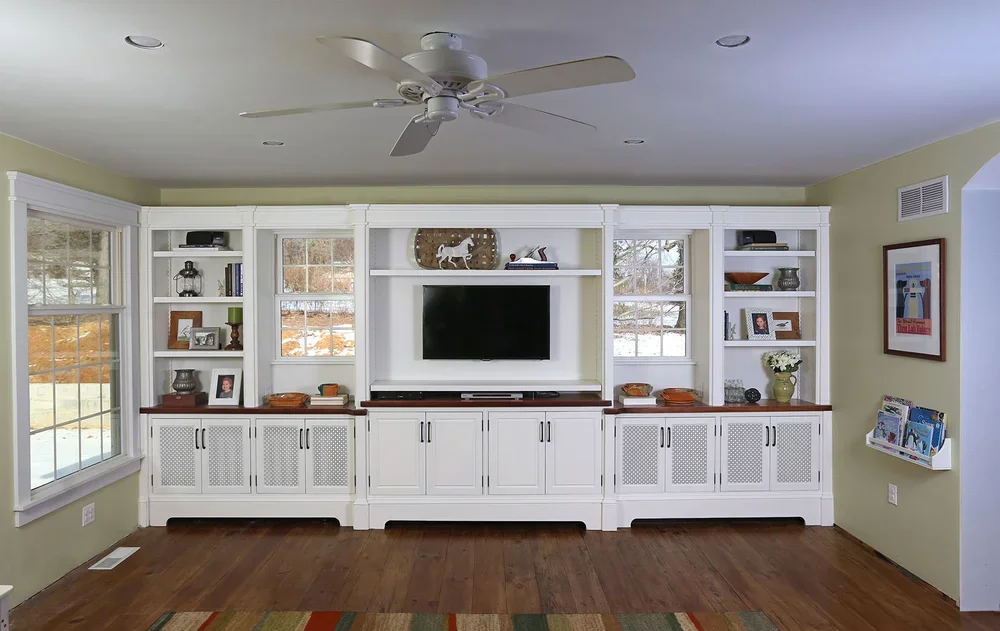
Beyond the kitchen is our living room. I installed these built-ins as a Christmas present for my wife.
I installed this distressed red pine flooring throughout the first and second floors of my home to keep with the 19th century character we were going for. Red pine was widely available at the time and used in many older homes.
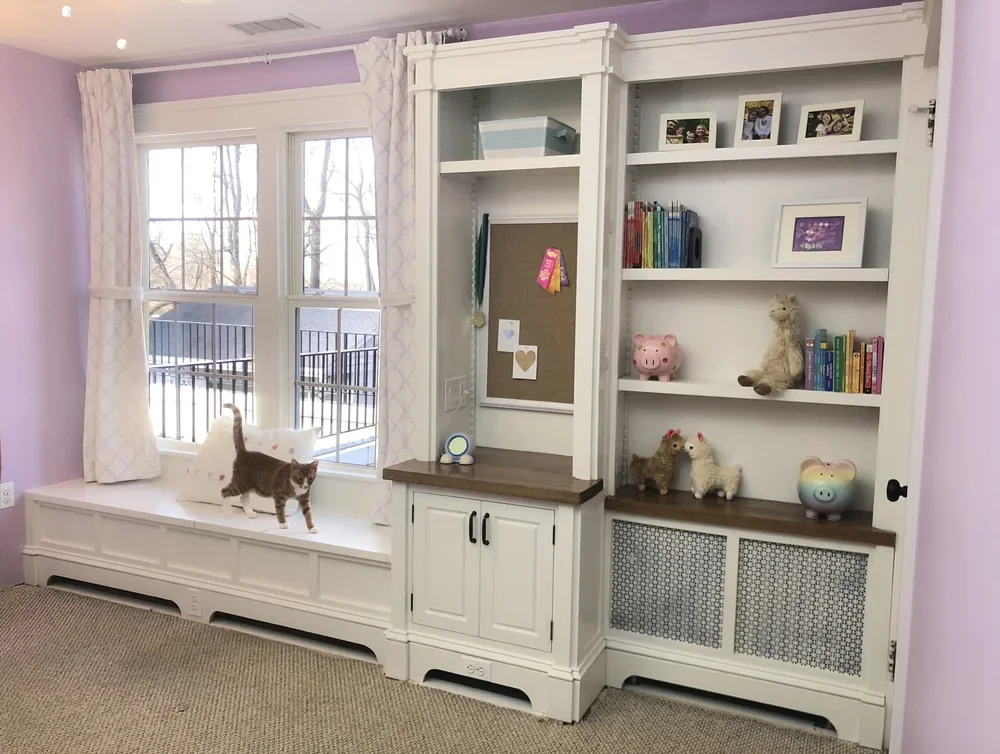
Upstairs I installed these built-ins in my daughters’ room. Dutch the cat is a big fan of the window seat.
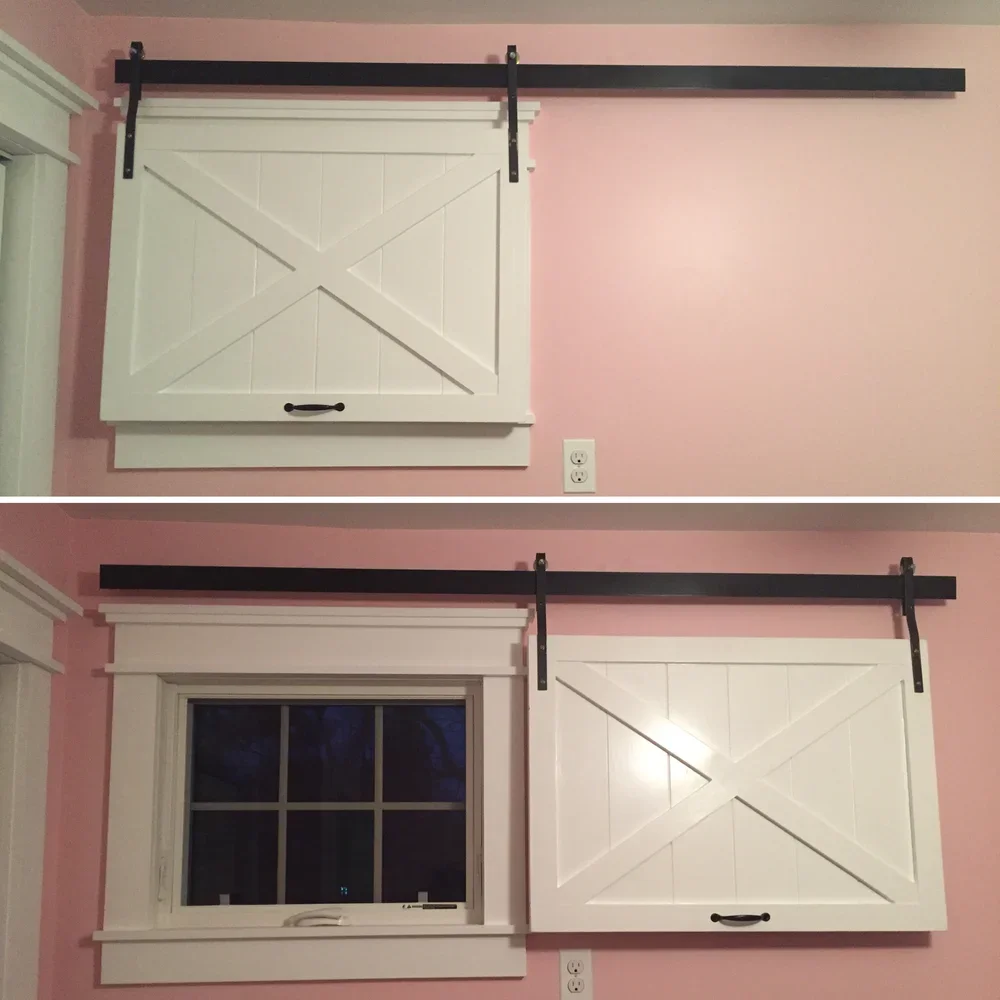
When my youngest daughter was born, my wife asked for a sliding window cover for her nursery. I built this using some extra wood in the shop and fabricated the hardware myself as well.
Just before Christmas 2016 I installed window trim throughout the house. In this picture they still need nail holes filled and a coat of paint, but now that we had windowsills we could finally use our electric window candles for the holidays.
An outside shot of all the window candles turned on. I installed outlets at each window that are hooked to a single circuit in what's known as a "holiday package." This circuit is controlled by a mechanical switch which turns them on and off automatically, along with our christmas tree lights, christmas wreaths up in the cupola windows, and a second christmas tree in the greenhouse.
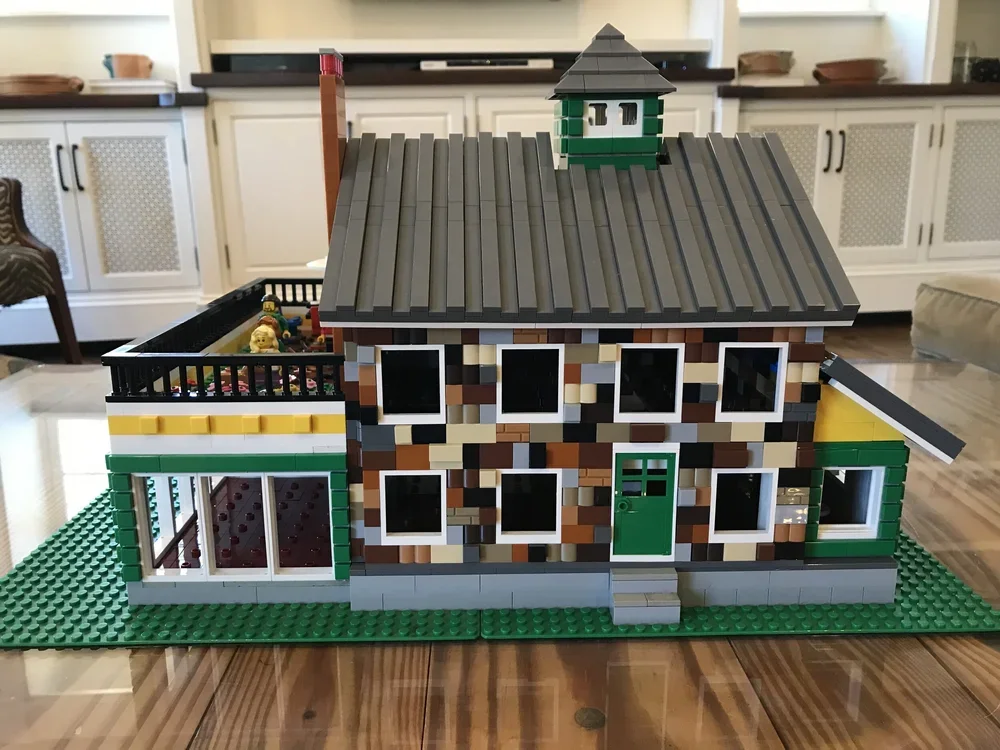
For a side project, I also created this LEGO scale model of the house for my kids.
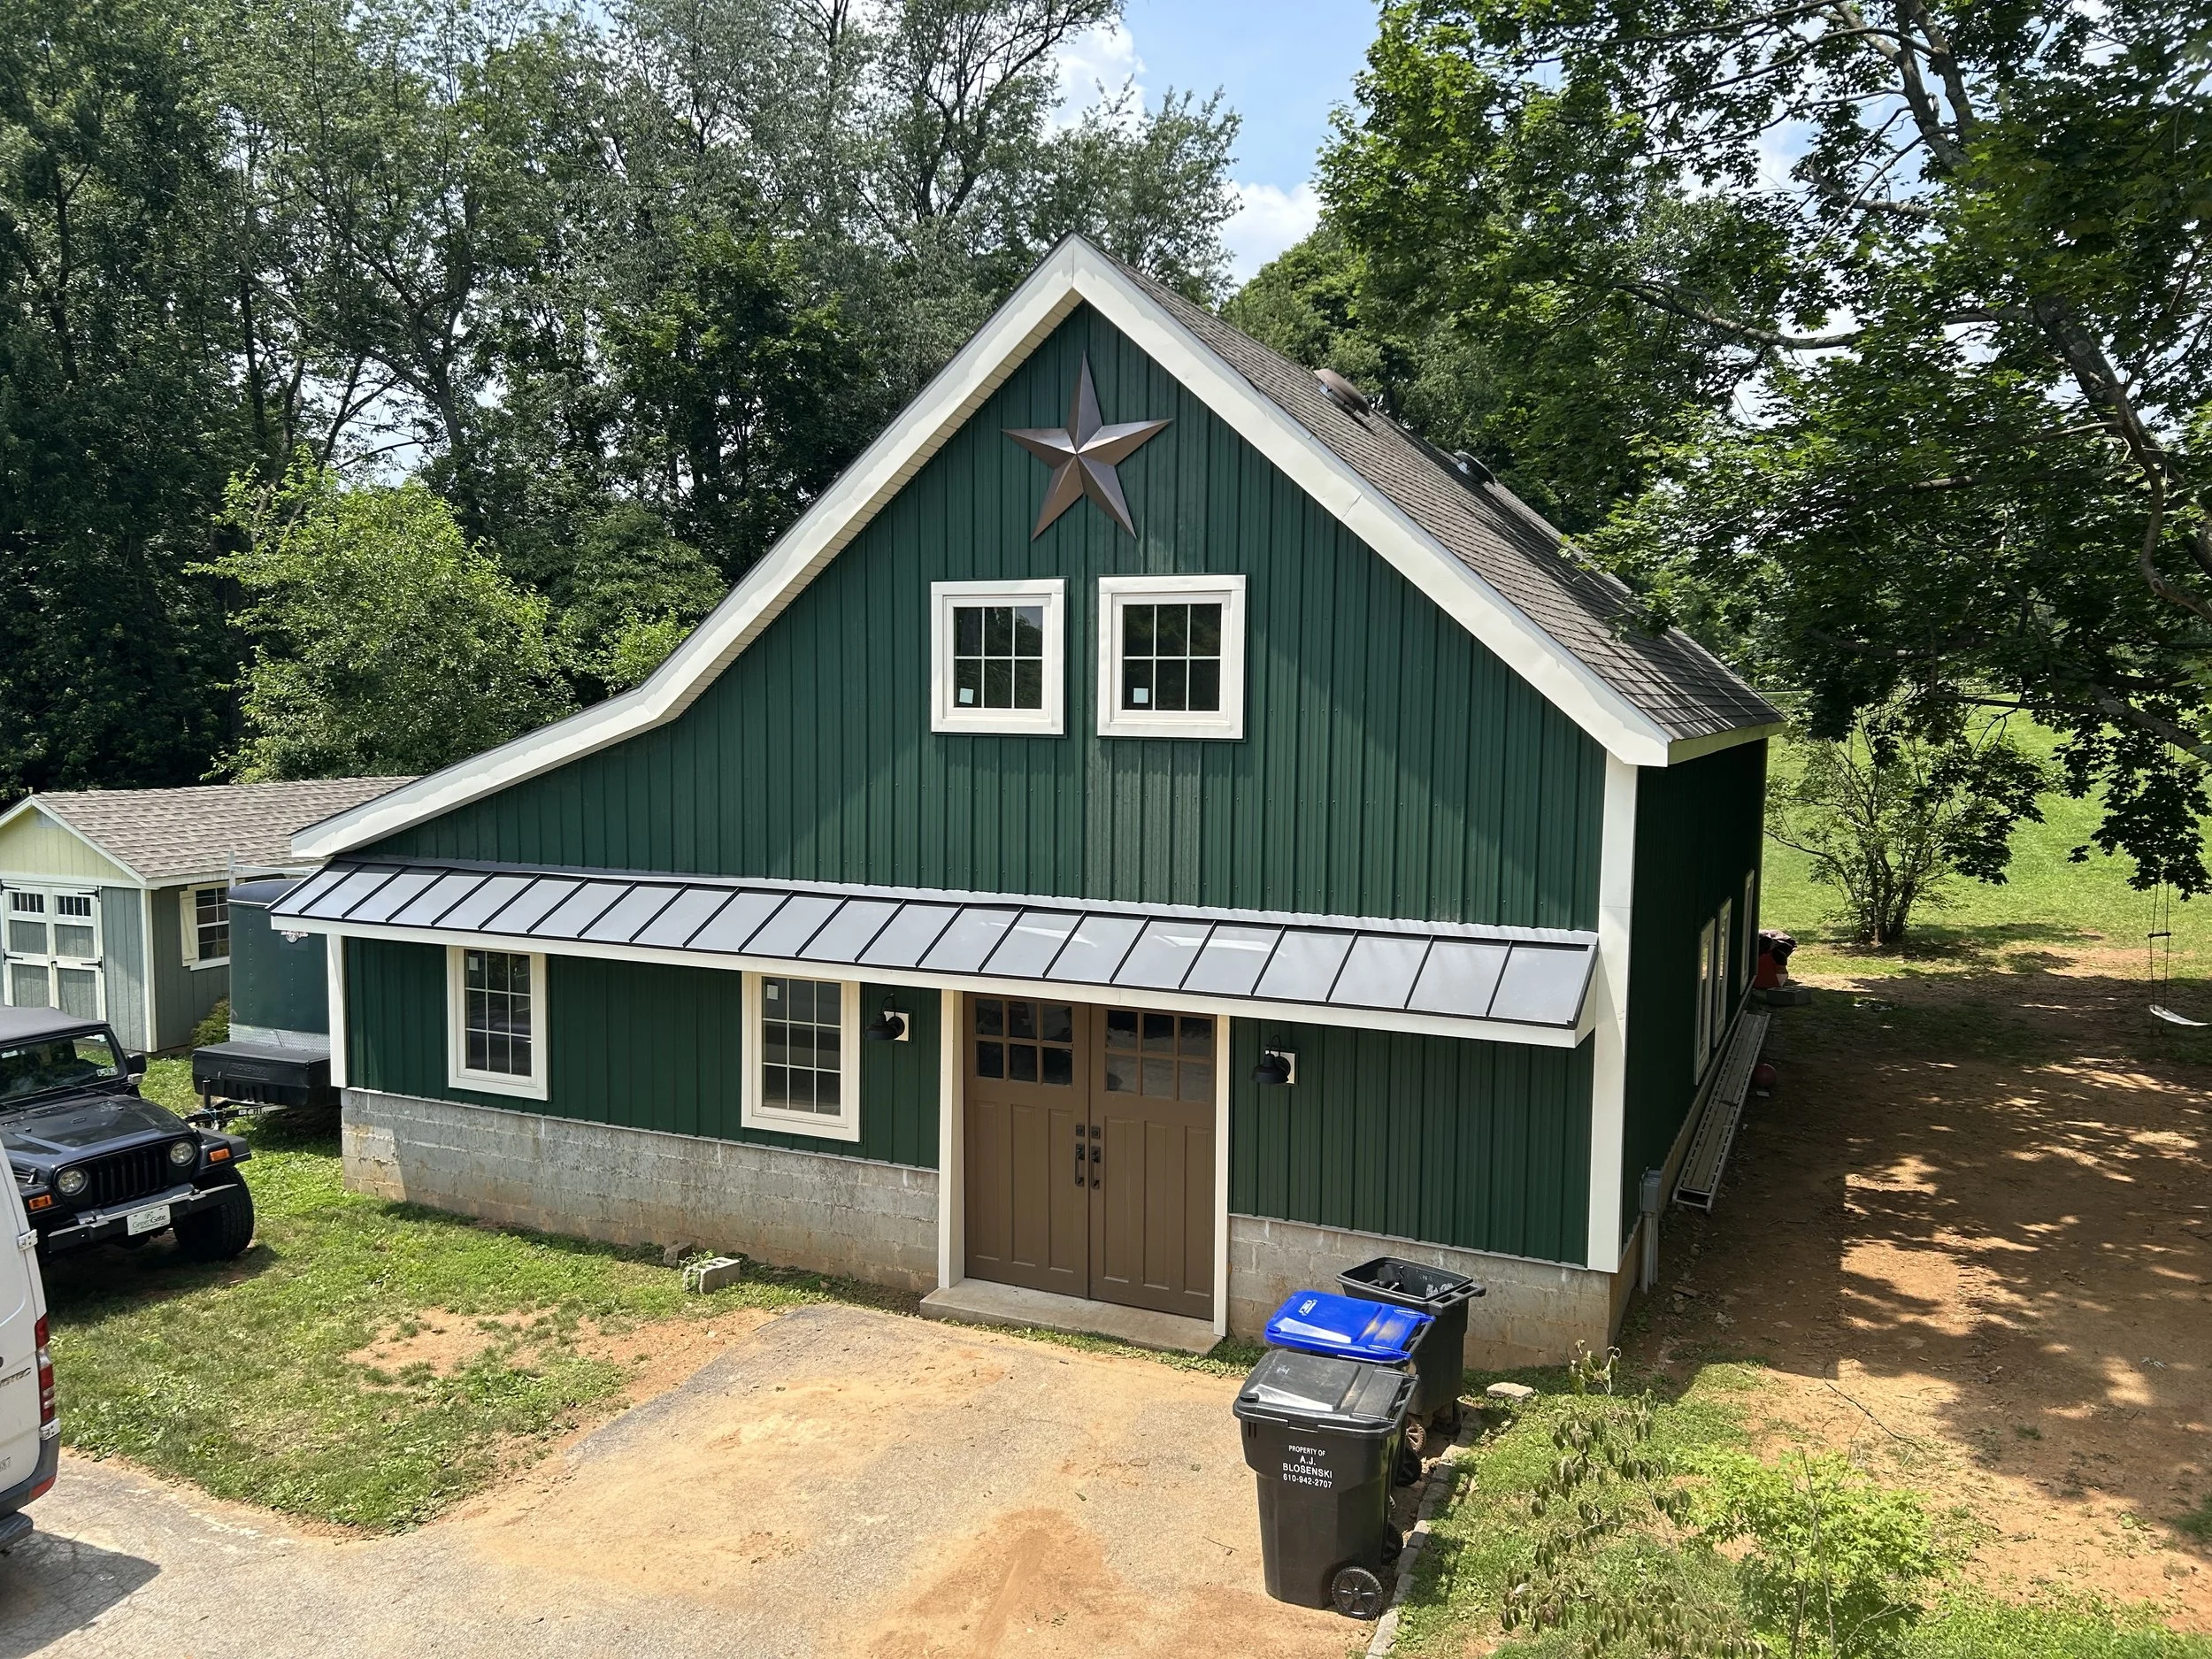
In addition to the house renovation, I also built a new workshop on my property.