
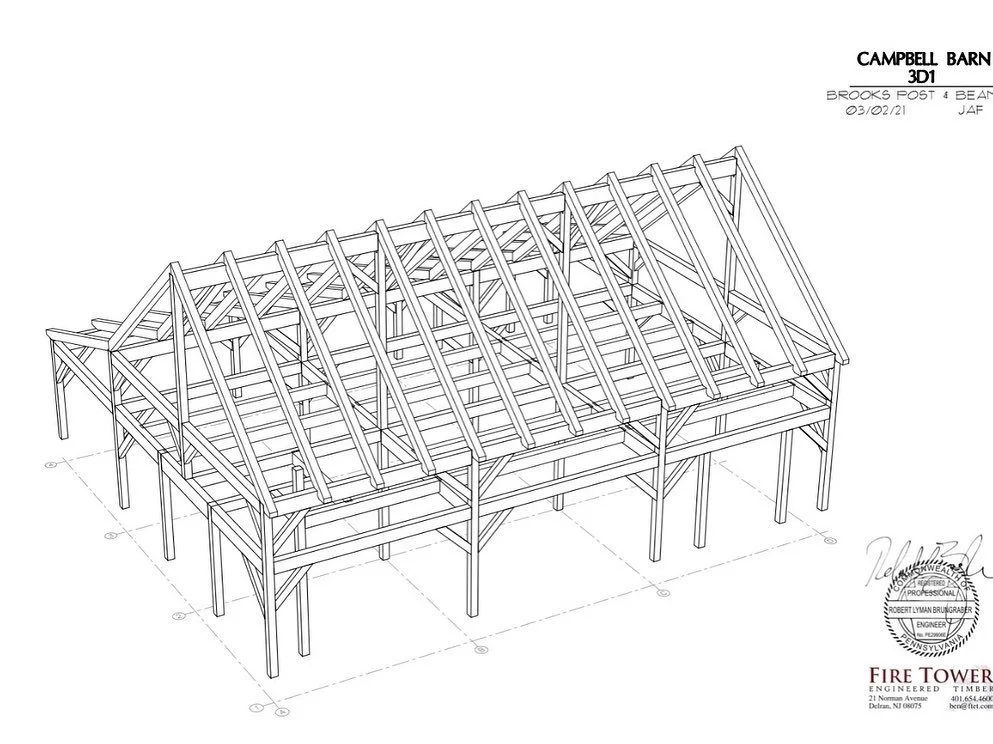


After many years working in a small two-car garage, I decided to build myself a new shop so I’d have more room and could make my work flow more efficient. I ordered a timber frame barn kit from Brooks Post & Beam and worked with them to customize the design to my requirements.
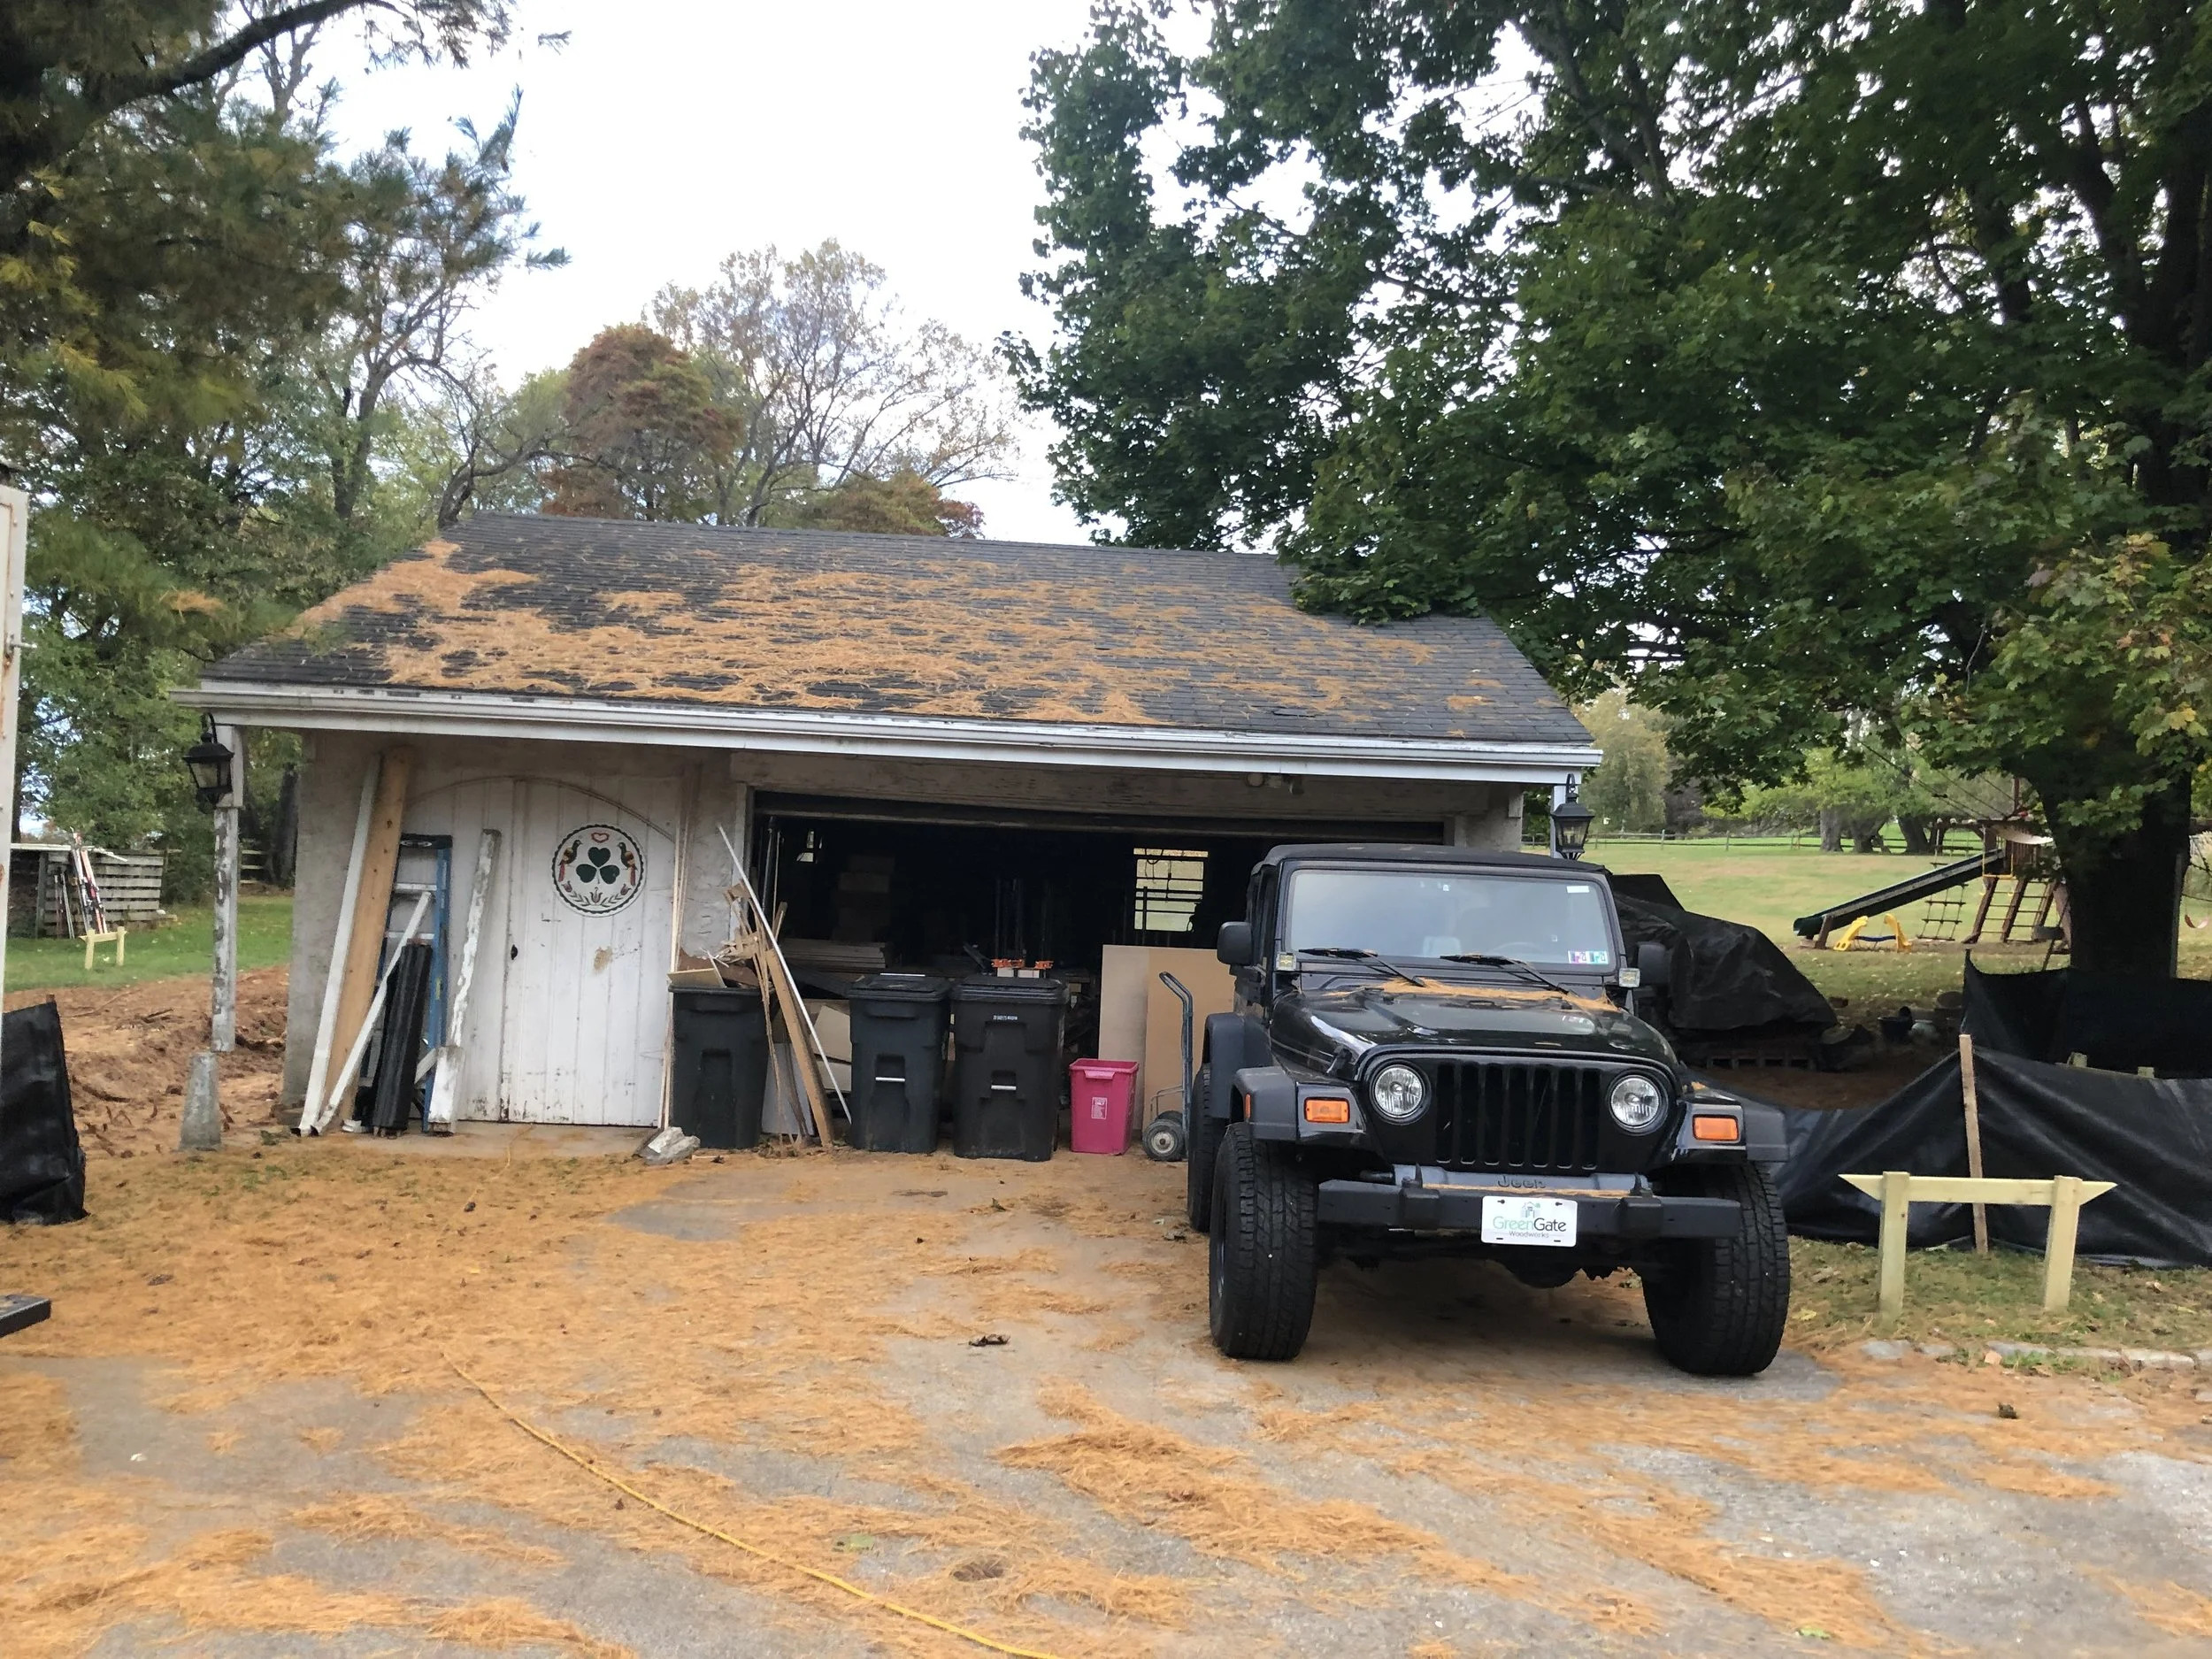
This was my original shop. Because I needed to still have access to my machinery and equipment while the new shop was being built, I came up with a plan to build around the existing shop and enclose it within the new one.
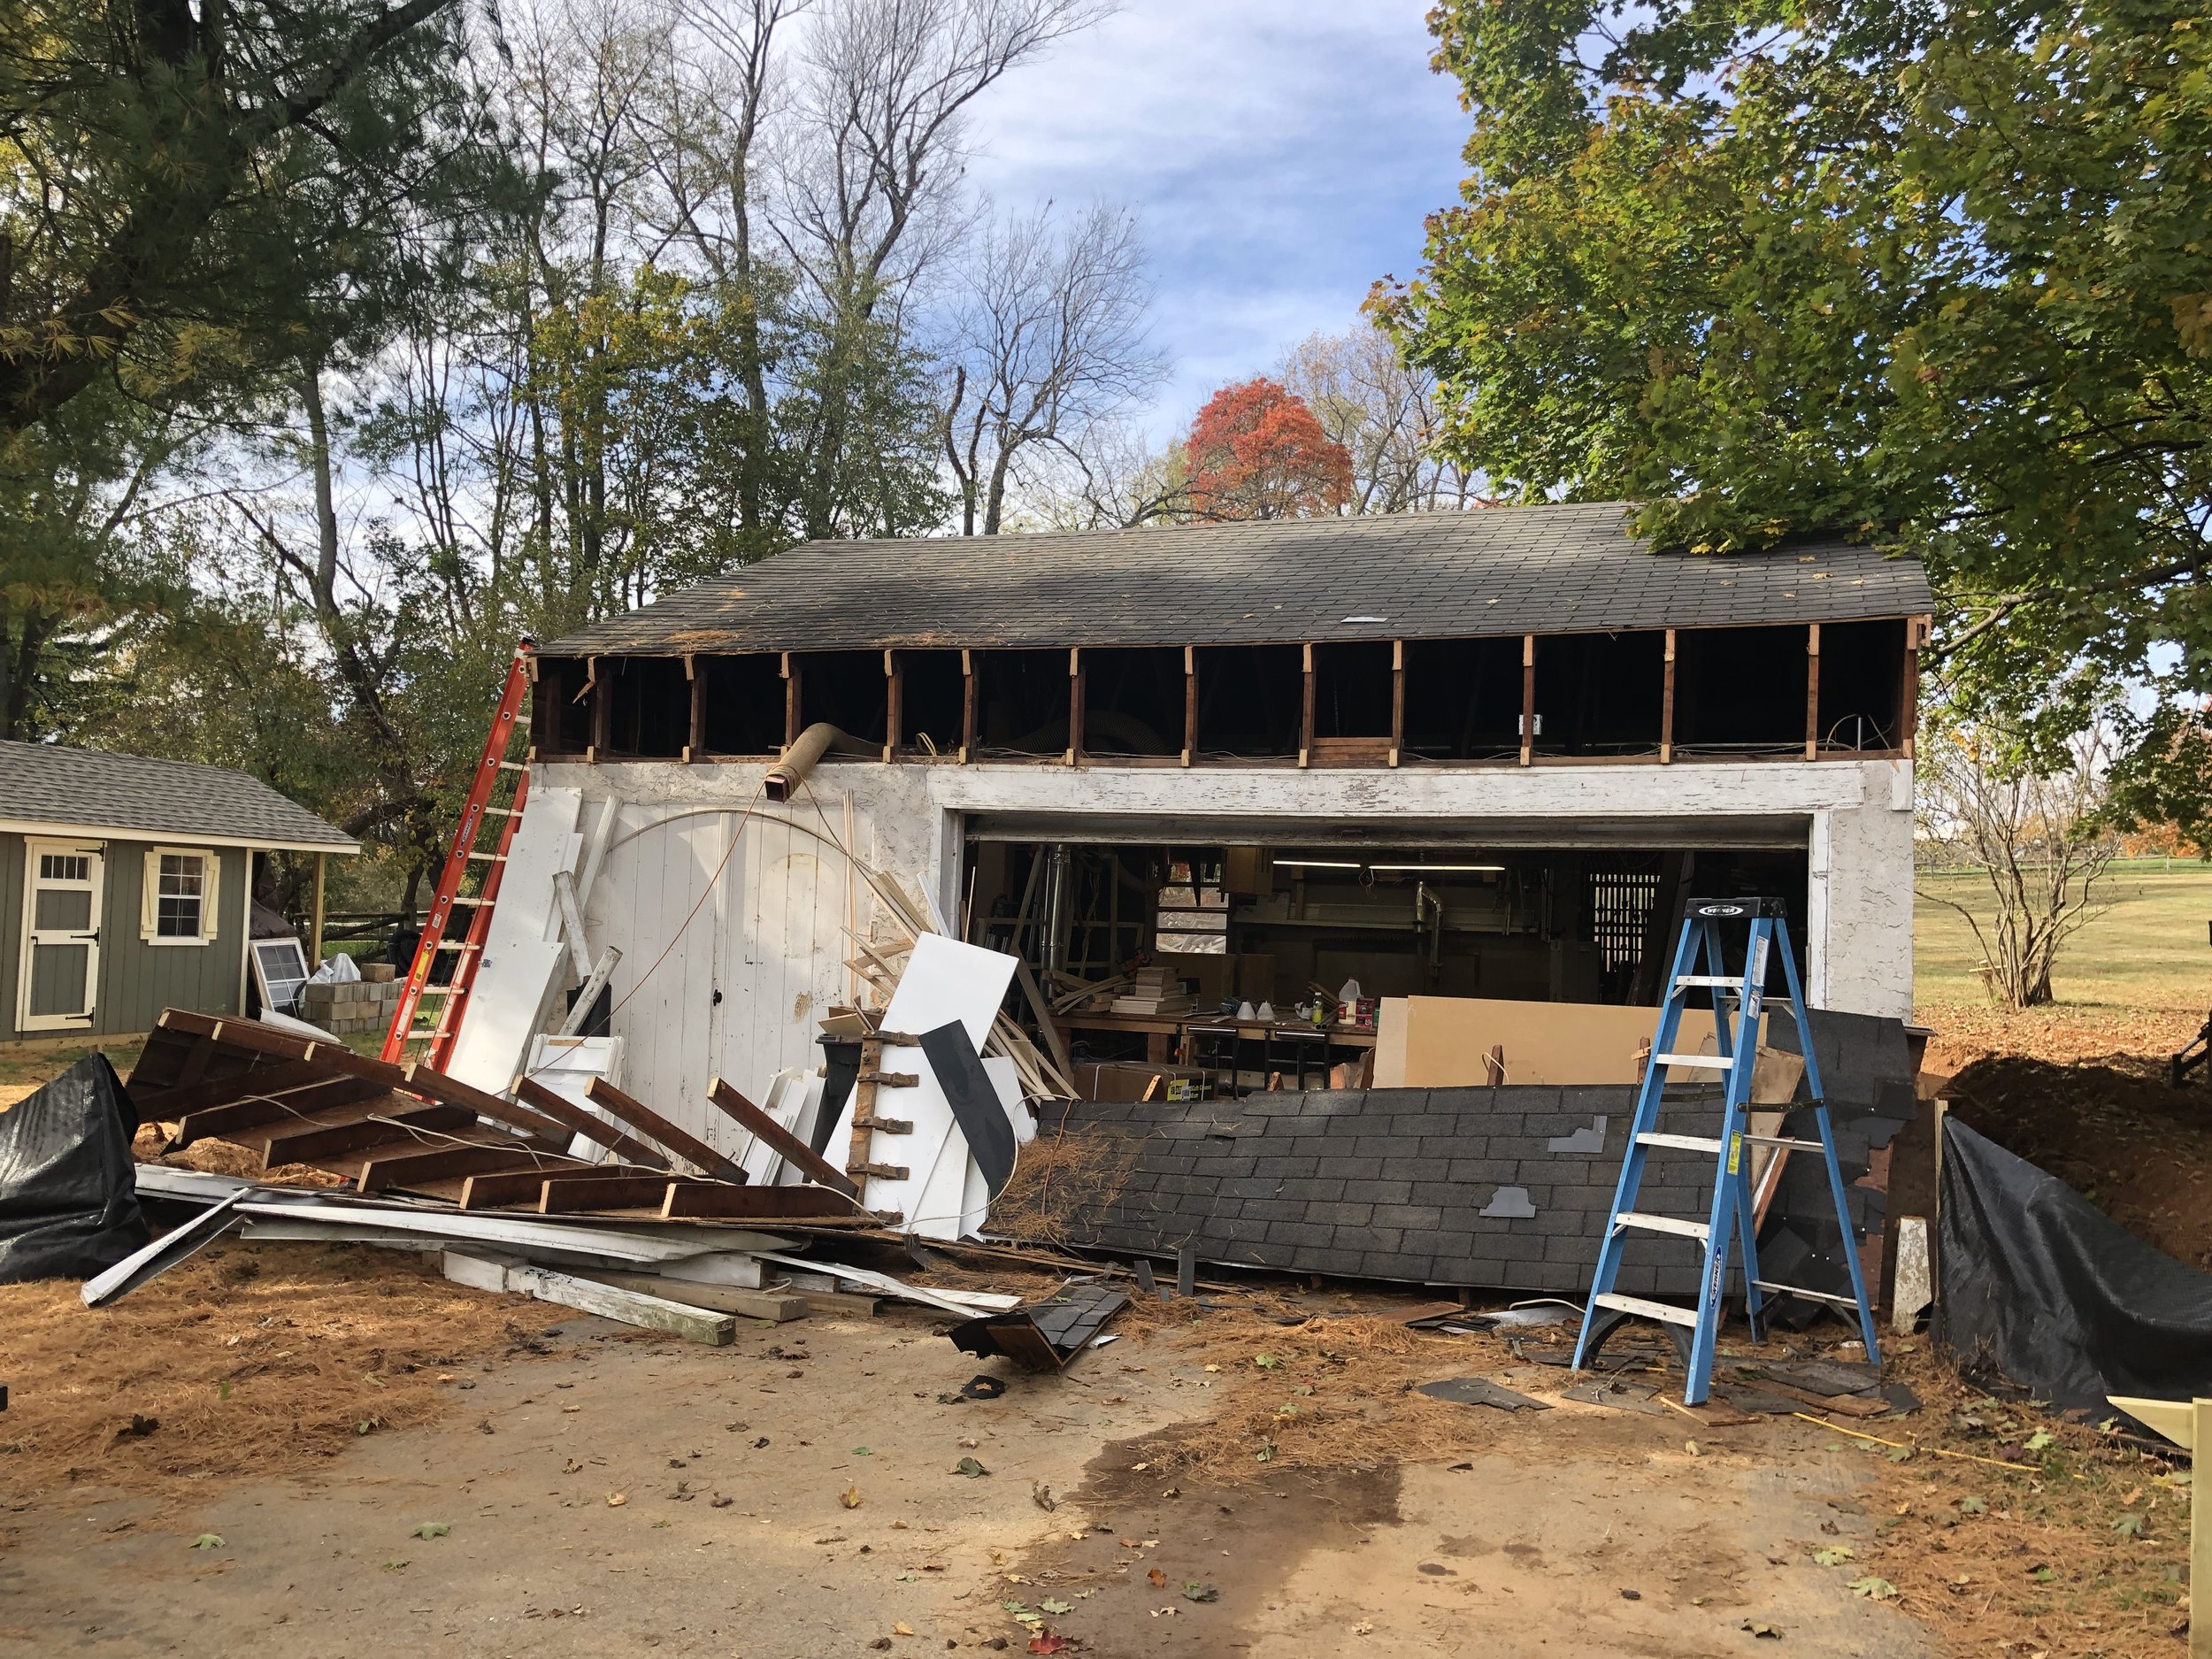
First step was to remove the front overhang of the roof so I could begin excavating.
I did the bulk of the excavation with my little tractor and backhoe attachment. Most of the new shop would extend behind and to the left of the original building, here I am excavating for the new floor area.
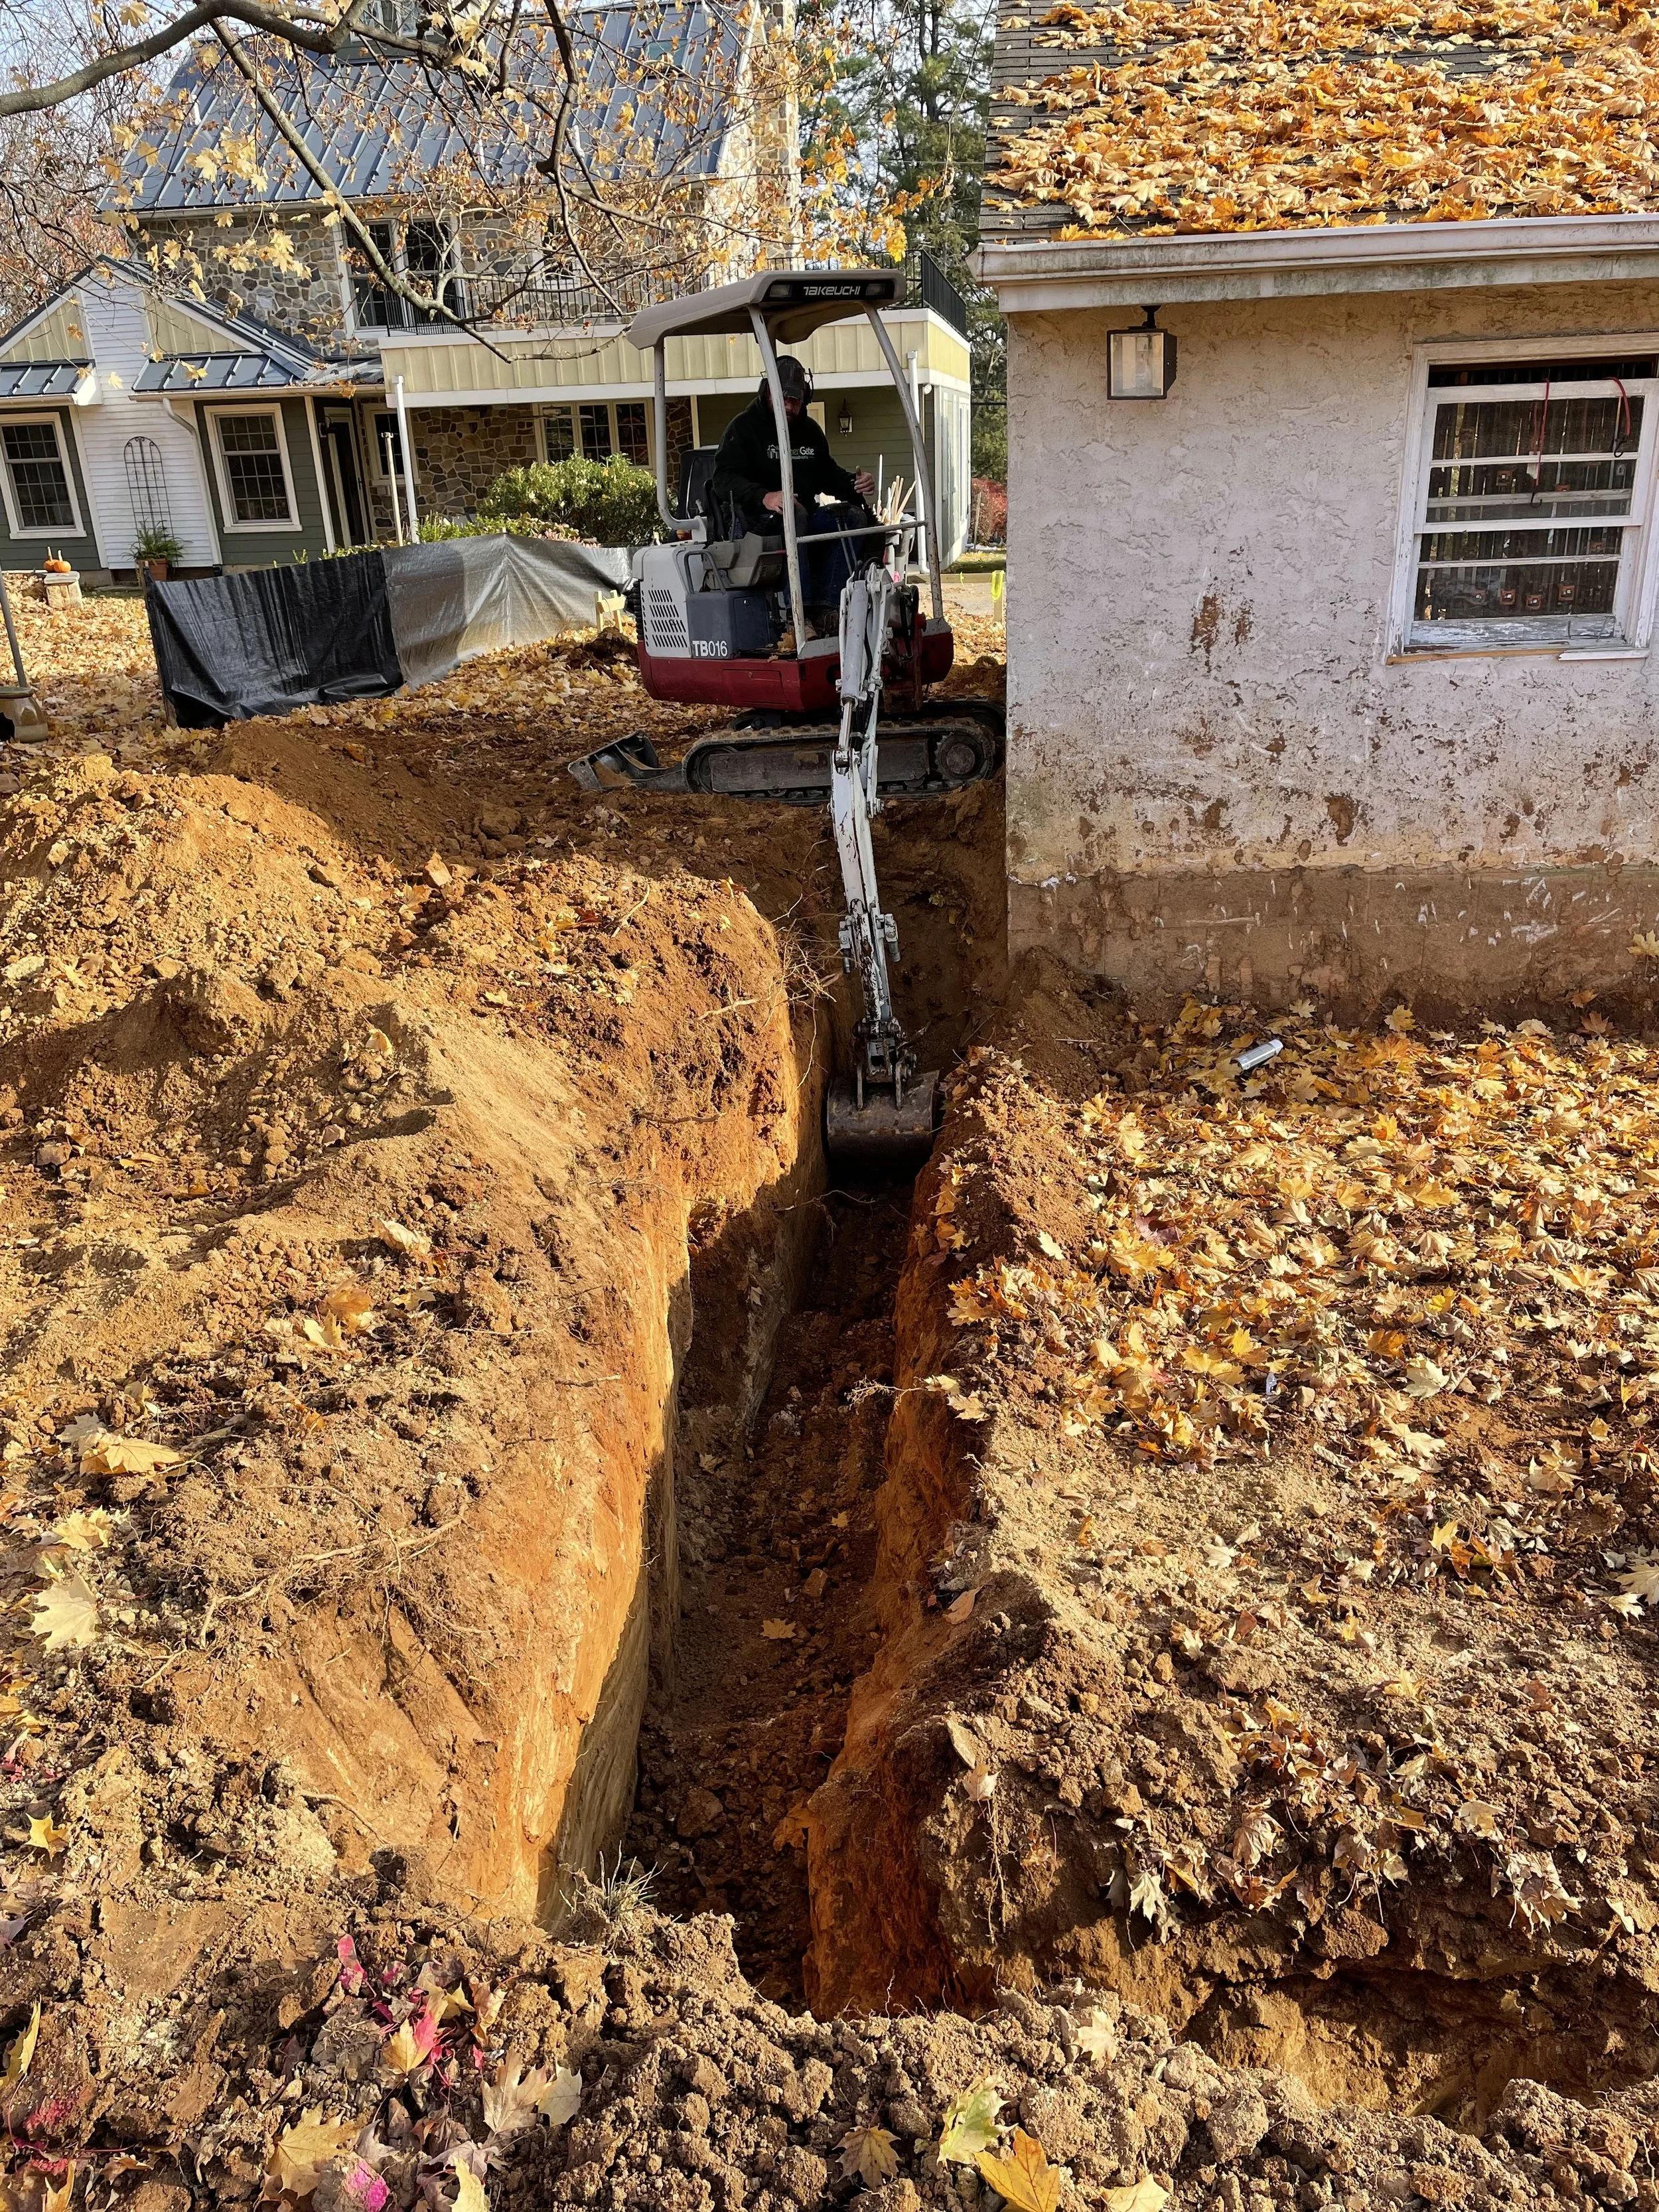
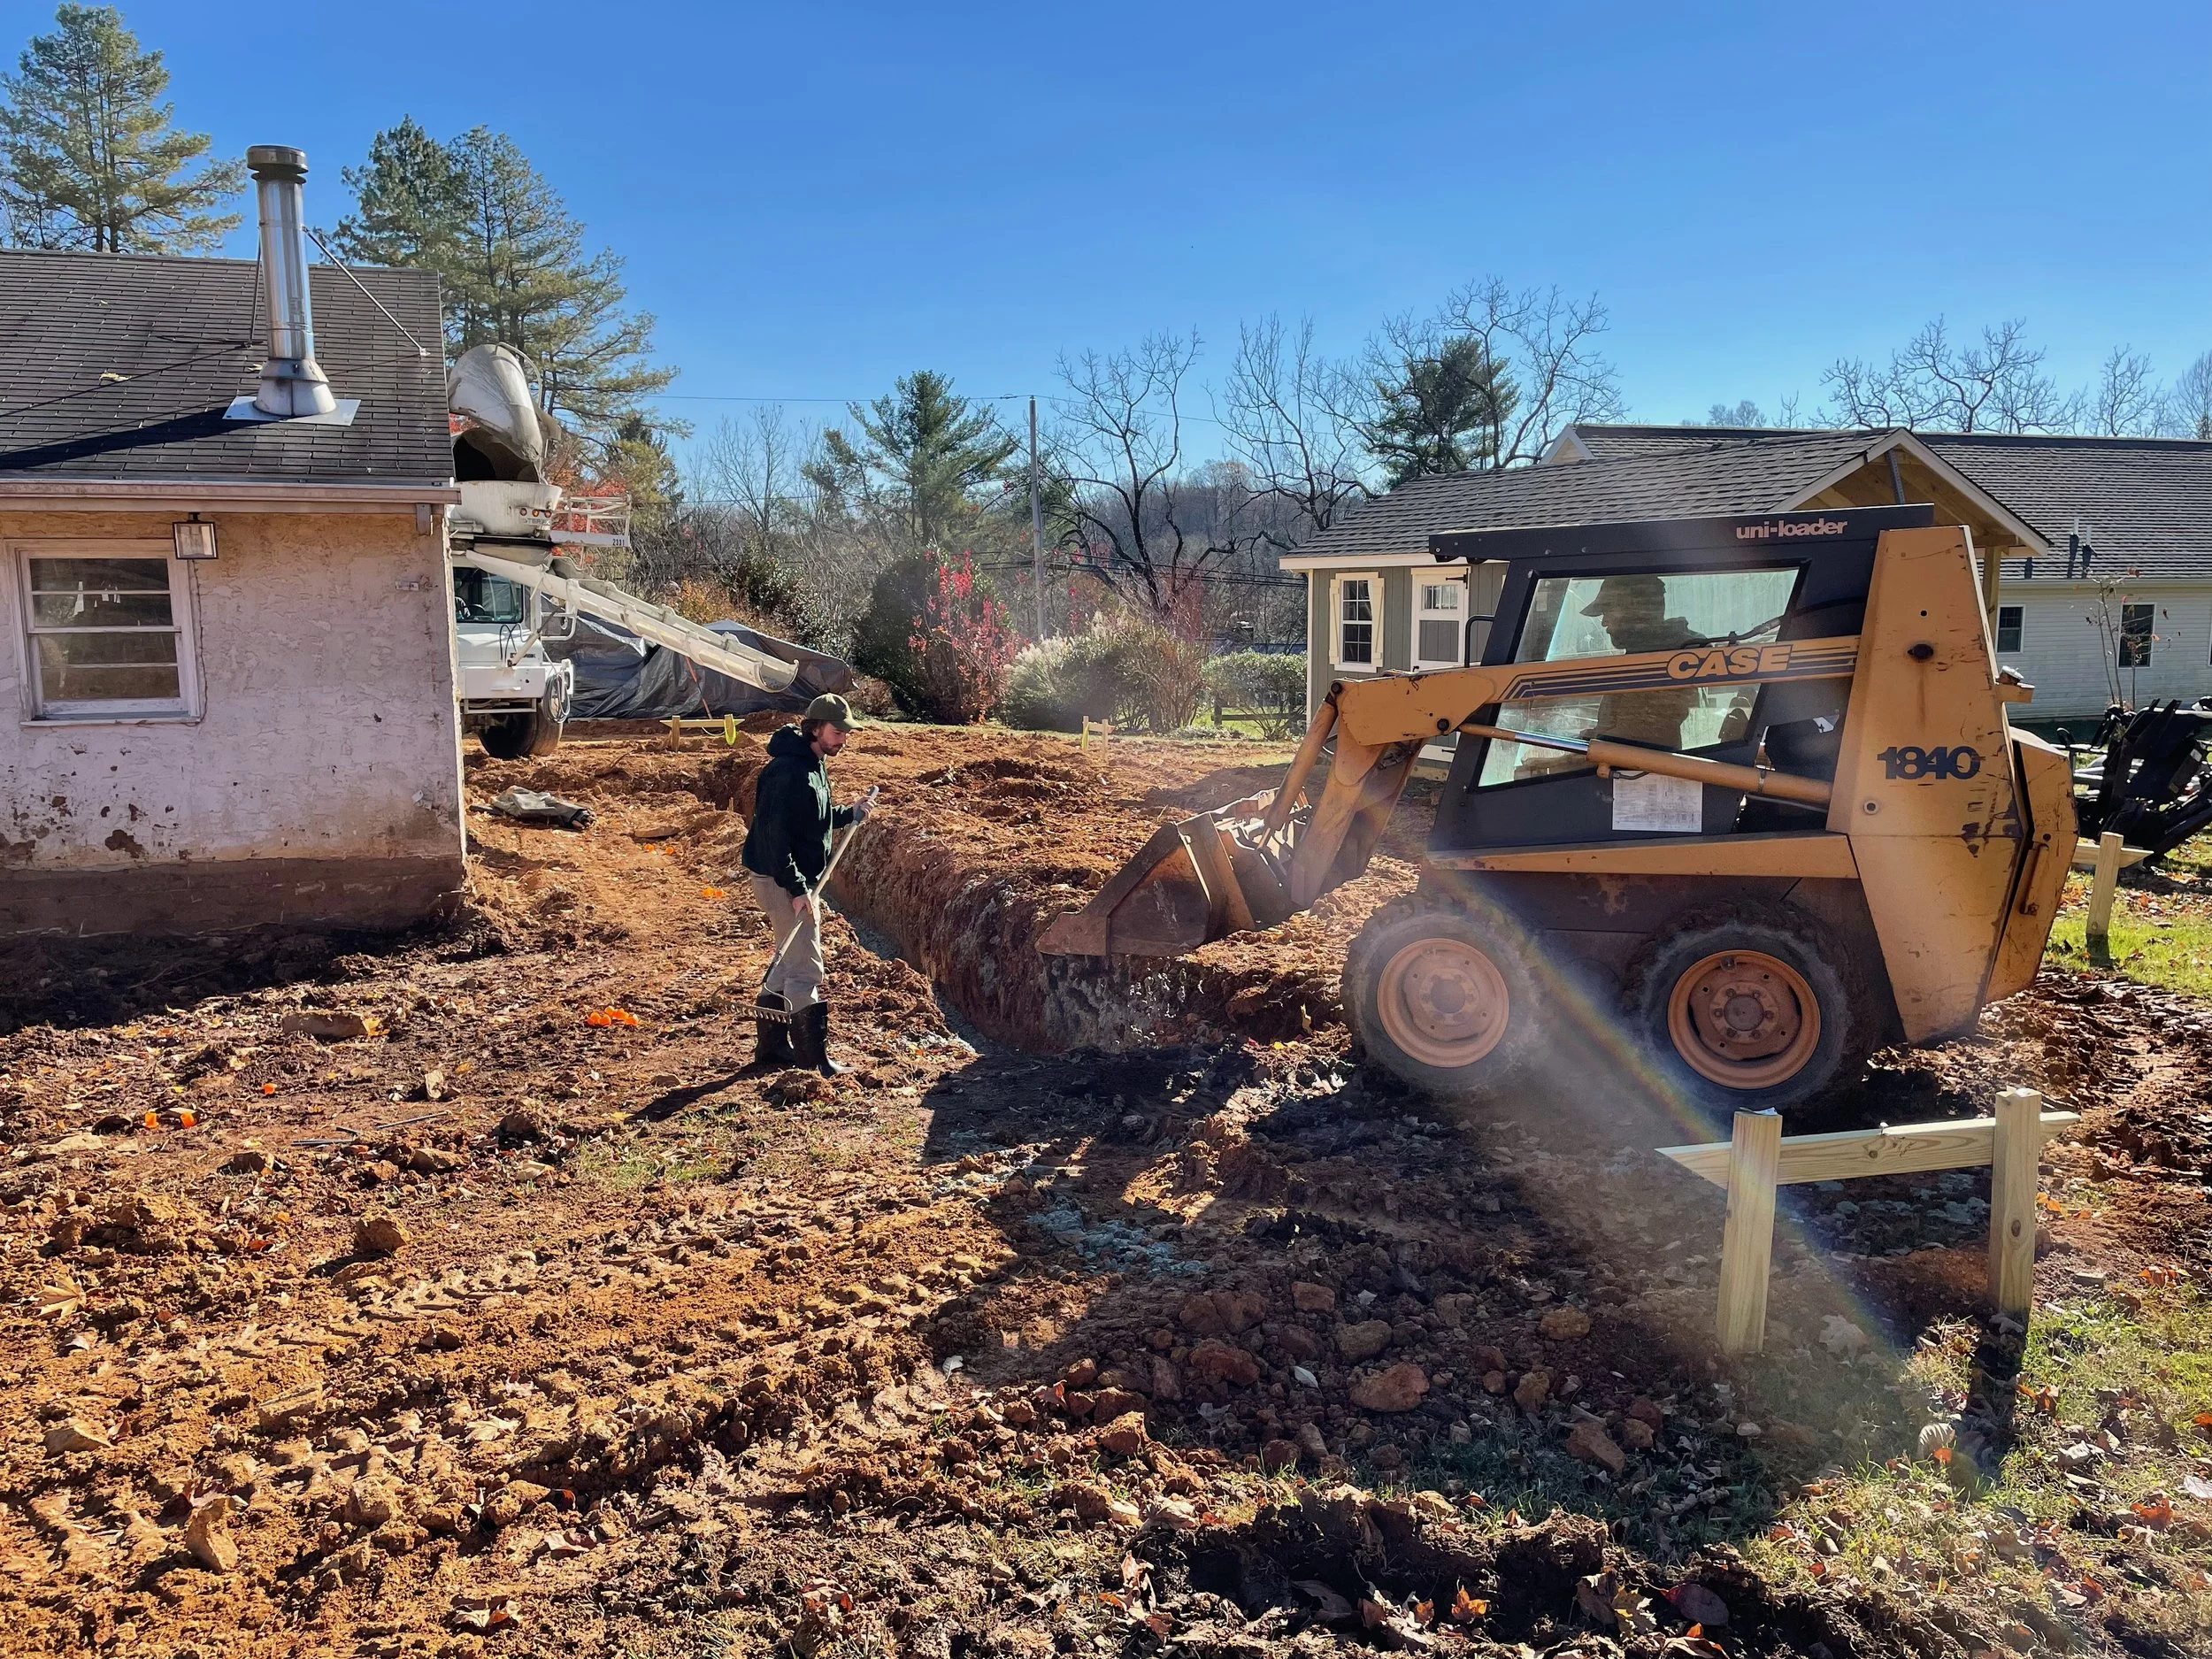
For the footers I had to rent a mini excavator that allowed me to dig deeper and closer to the original building than my tractor could.
After excavation was complete and rebar was installed, it was time to pour the concrete footers. The skid steer makes short work of pouring the concrete and is far easier than pushing wheelbarrows around.
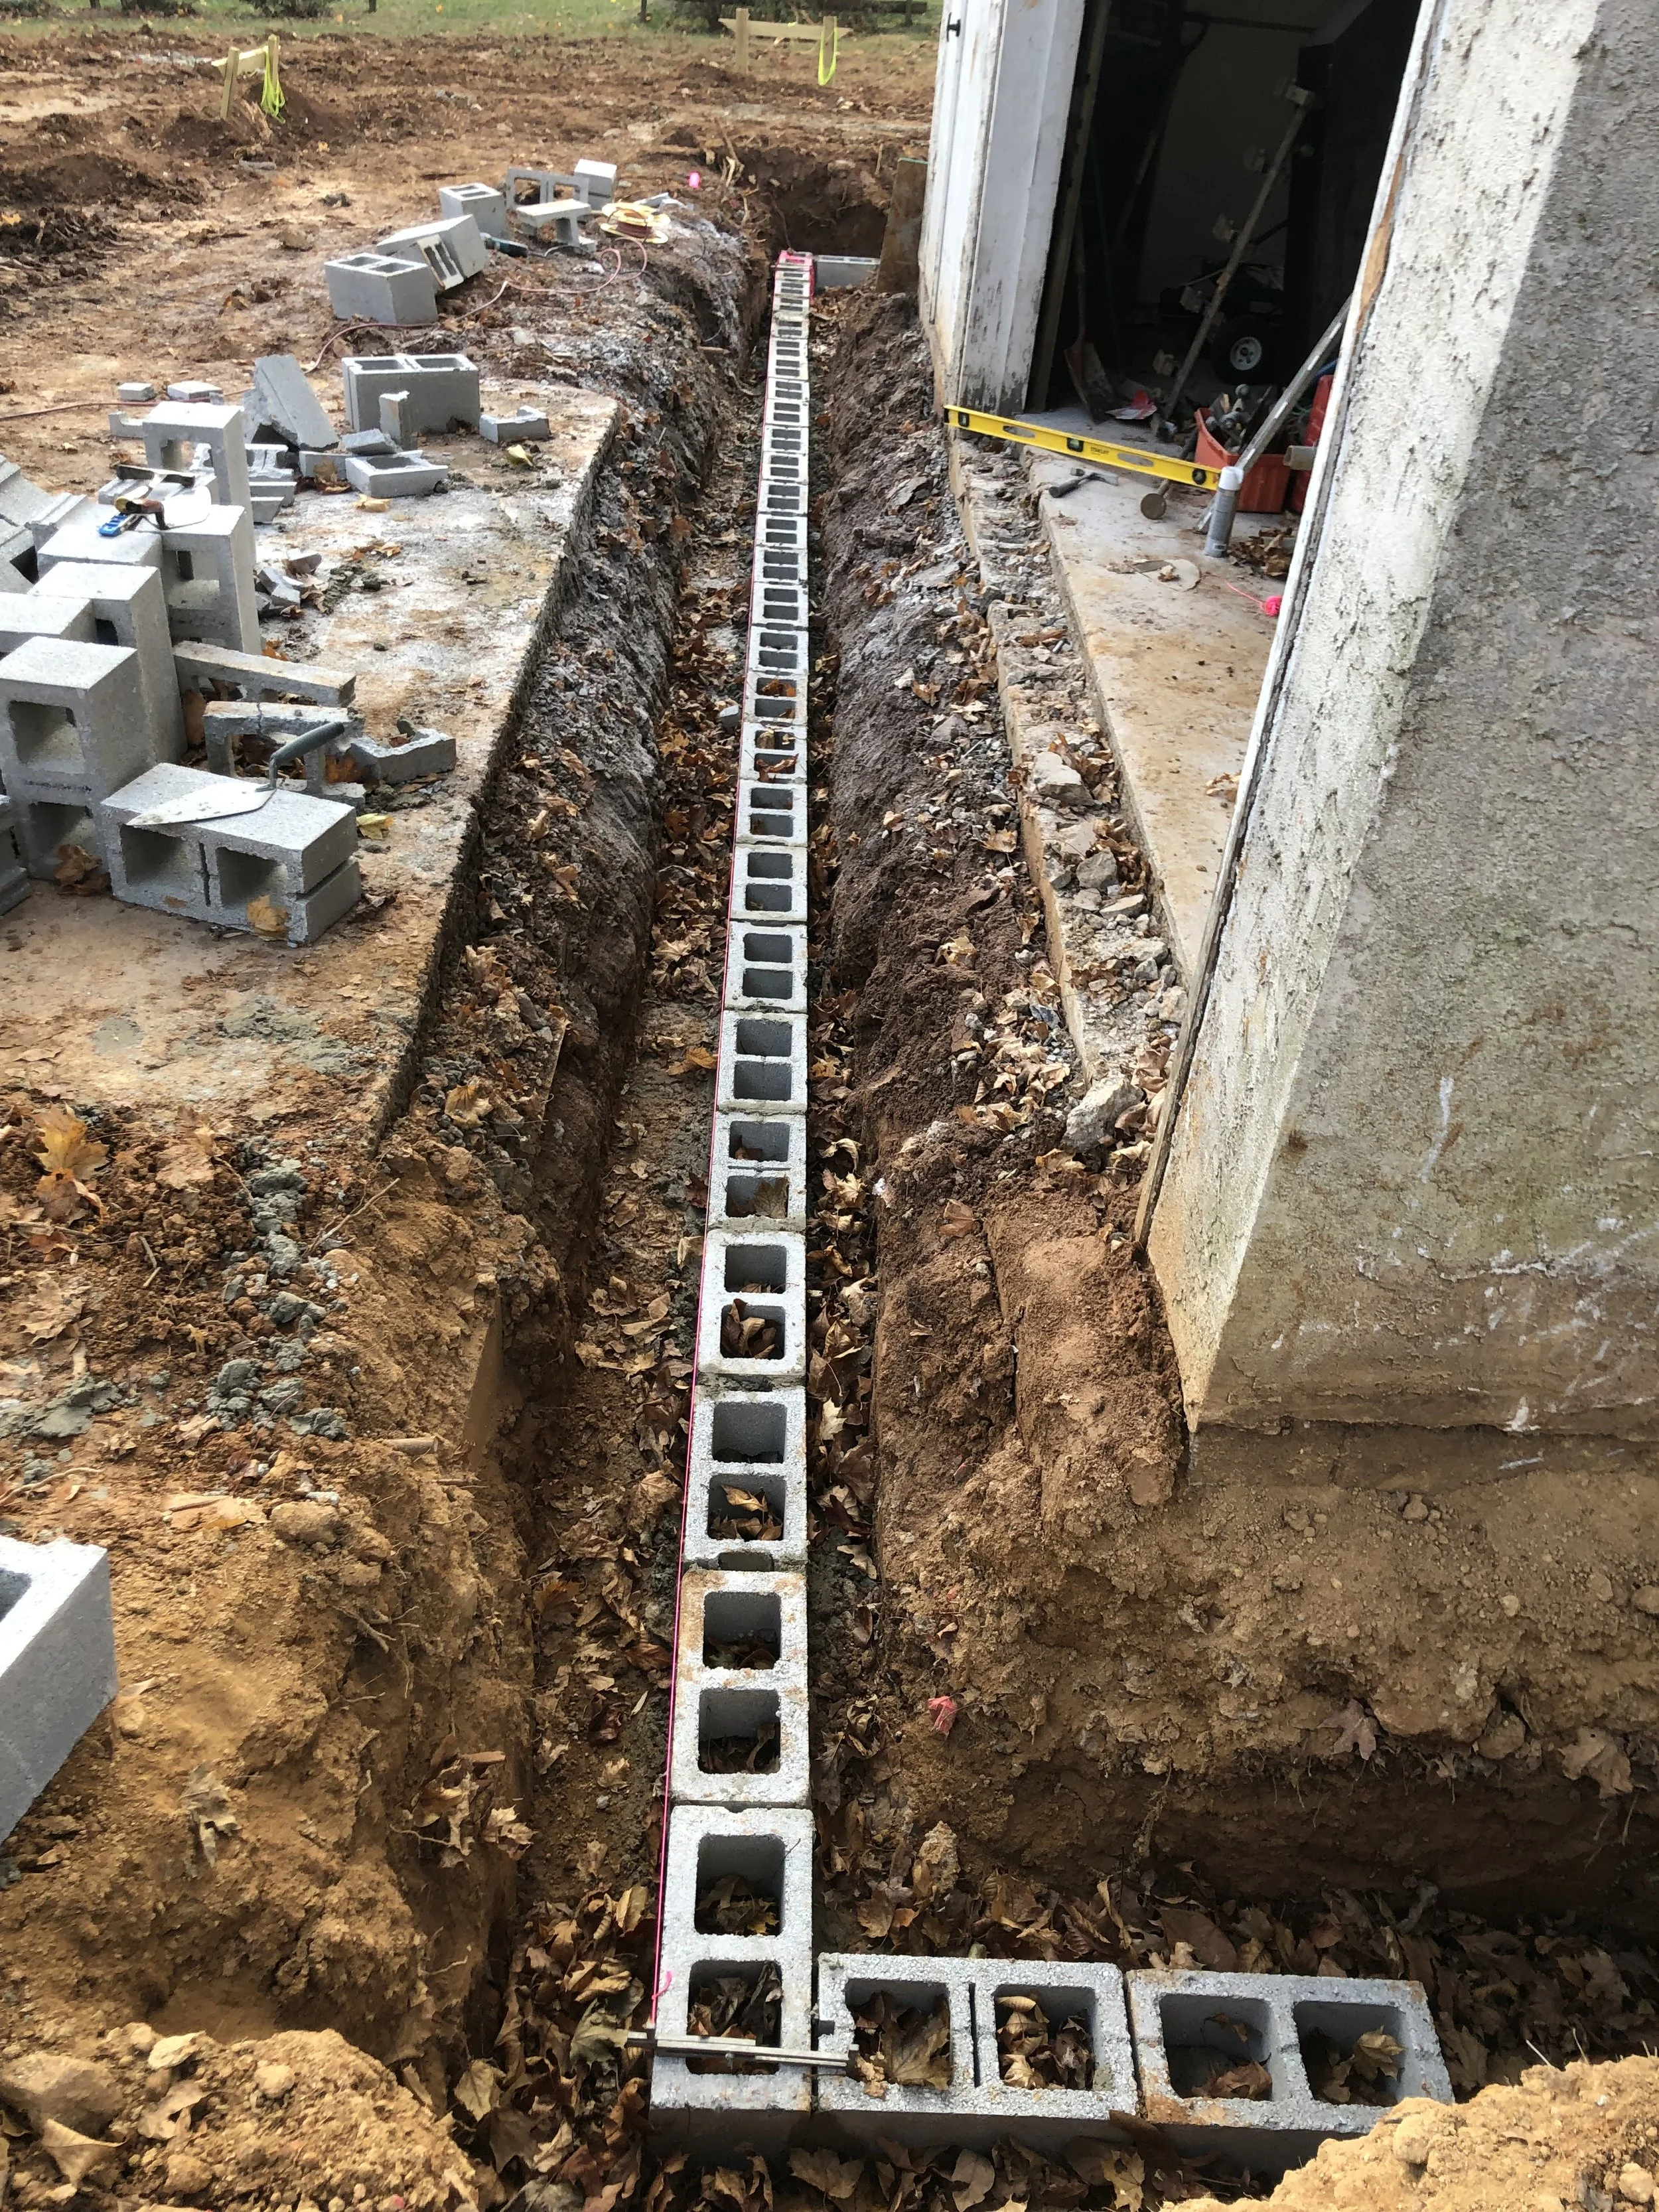
Once the footers were dry, I was able to start laying the first course of cinder blocks for the new foundation walls.
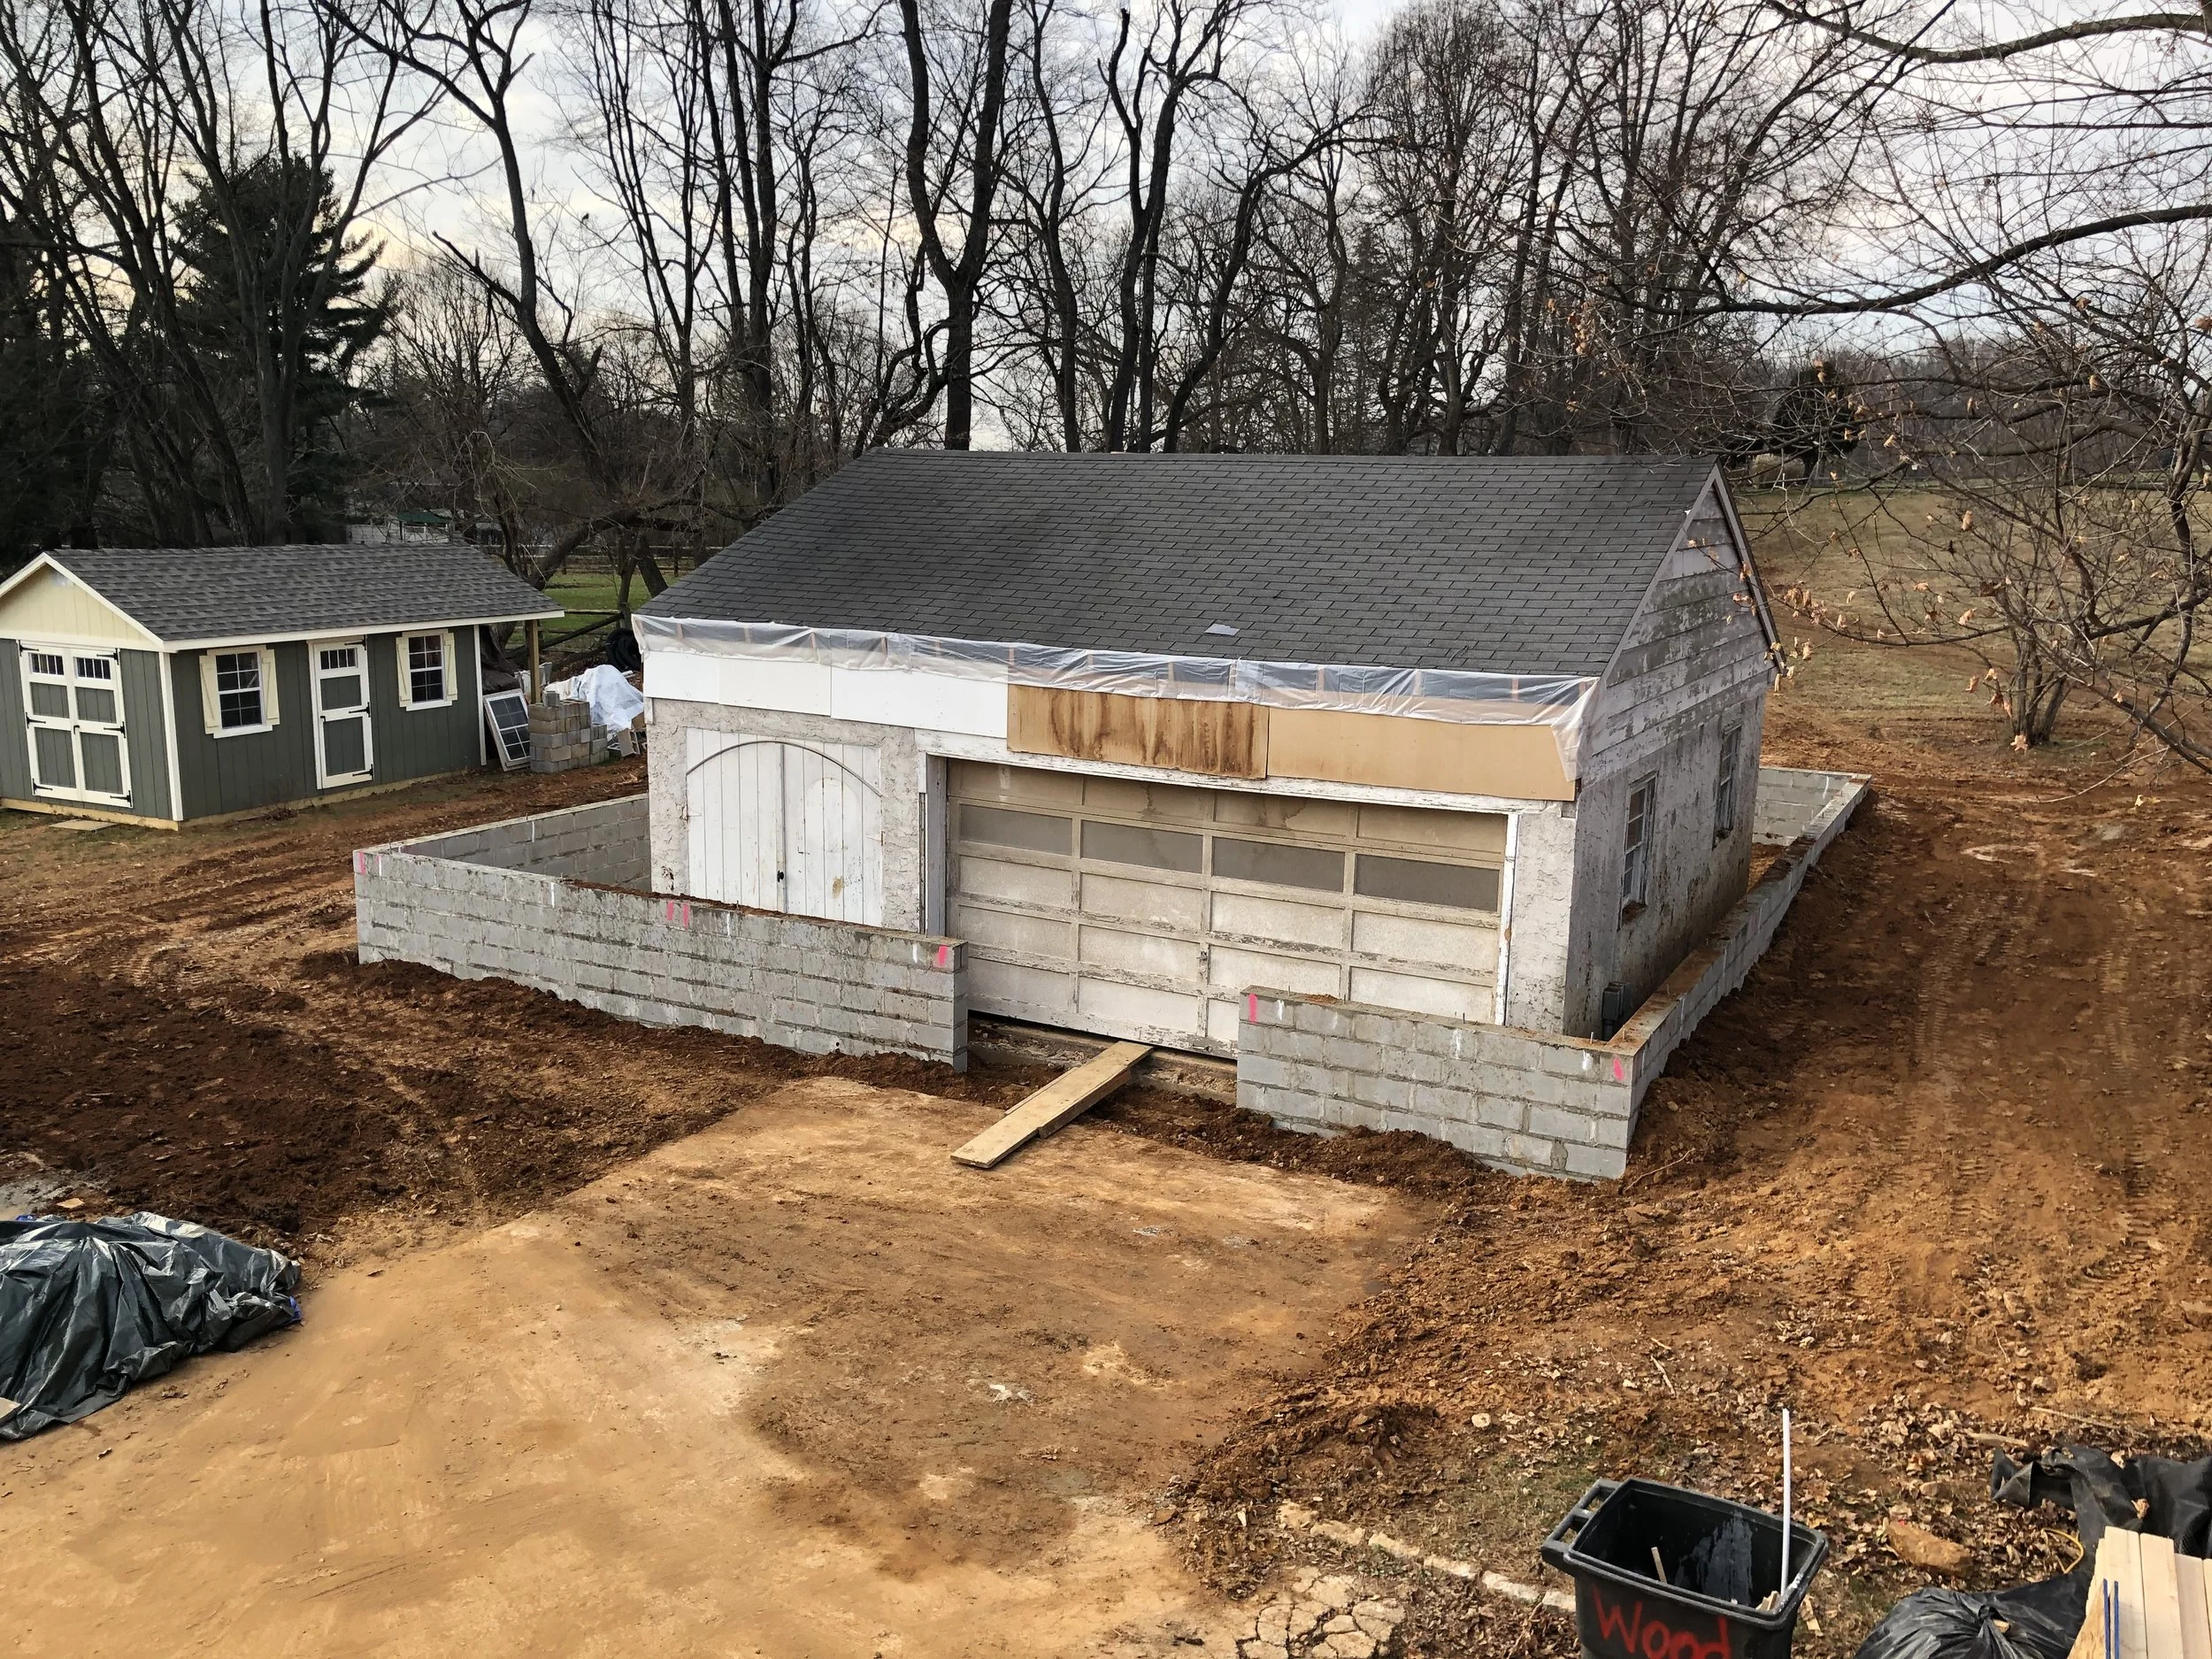
After many hours of masonry that made me appreciate my woodworking job more than ever, the new foundation walls were up and surrounding the old shop.
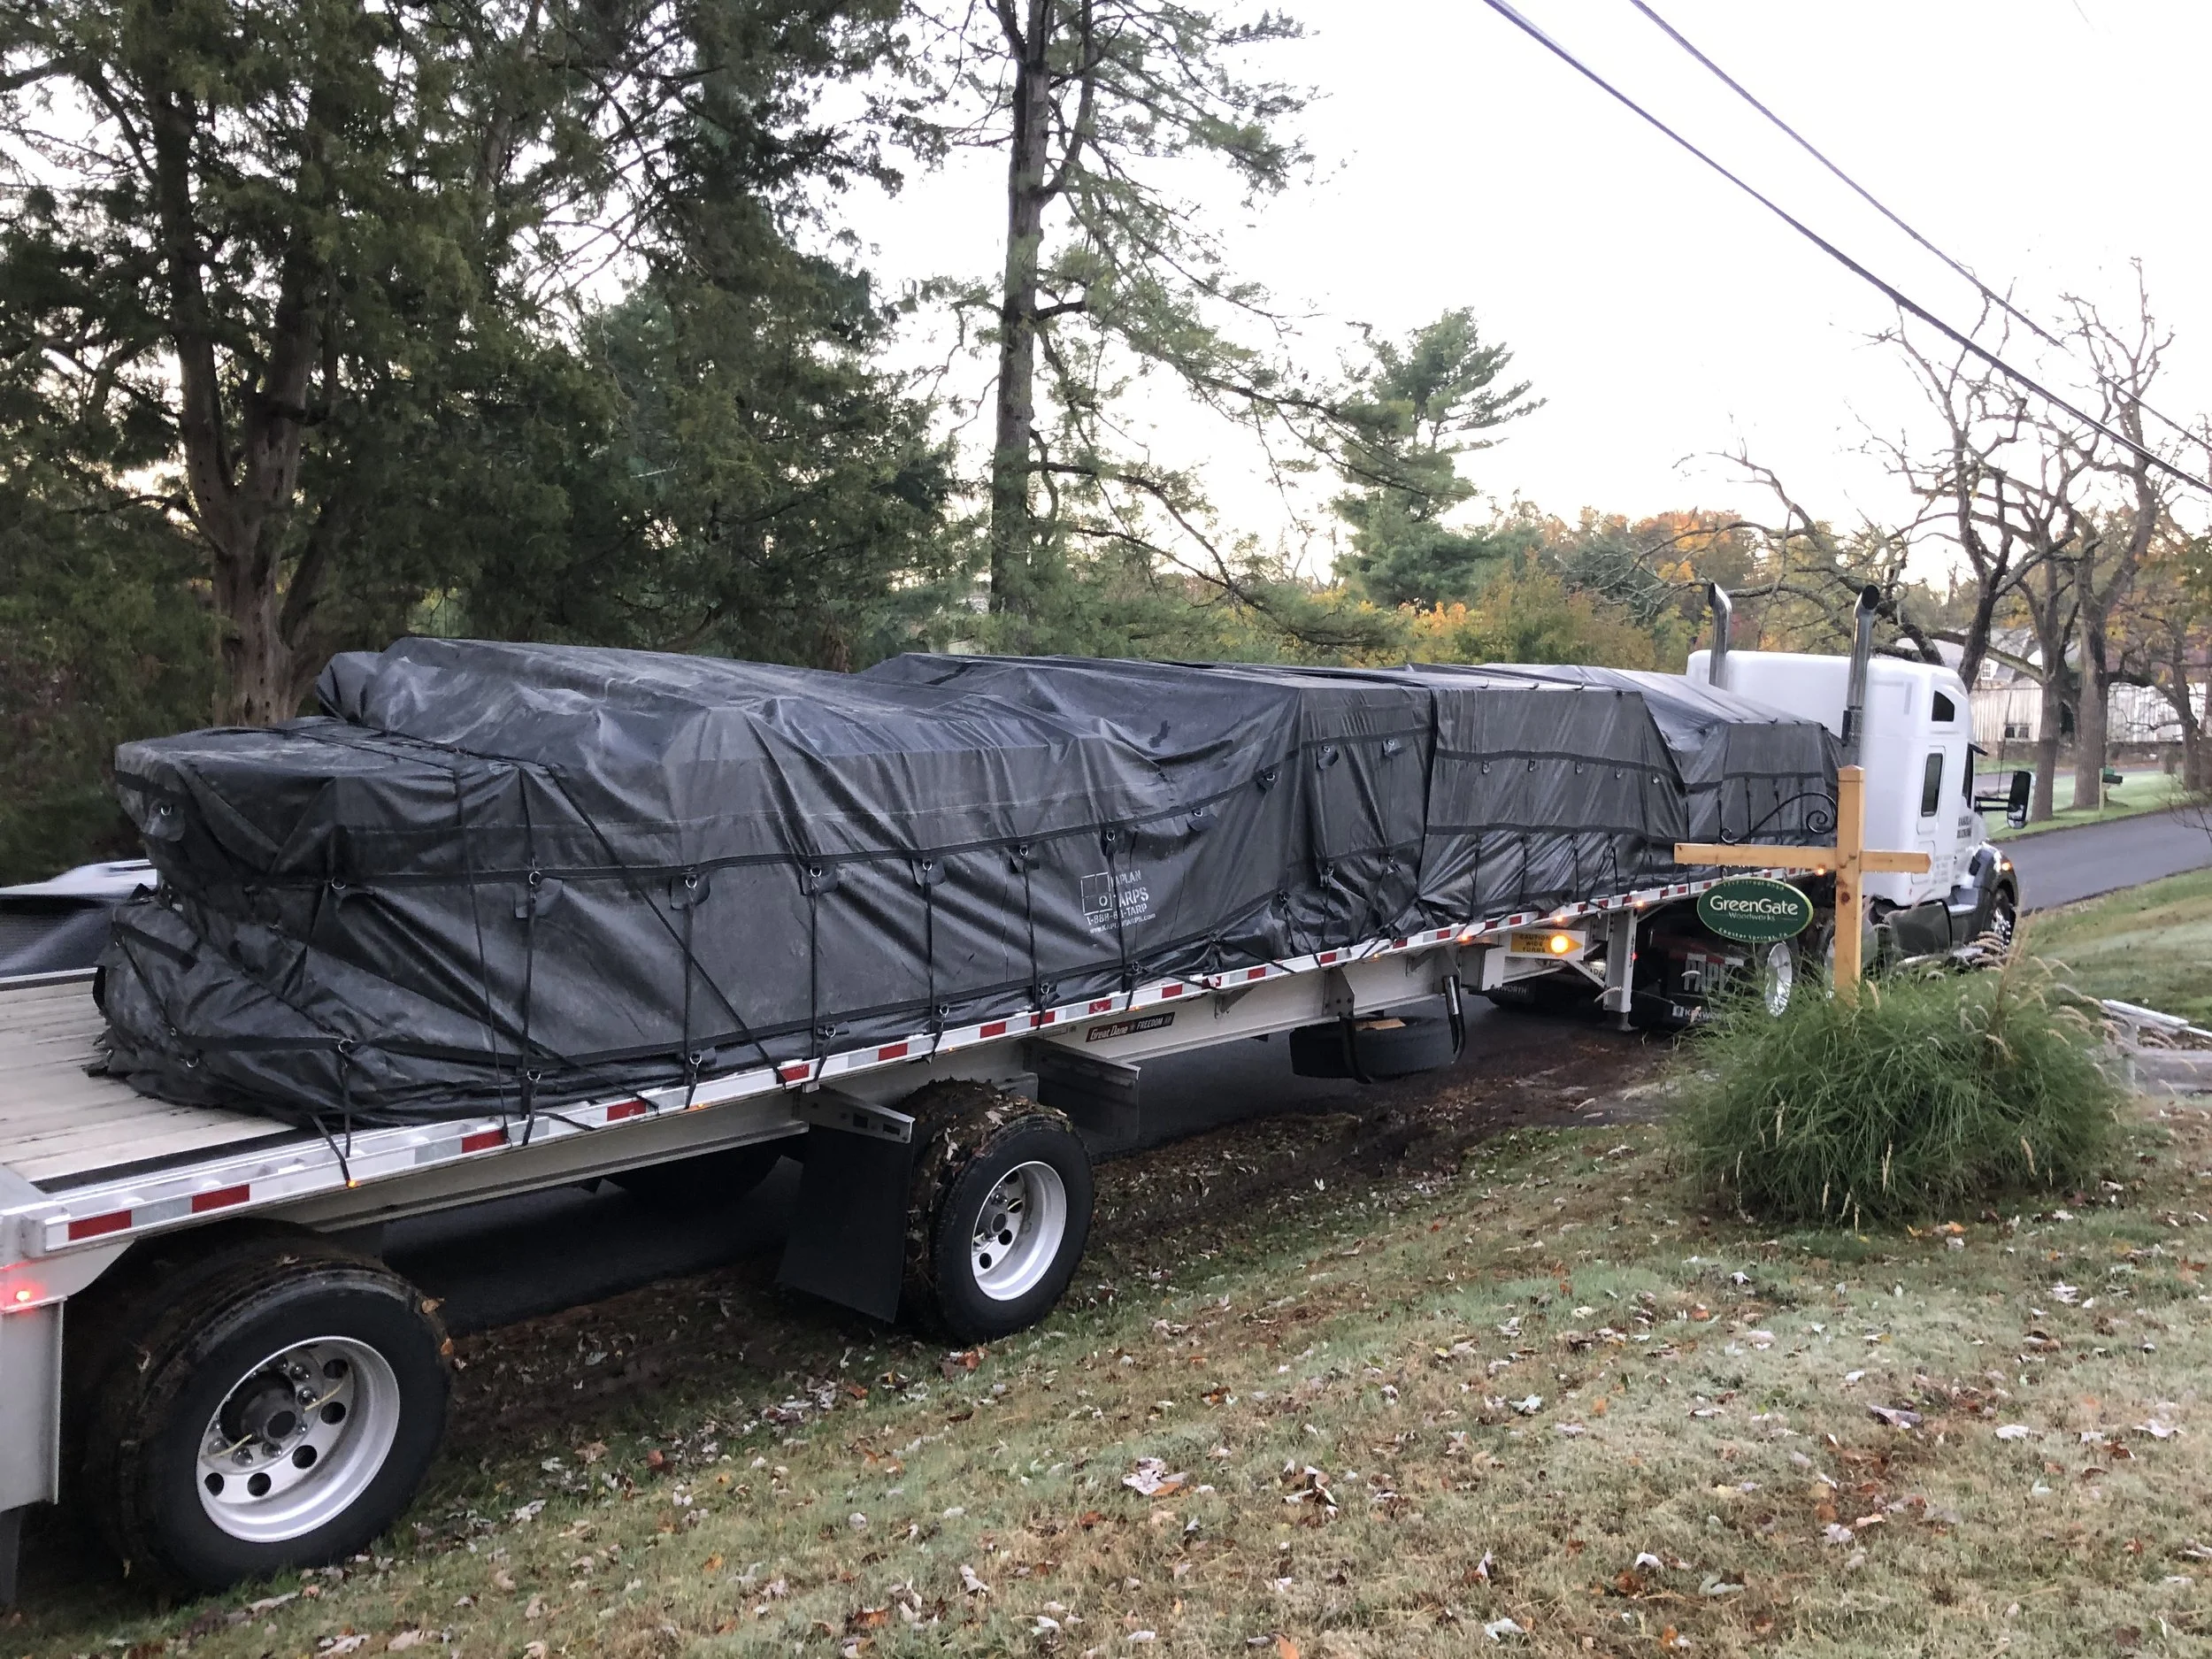
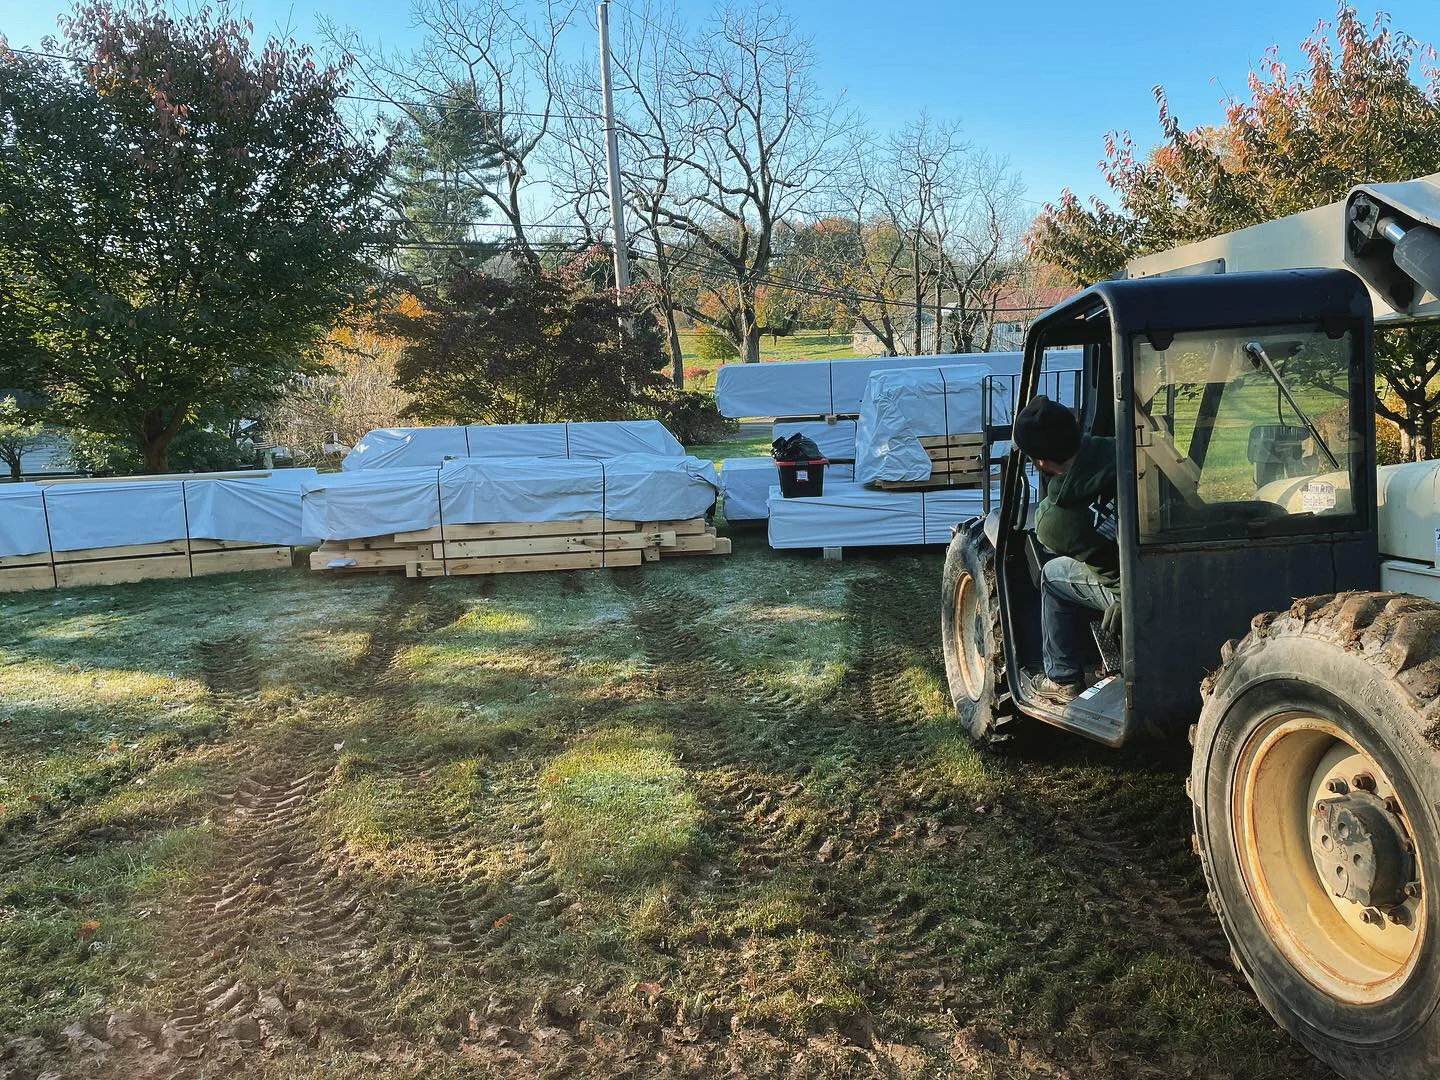
The timber frame kit arrived shortly thereafter from New Hampshire.
For unloading the truck, I got to learn how to drive a new toy, the Telehandler, also sometimes called a Lull.
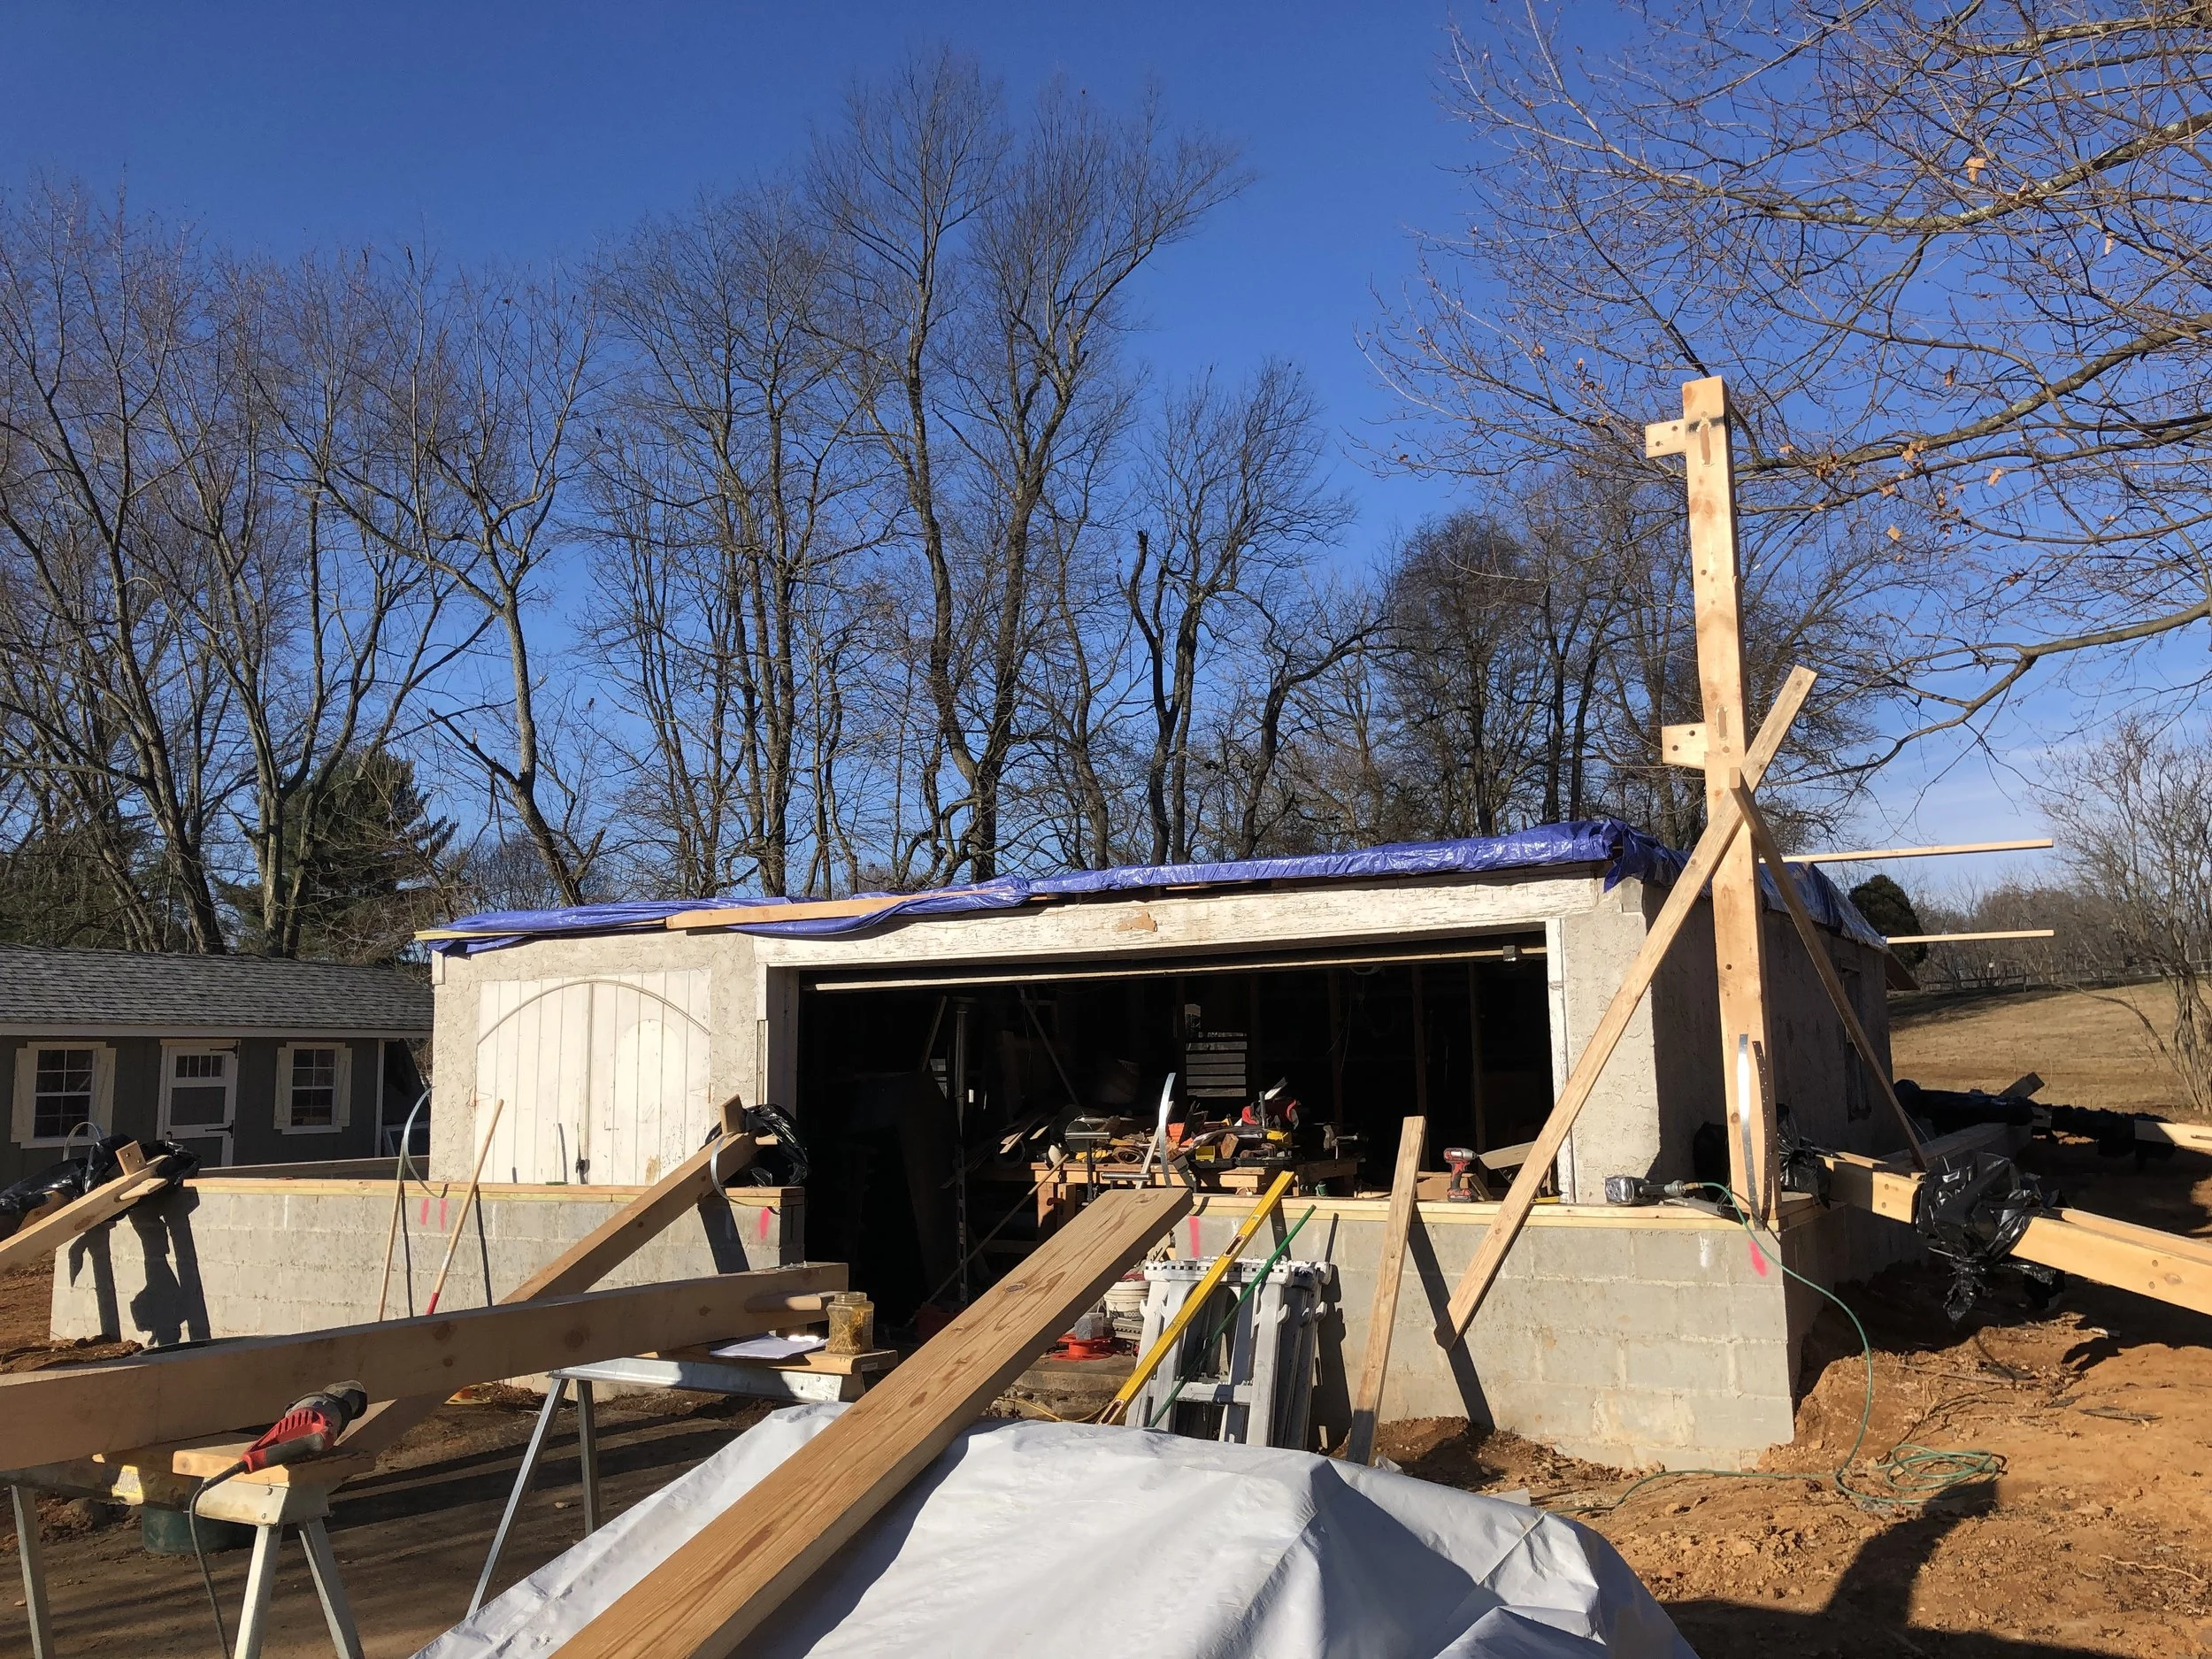
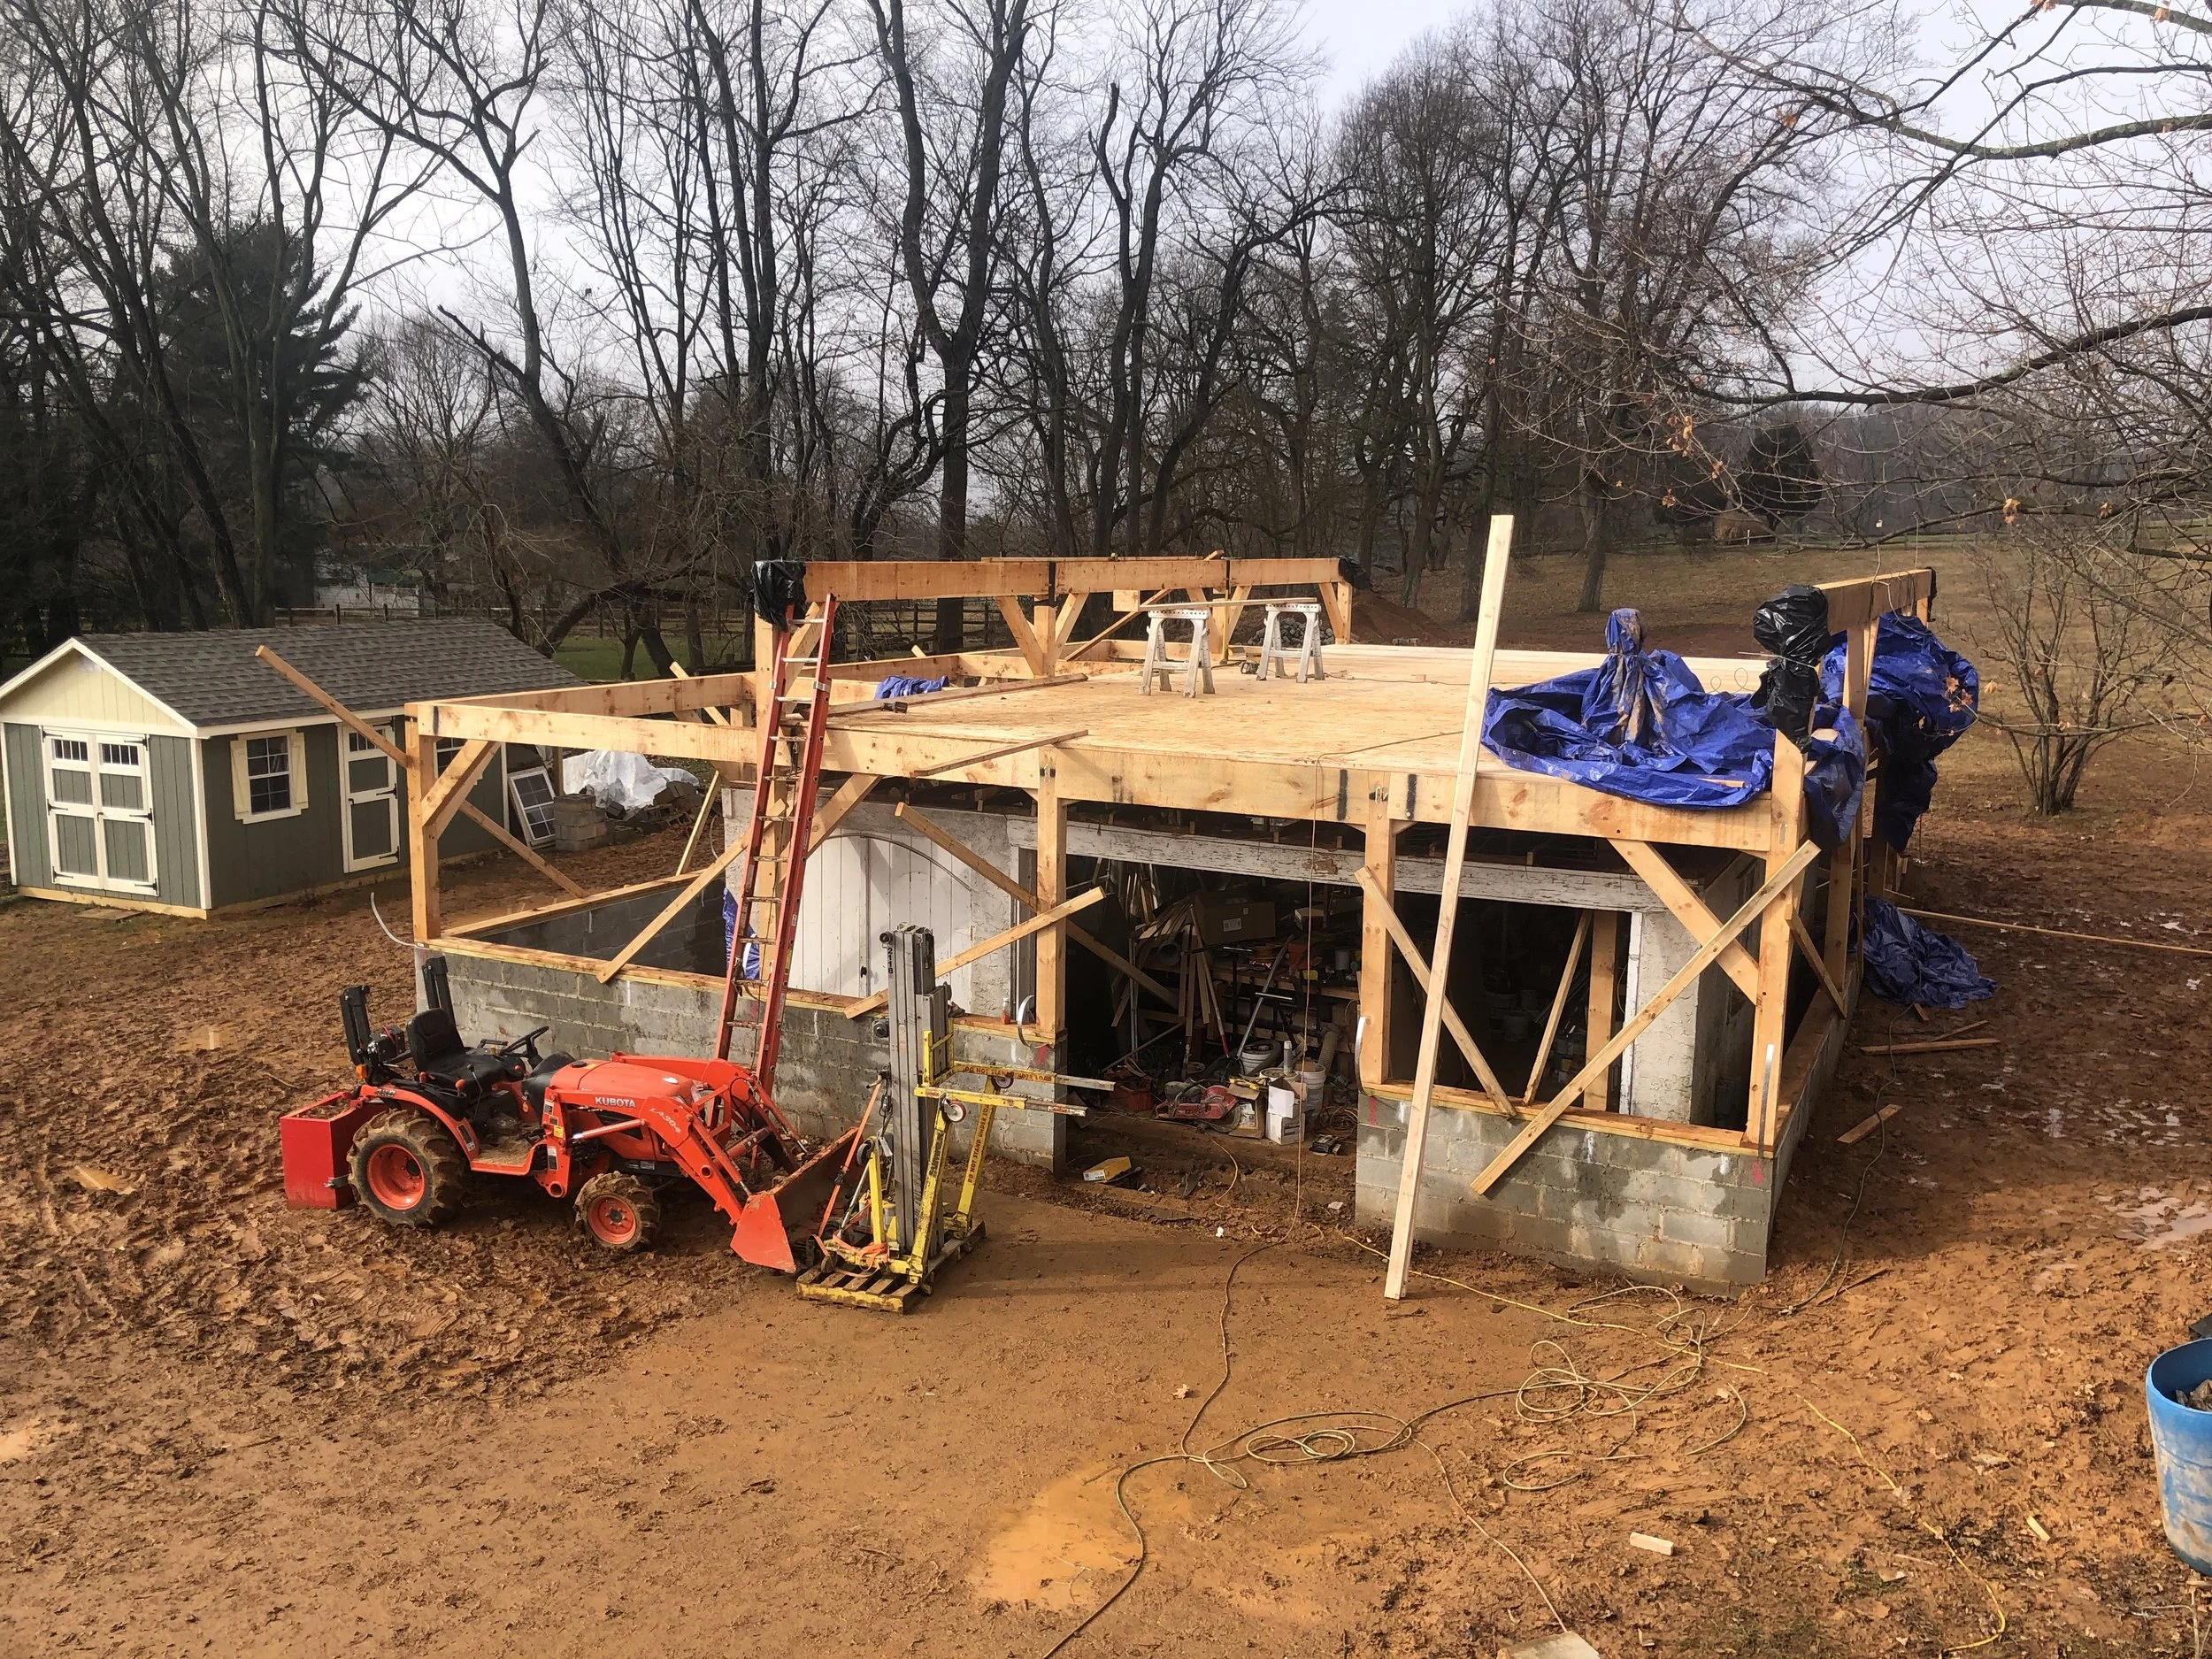
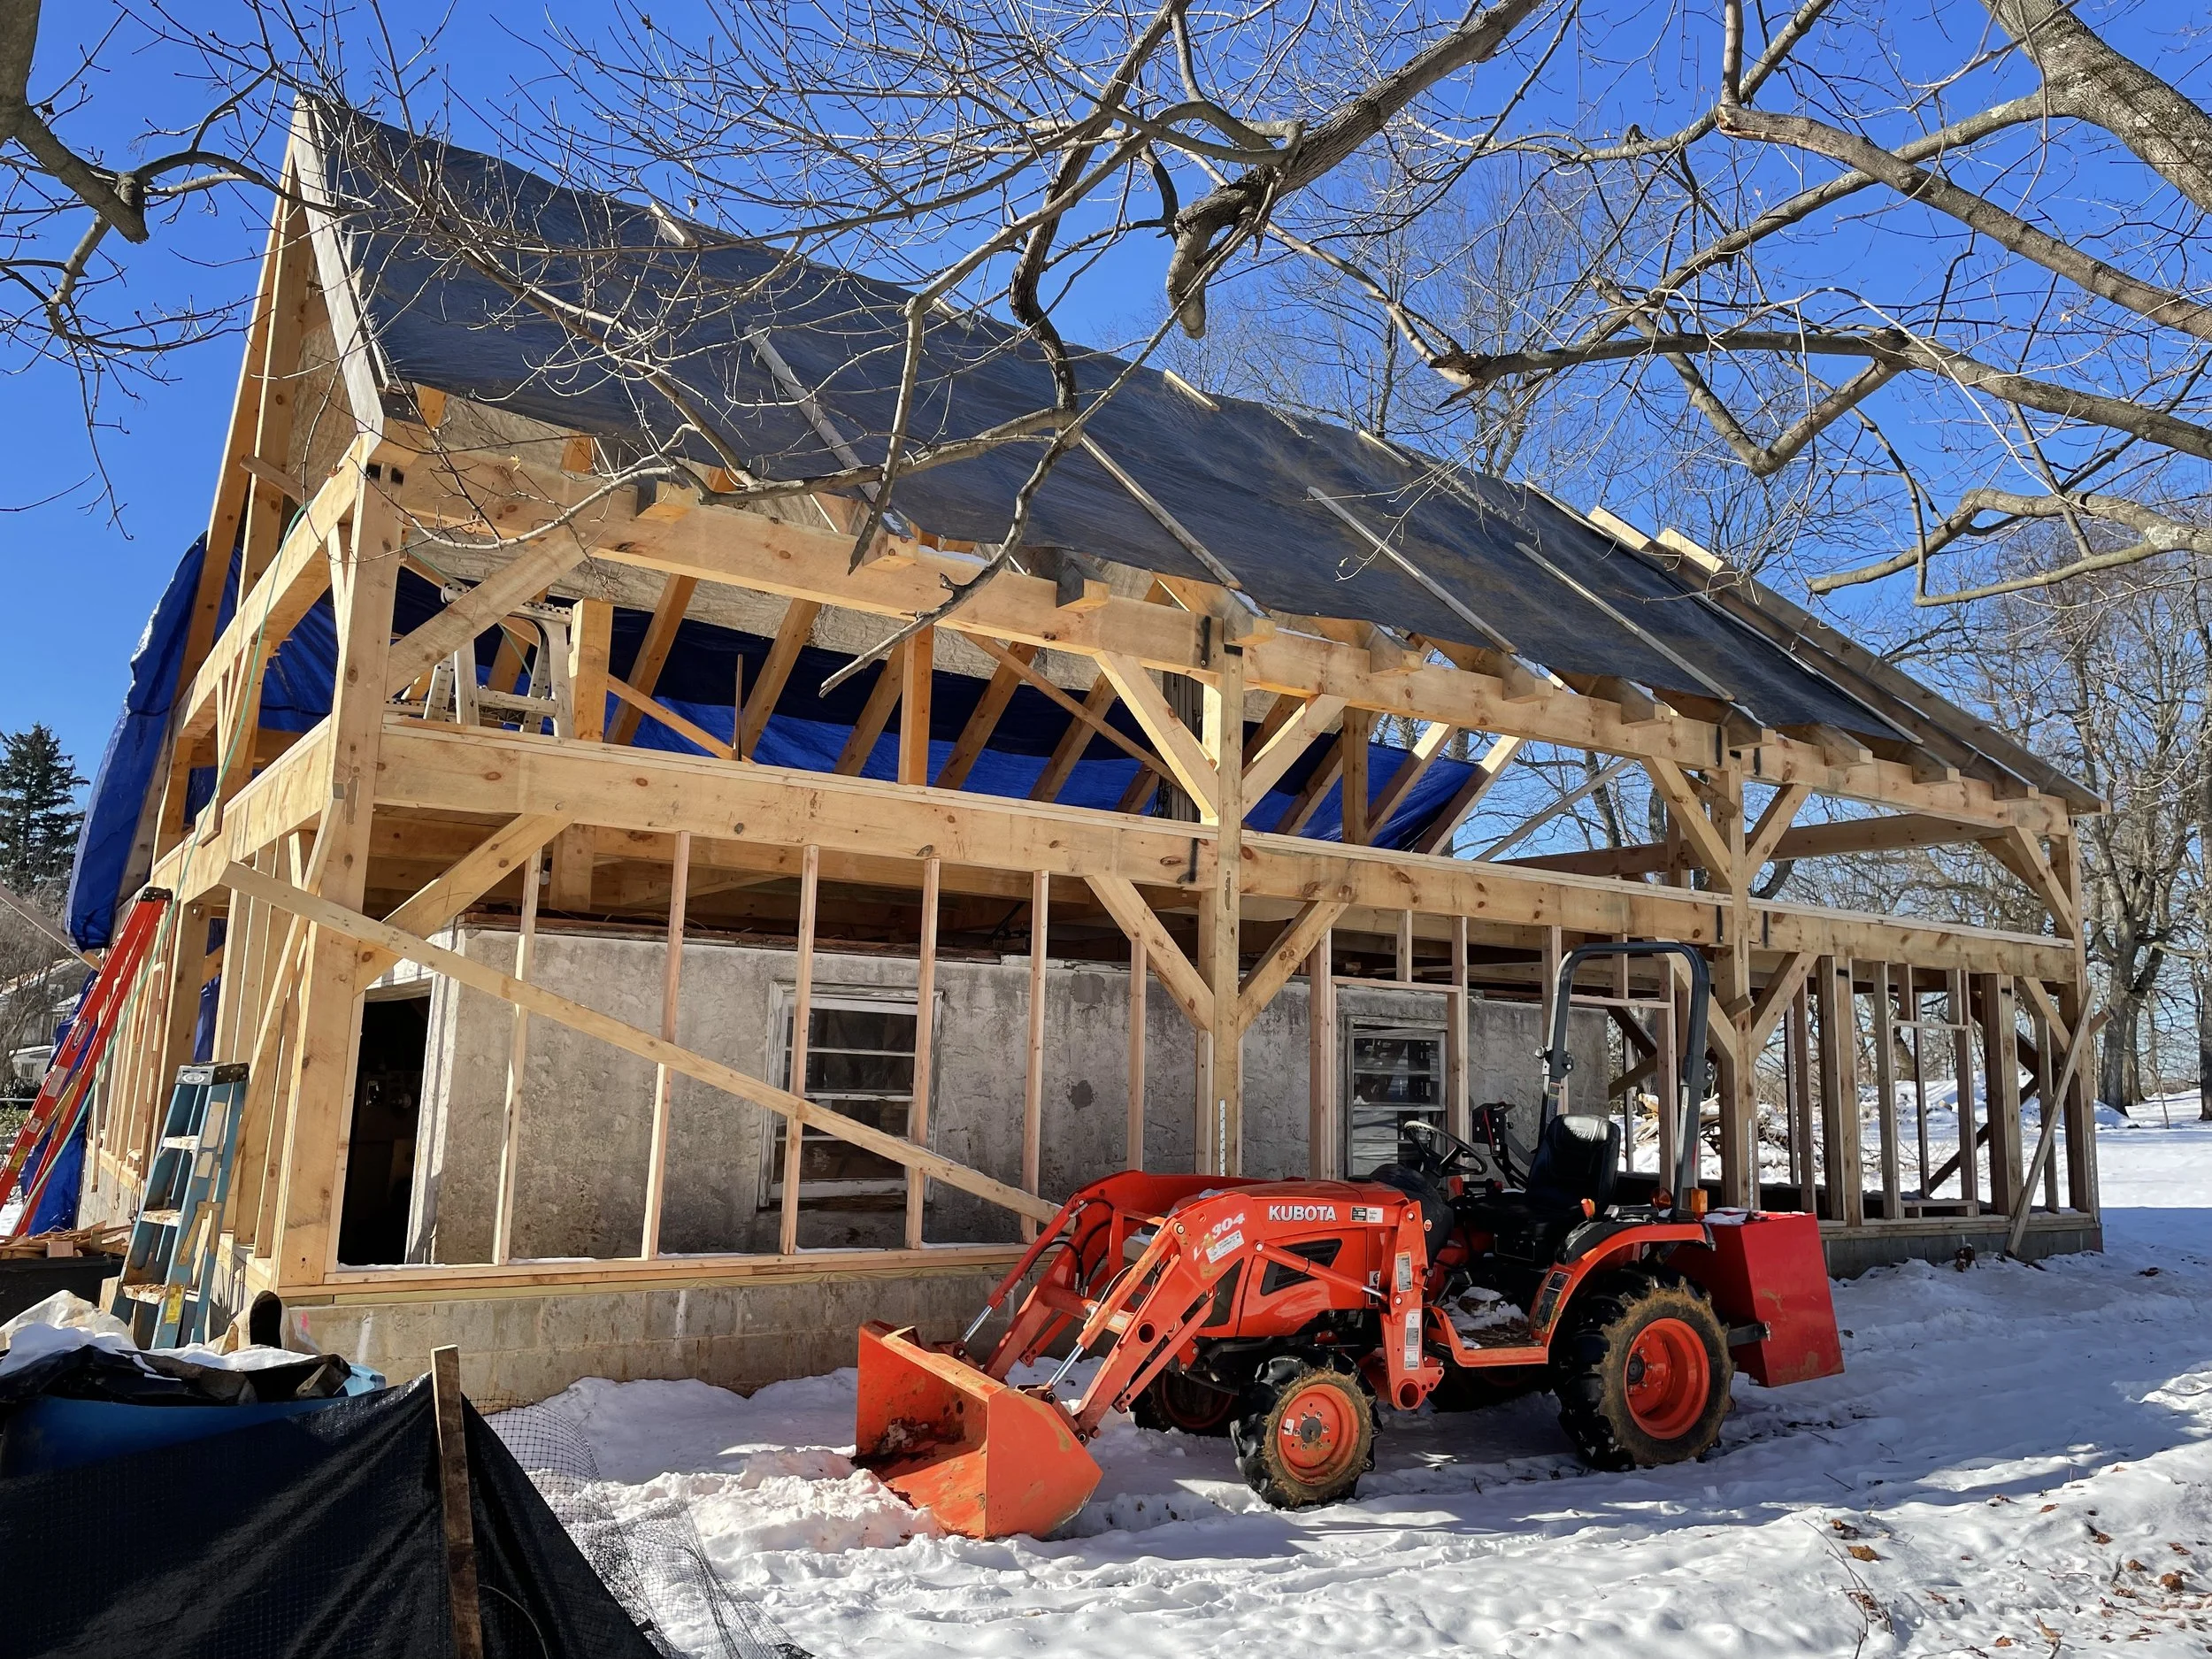
The timber frame kit was designed to go just above the walls of the original shop, so we removed the shop roof framing and tarped everything to keep everything dry inside.
First post going up. Because the new framing had to pass over the shop while still landing at the correct height so the interior stairs would lay out correctly, it was important to get this first post set to the exact height required.
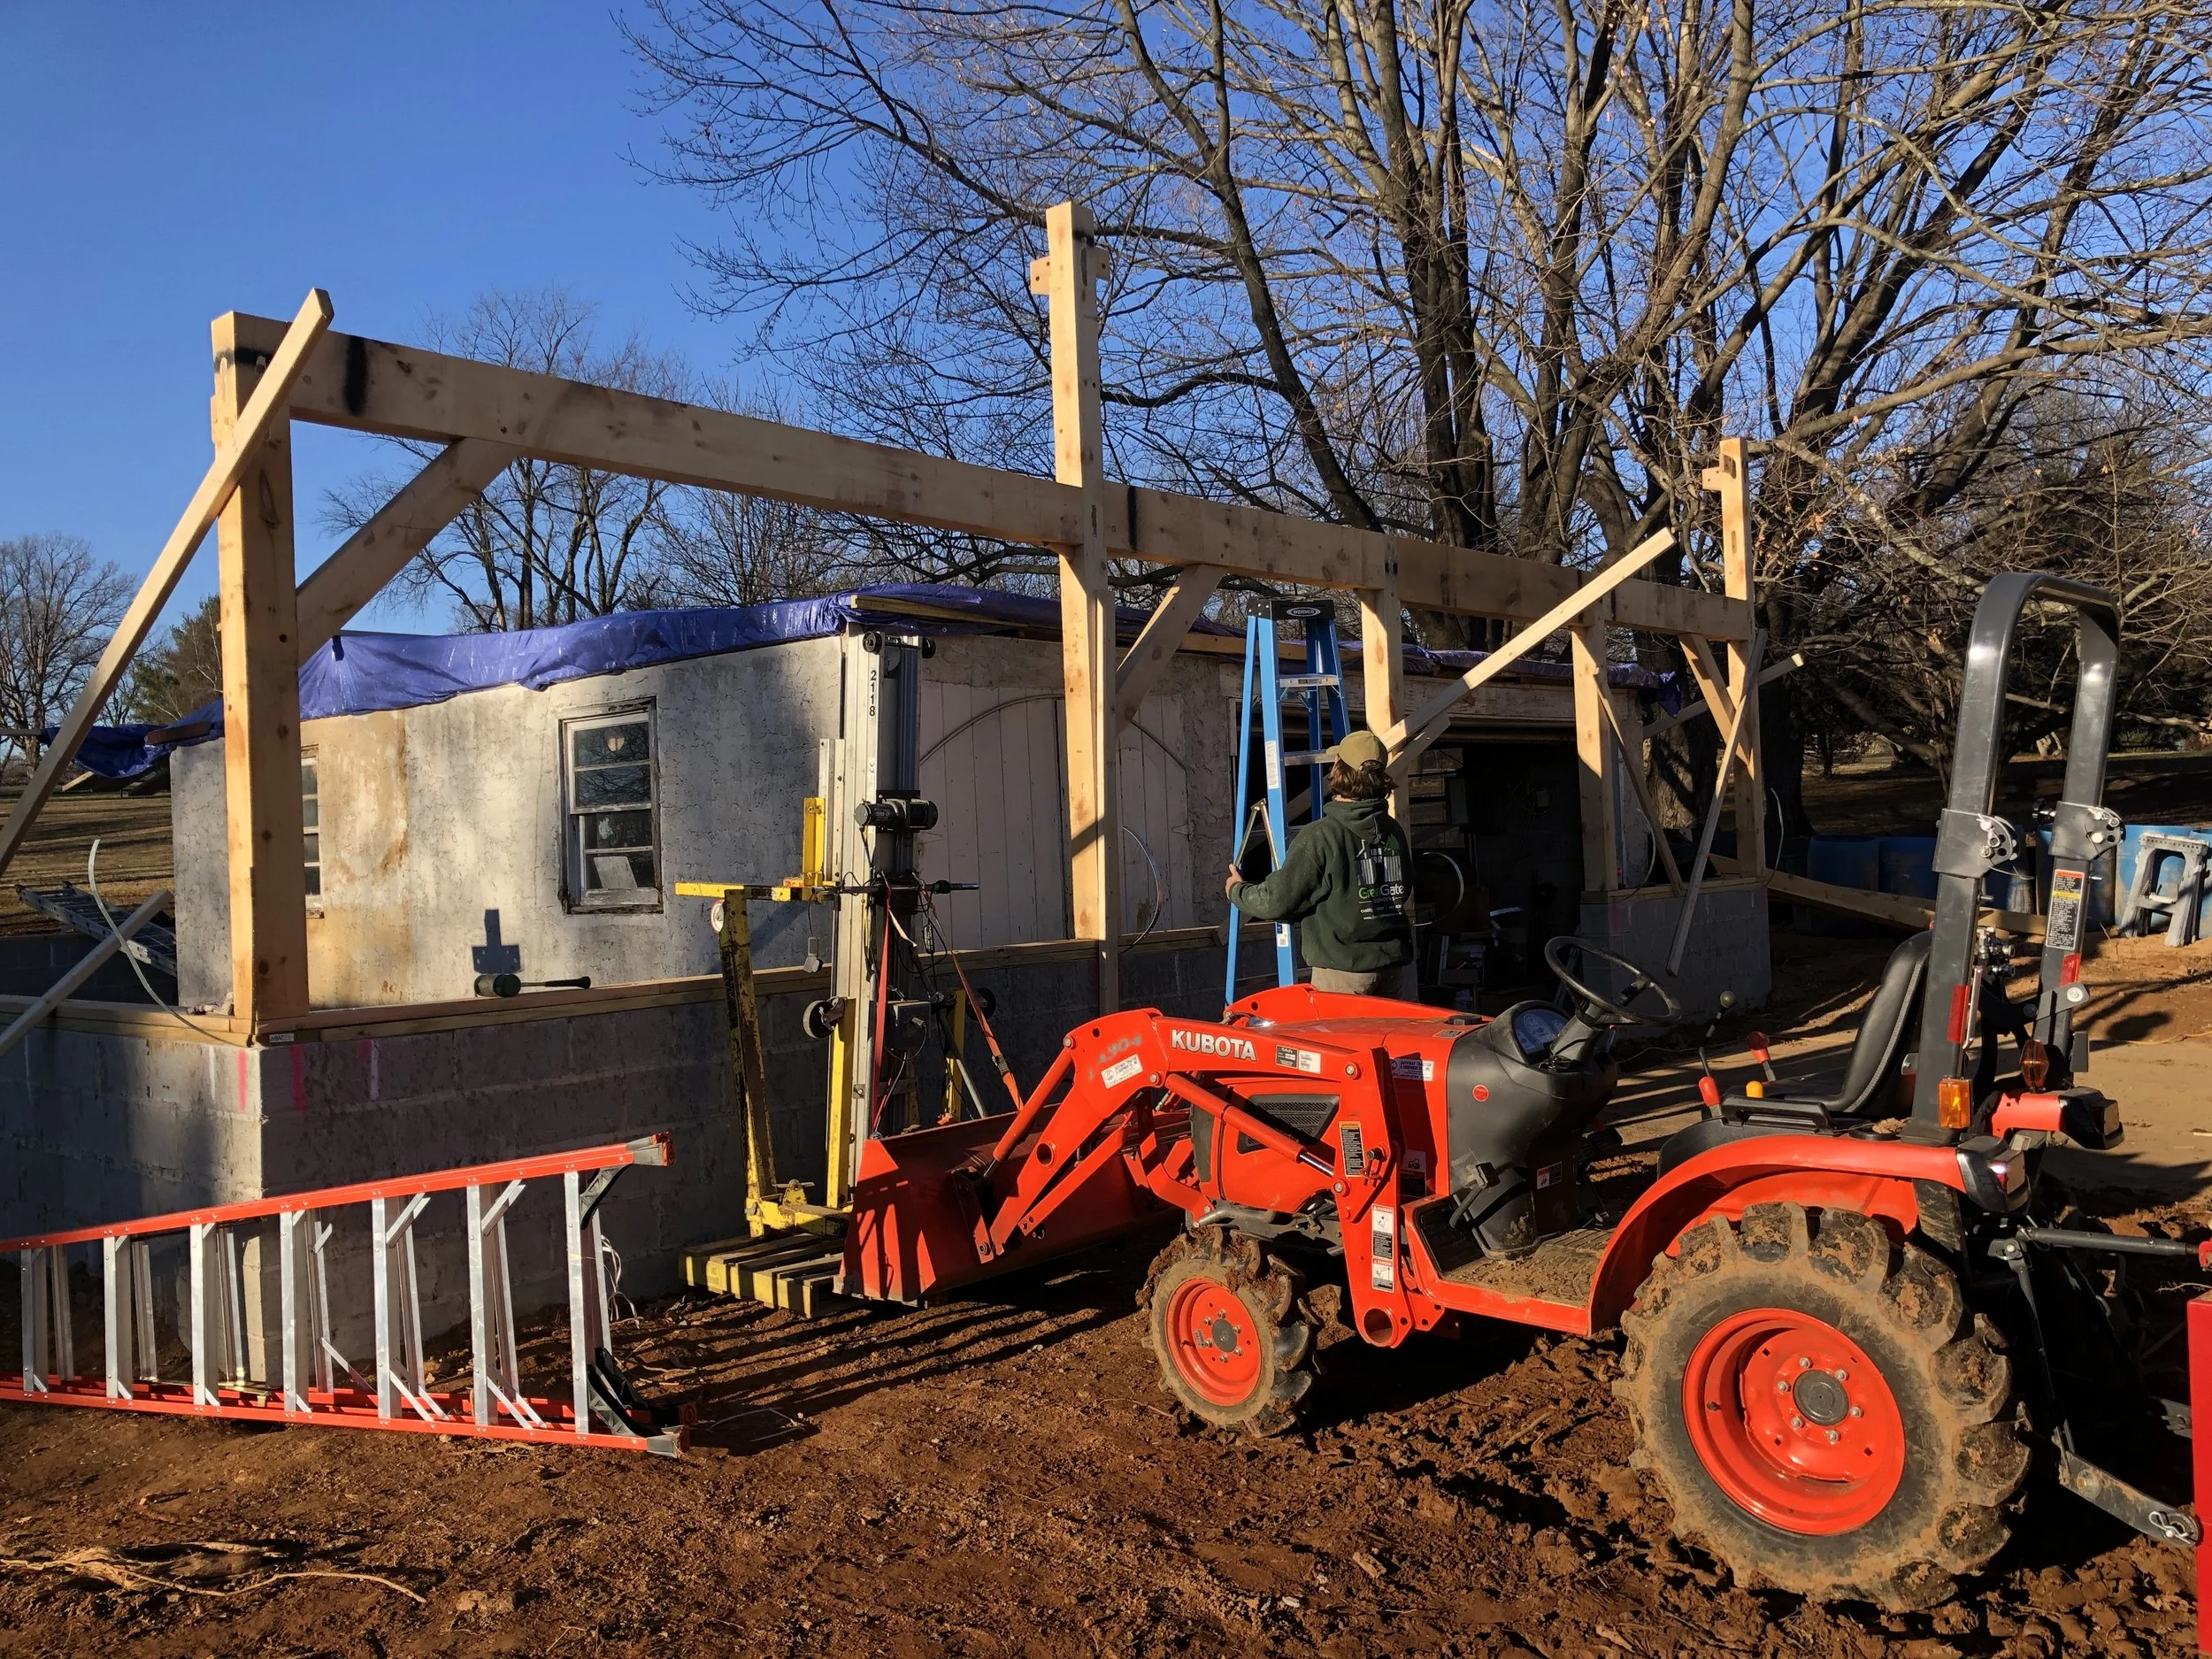
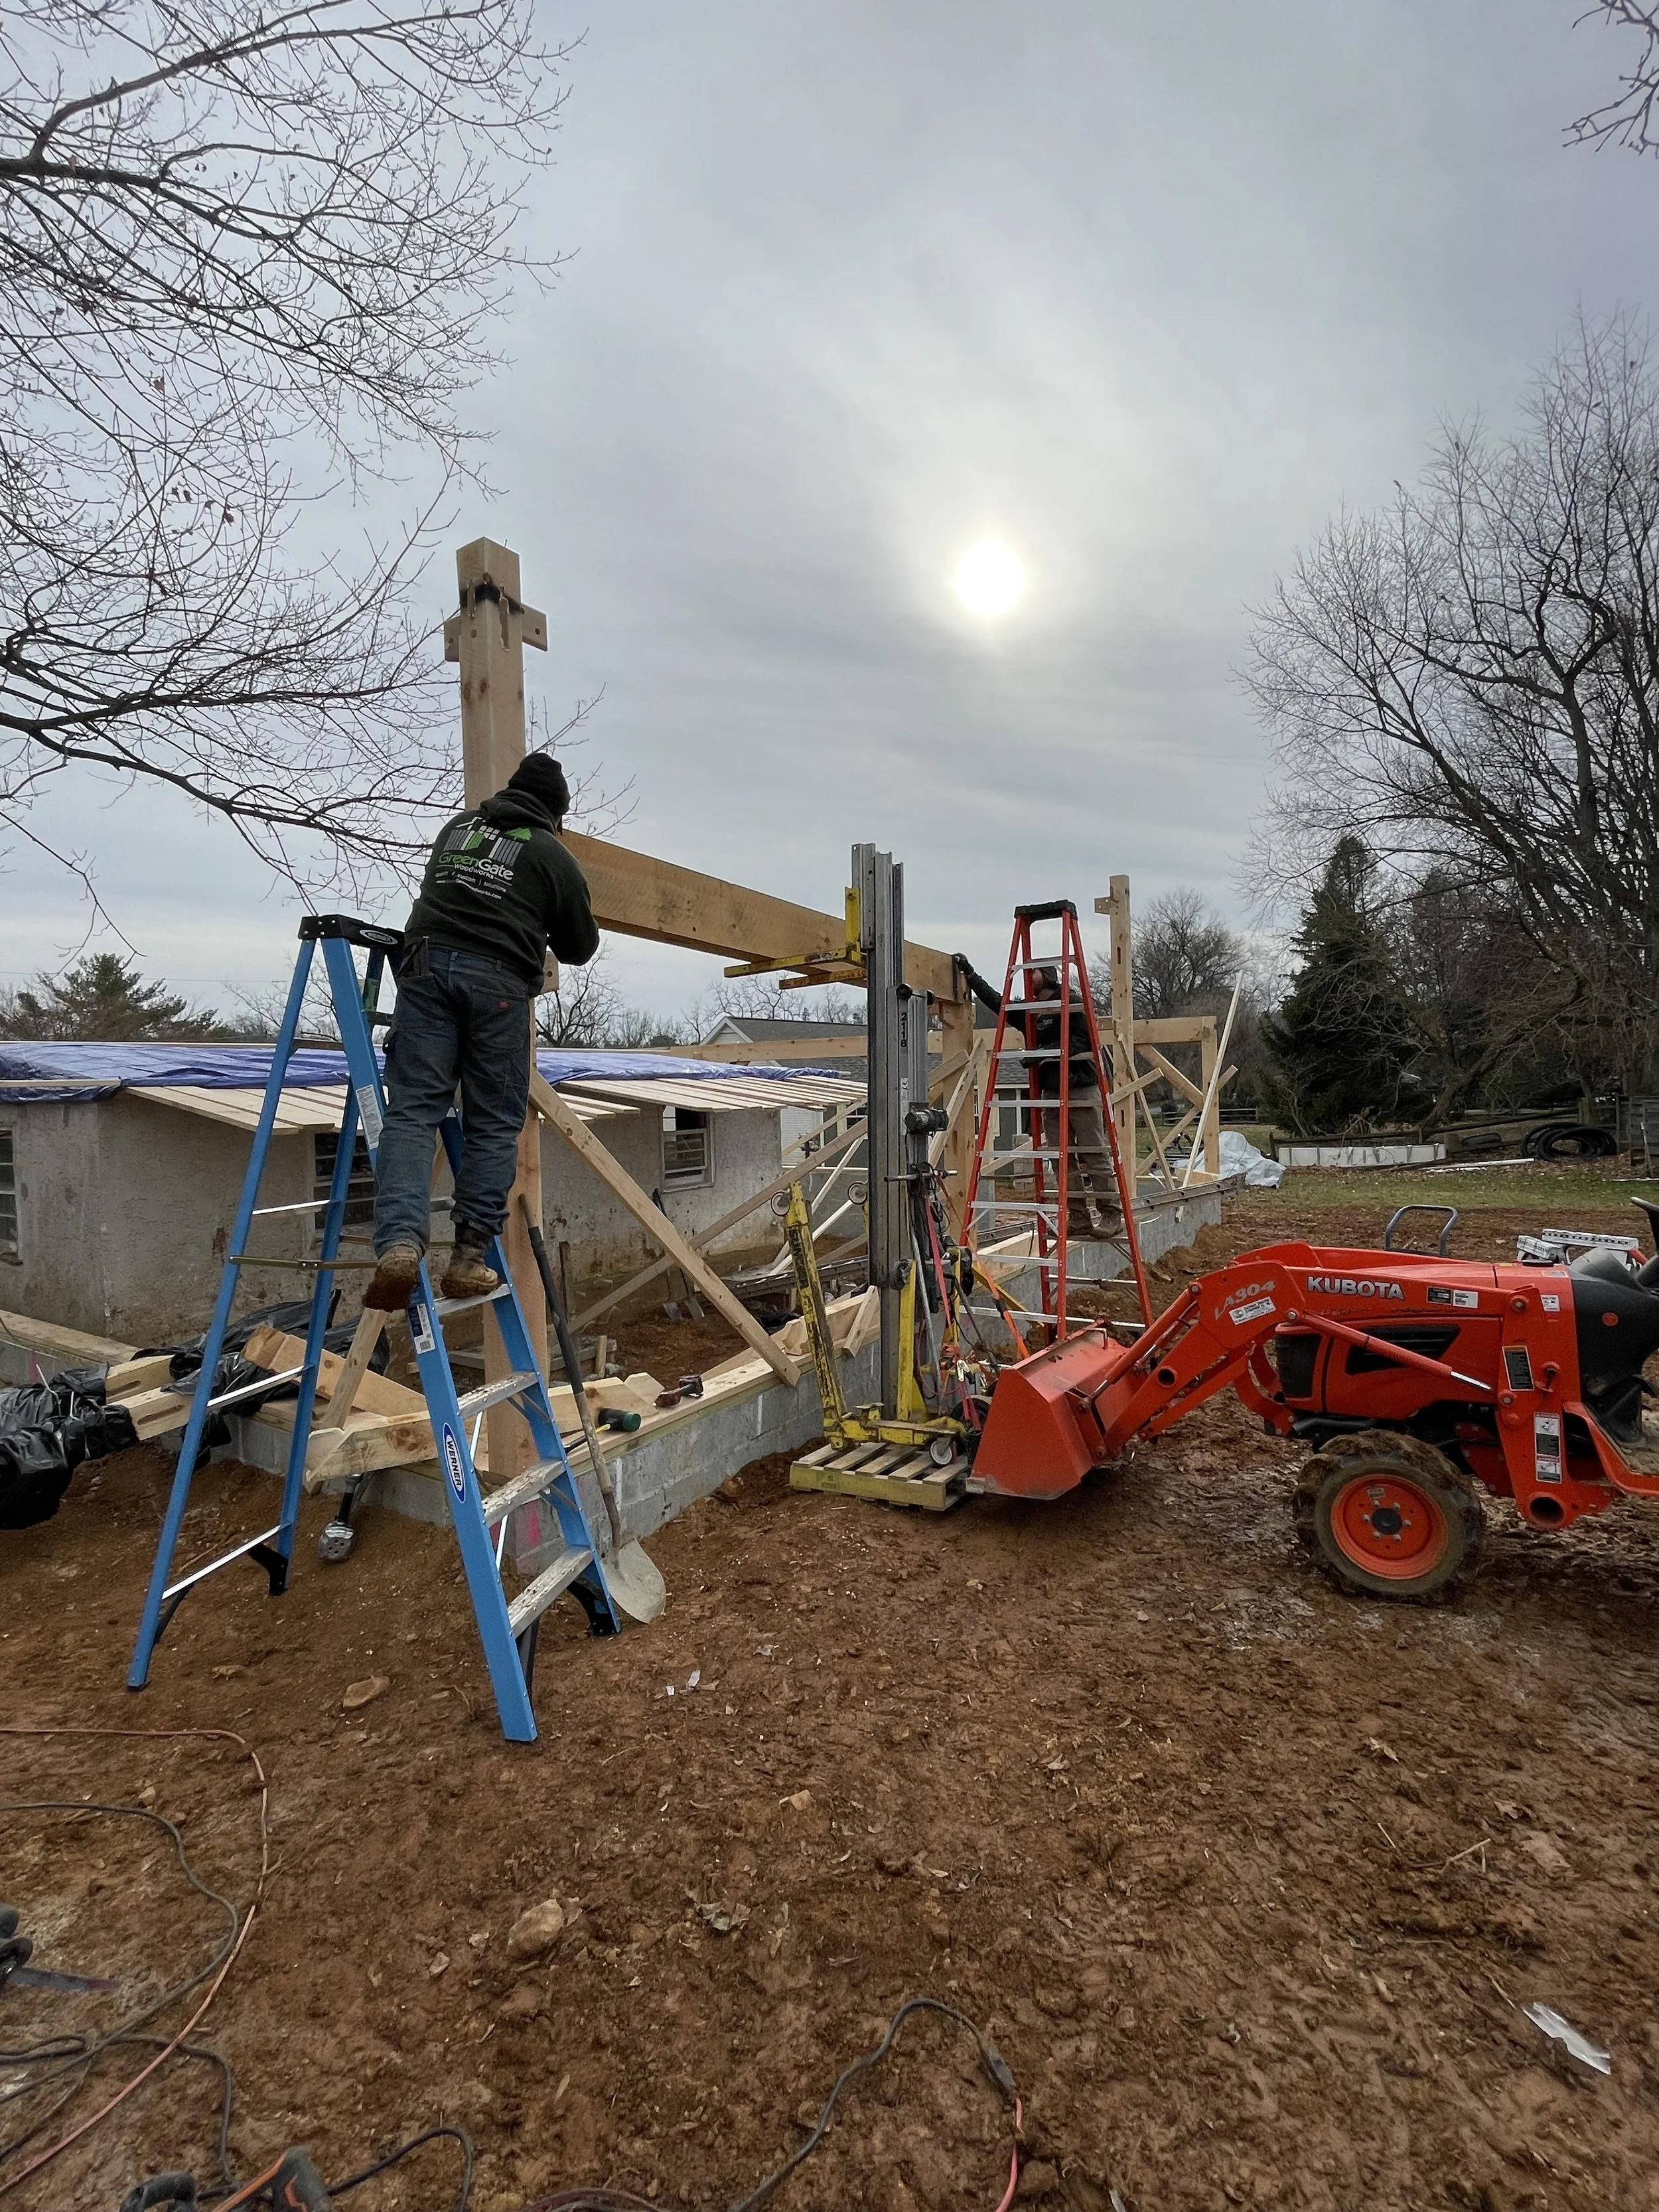
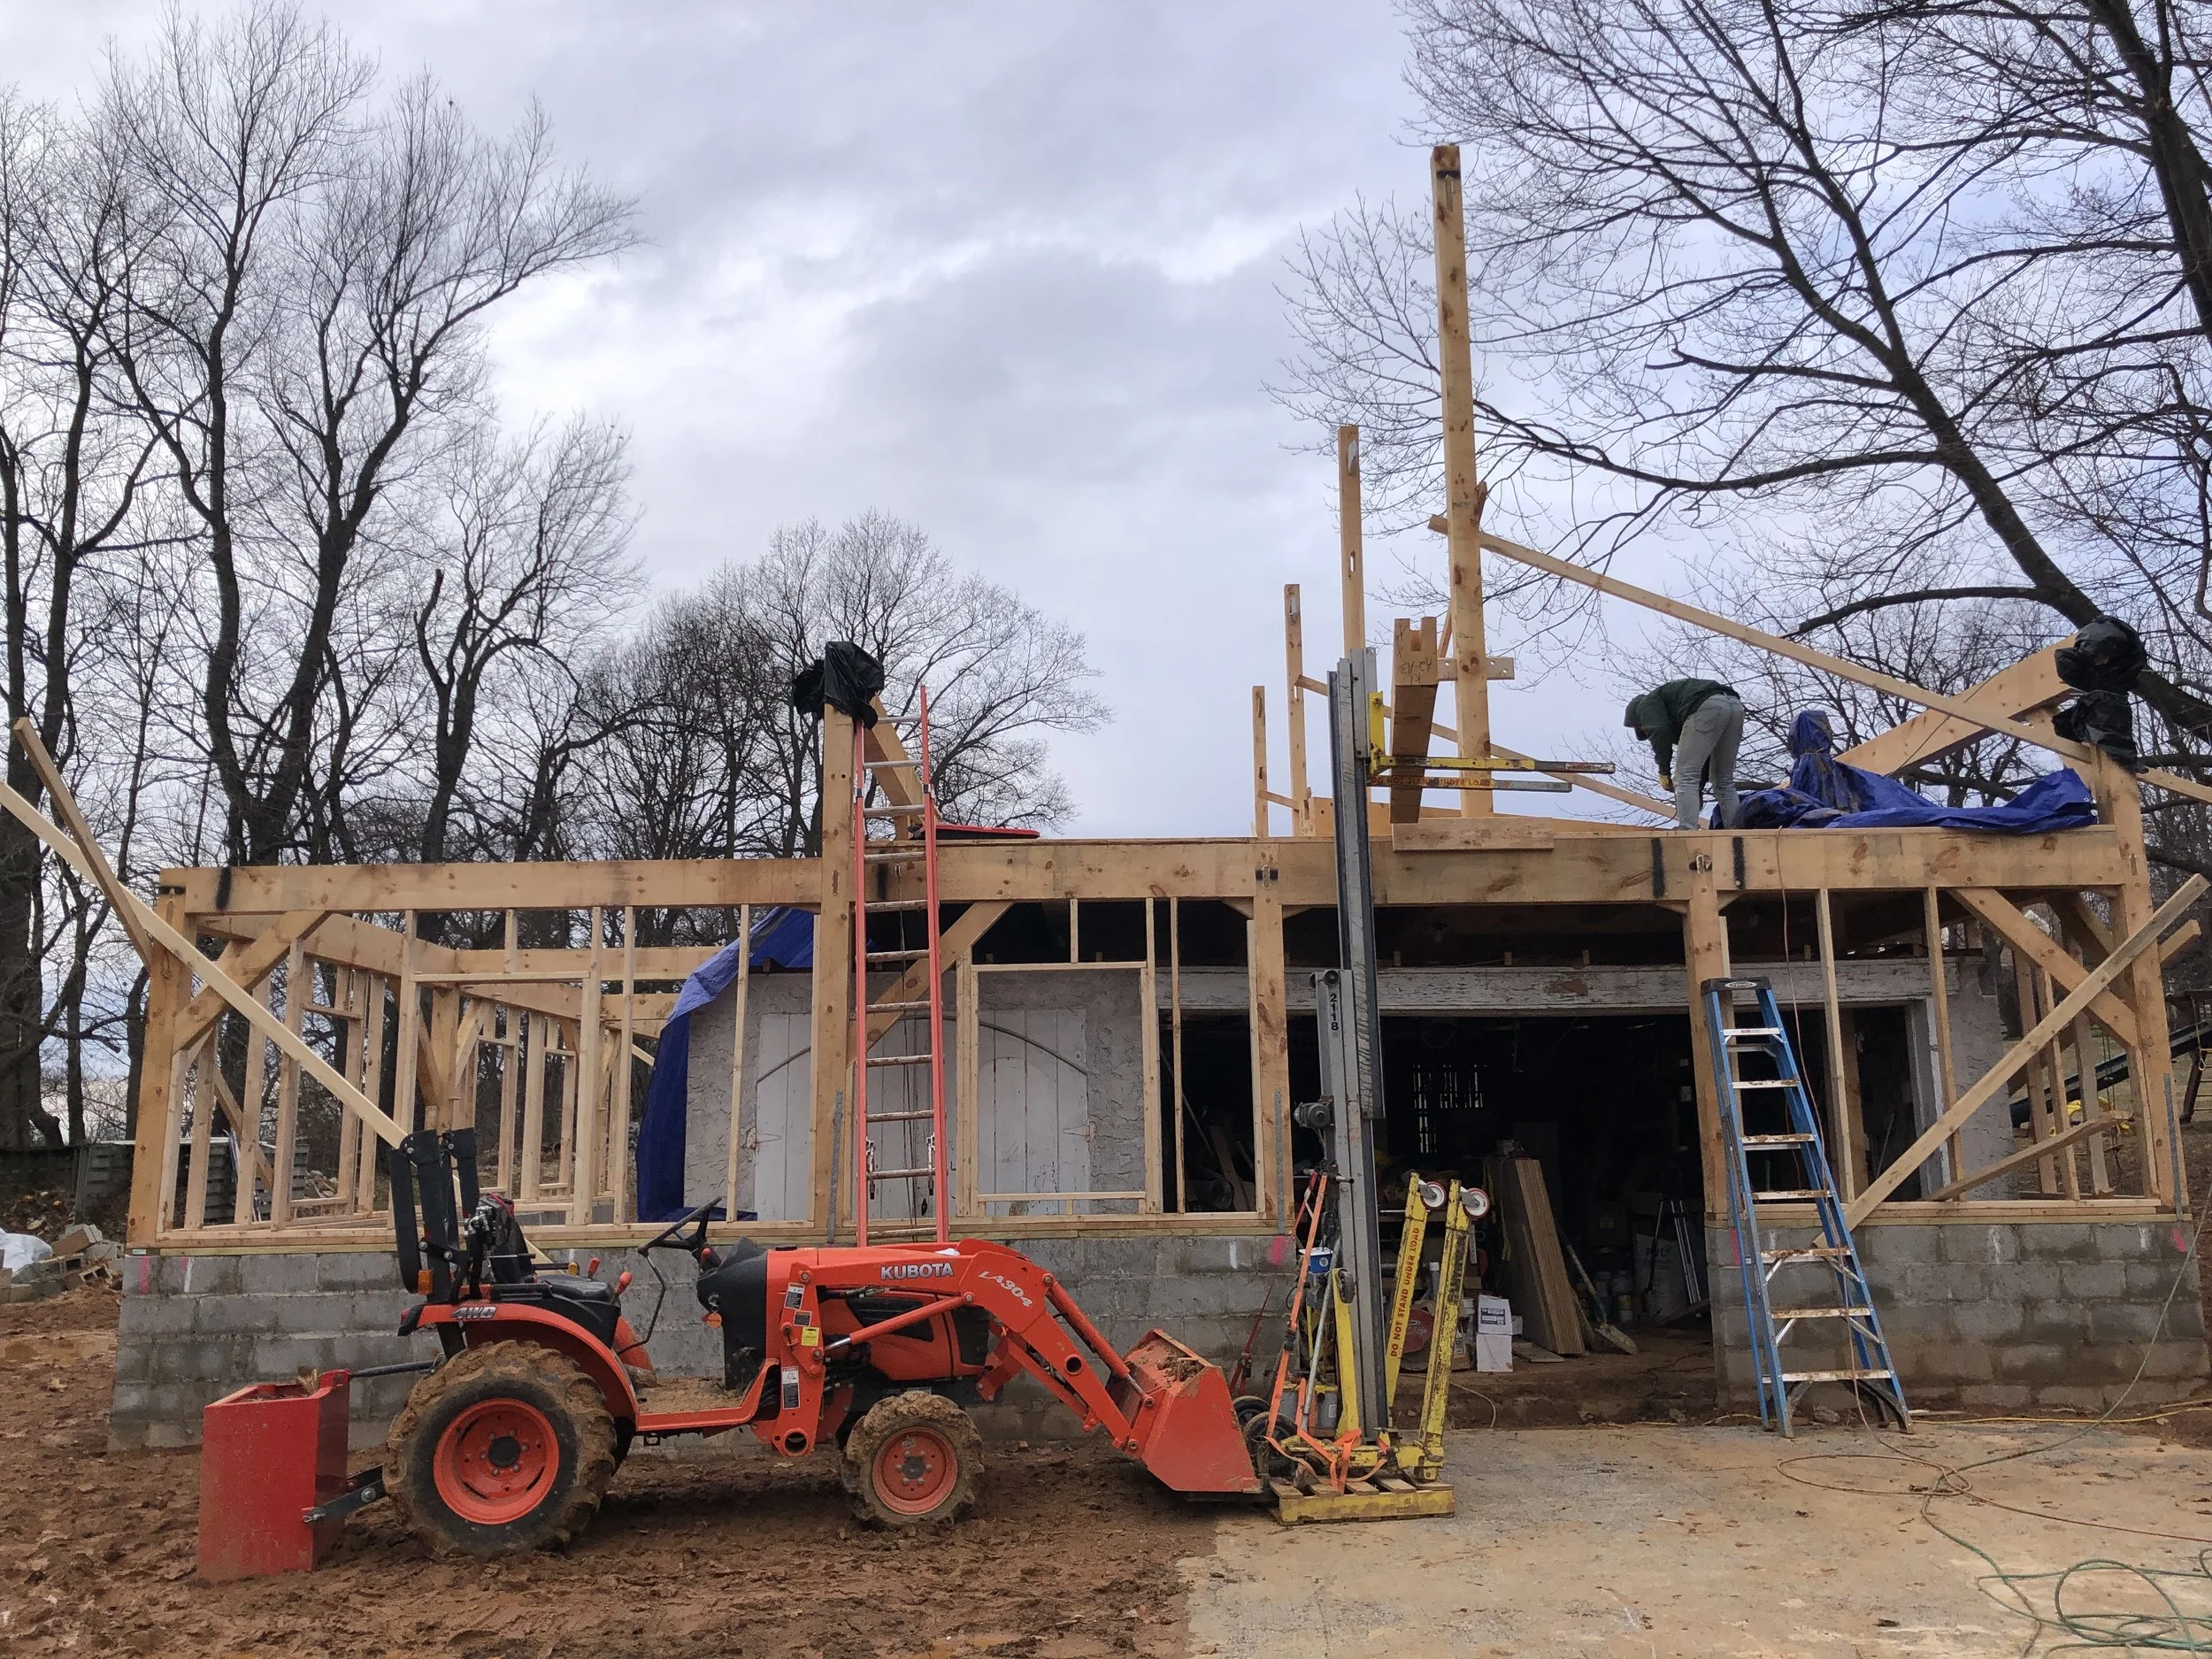
Once we had our heights established, it was quick work framing the front wall. The timber frame kit is cut to exacting standards and went together perfectly. Since it was just myself and my helper Tom on this project, I set up my Genie, or material lift, on a pallet that was then strapped to the tractor. This material lift has an electric winch on it which made raising and setting the large framing members much easier than doing it by hand.
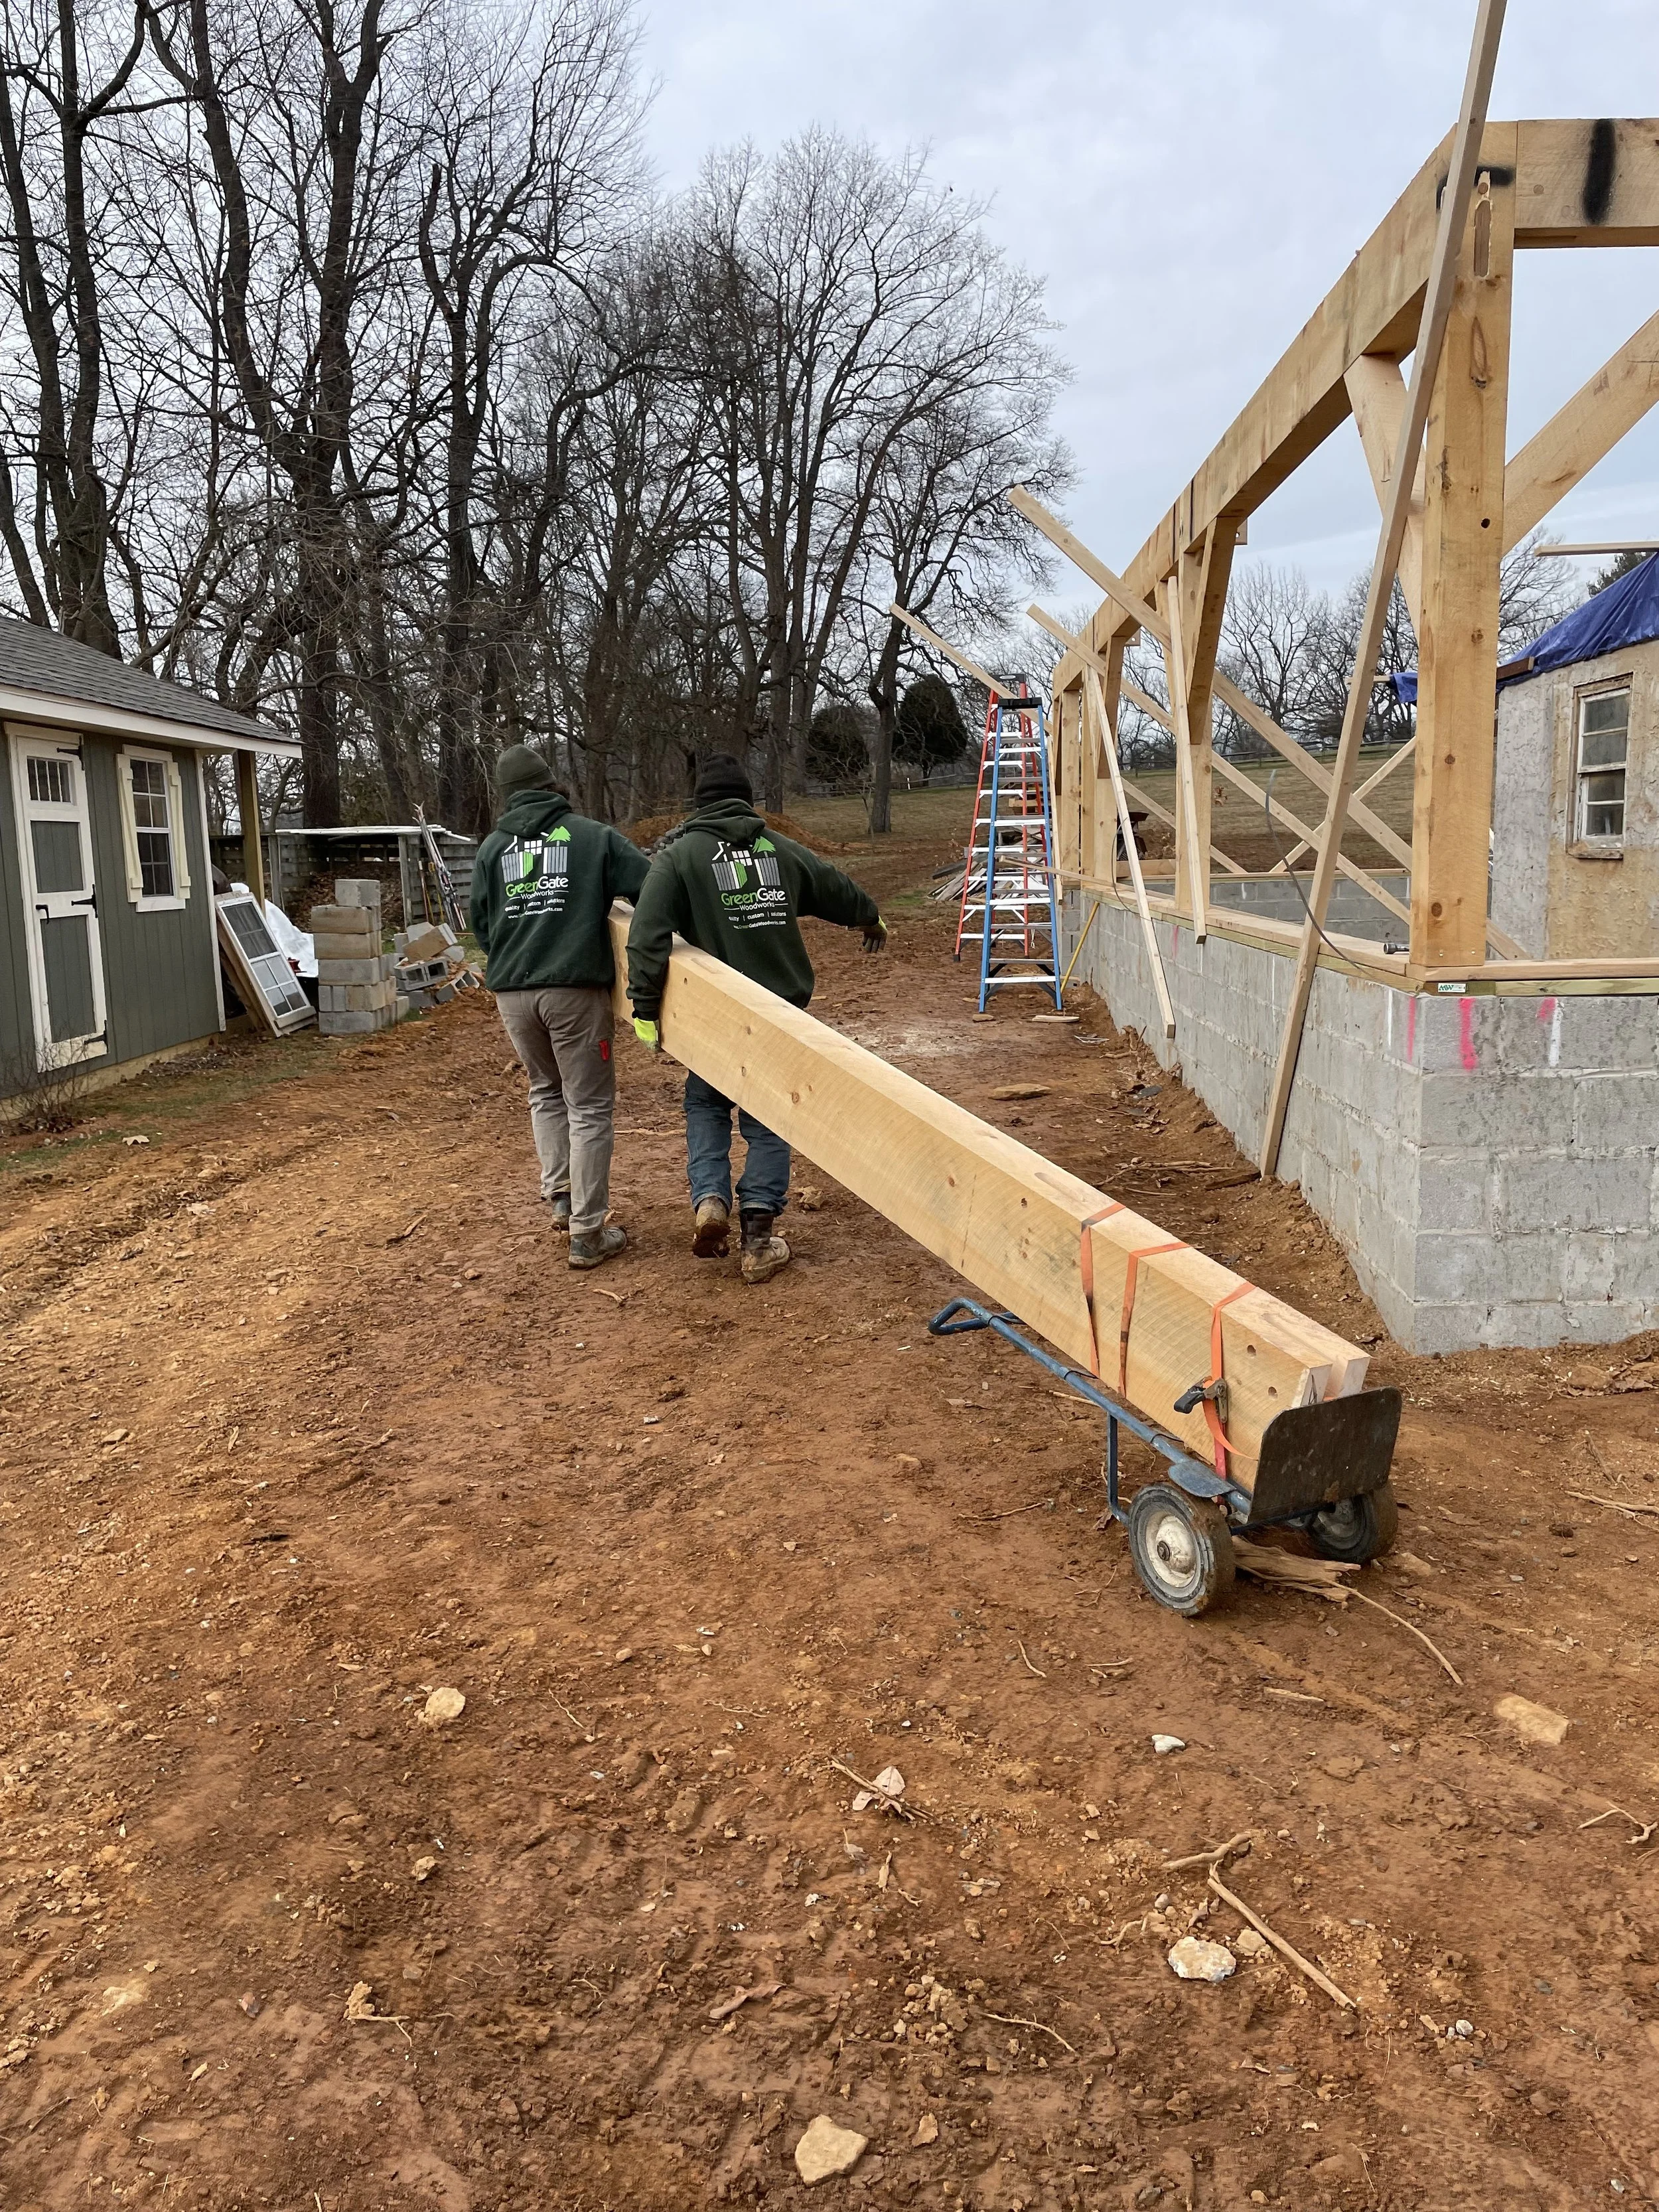
However, since the tractor was tied up with the material lift, we had to muscle the framing pieces to wherever the tractor was. Not fun on a cold somewhat muddy job site, but there was no room in the budget for a second tractor.
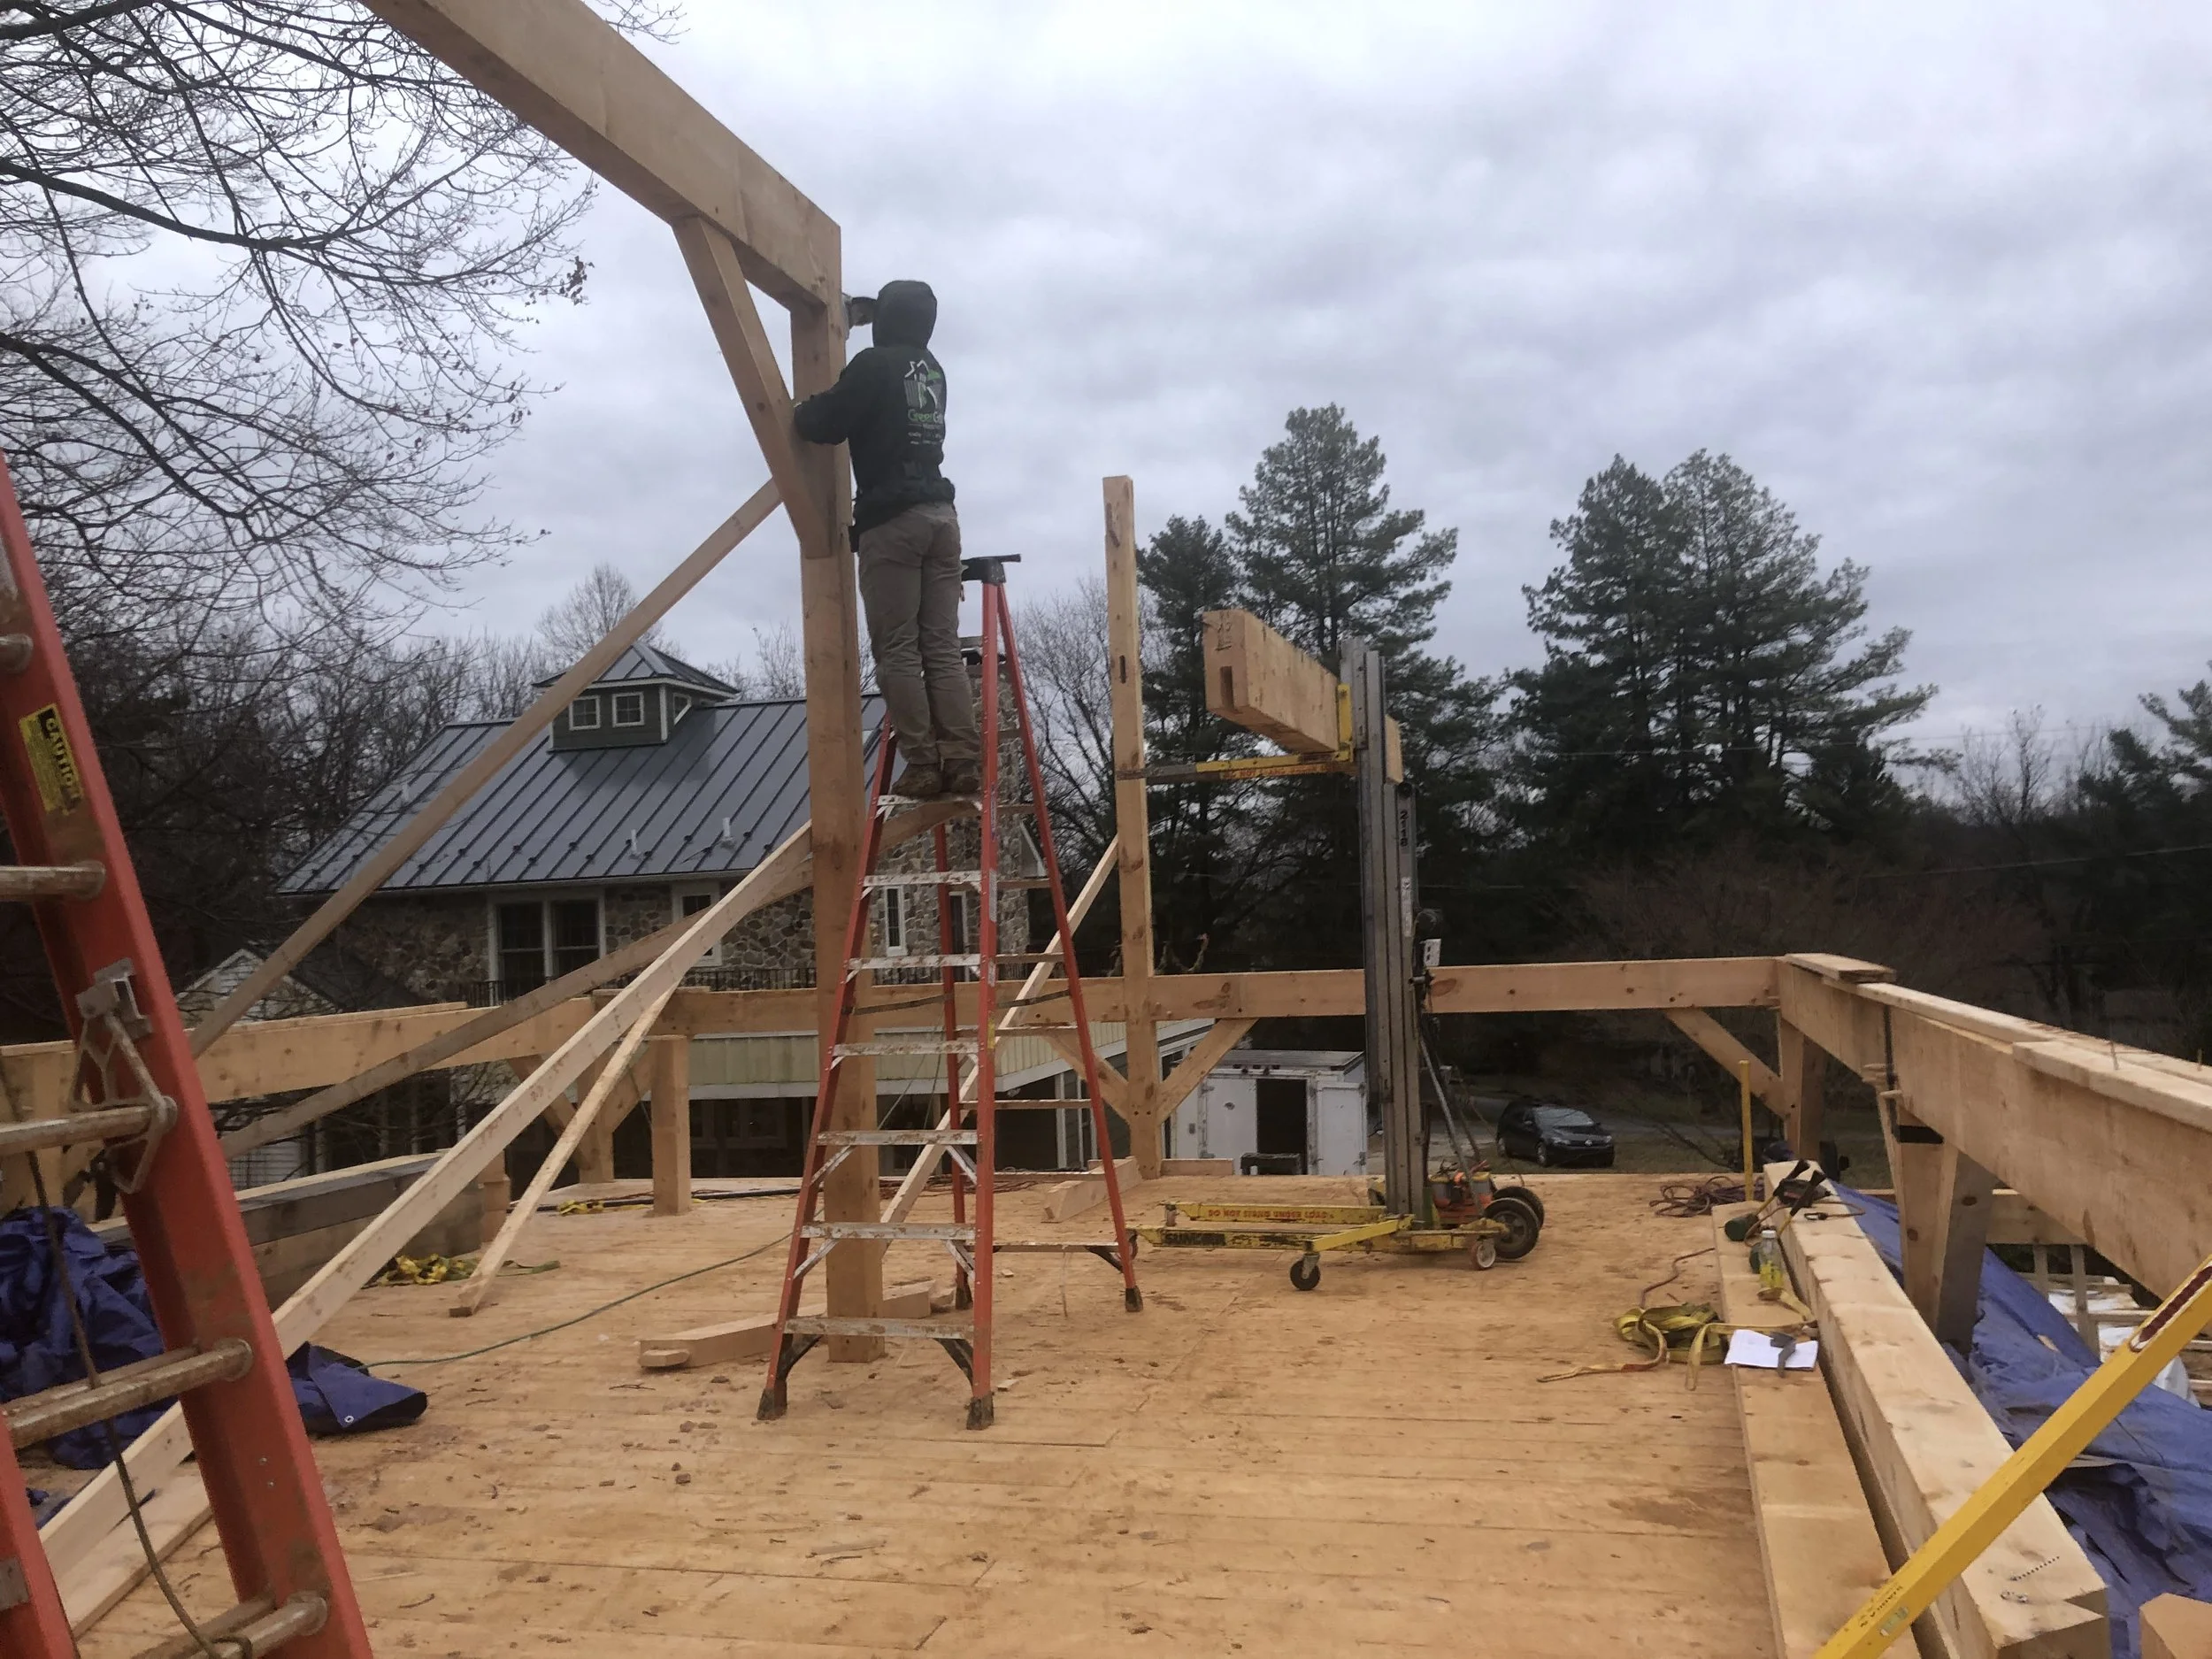
Setting the rear walls. I installed a remote control on the winch on the material lift so I could operate it from up on the ladder while we shimmied the beams into place.
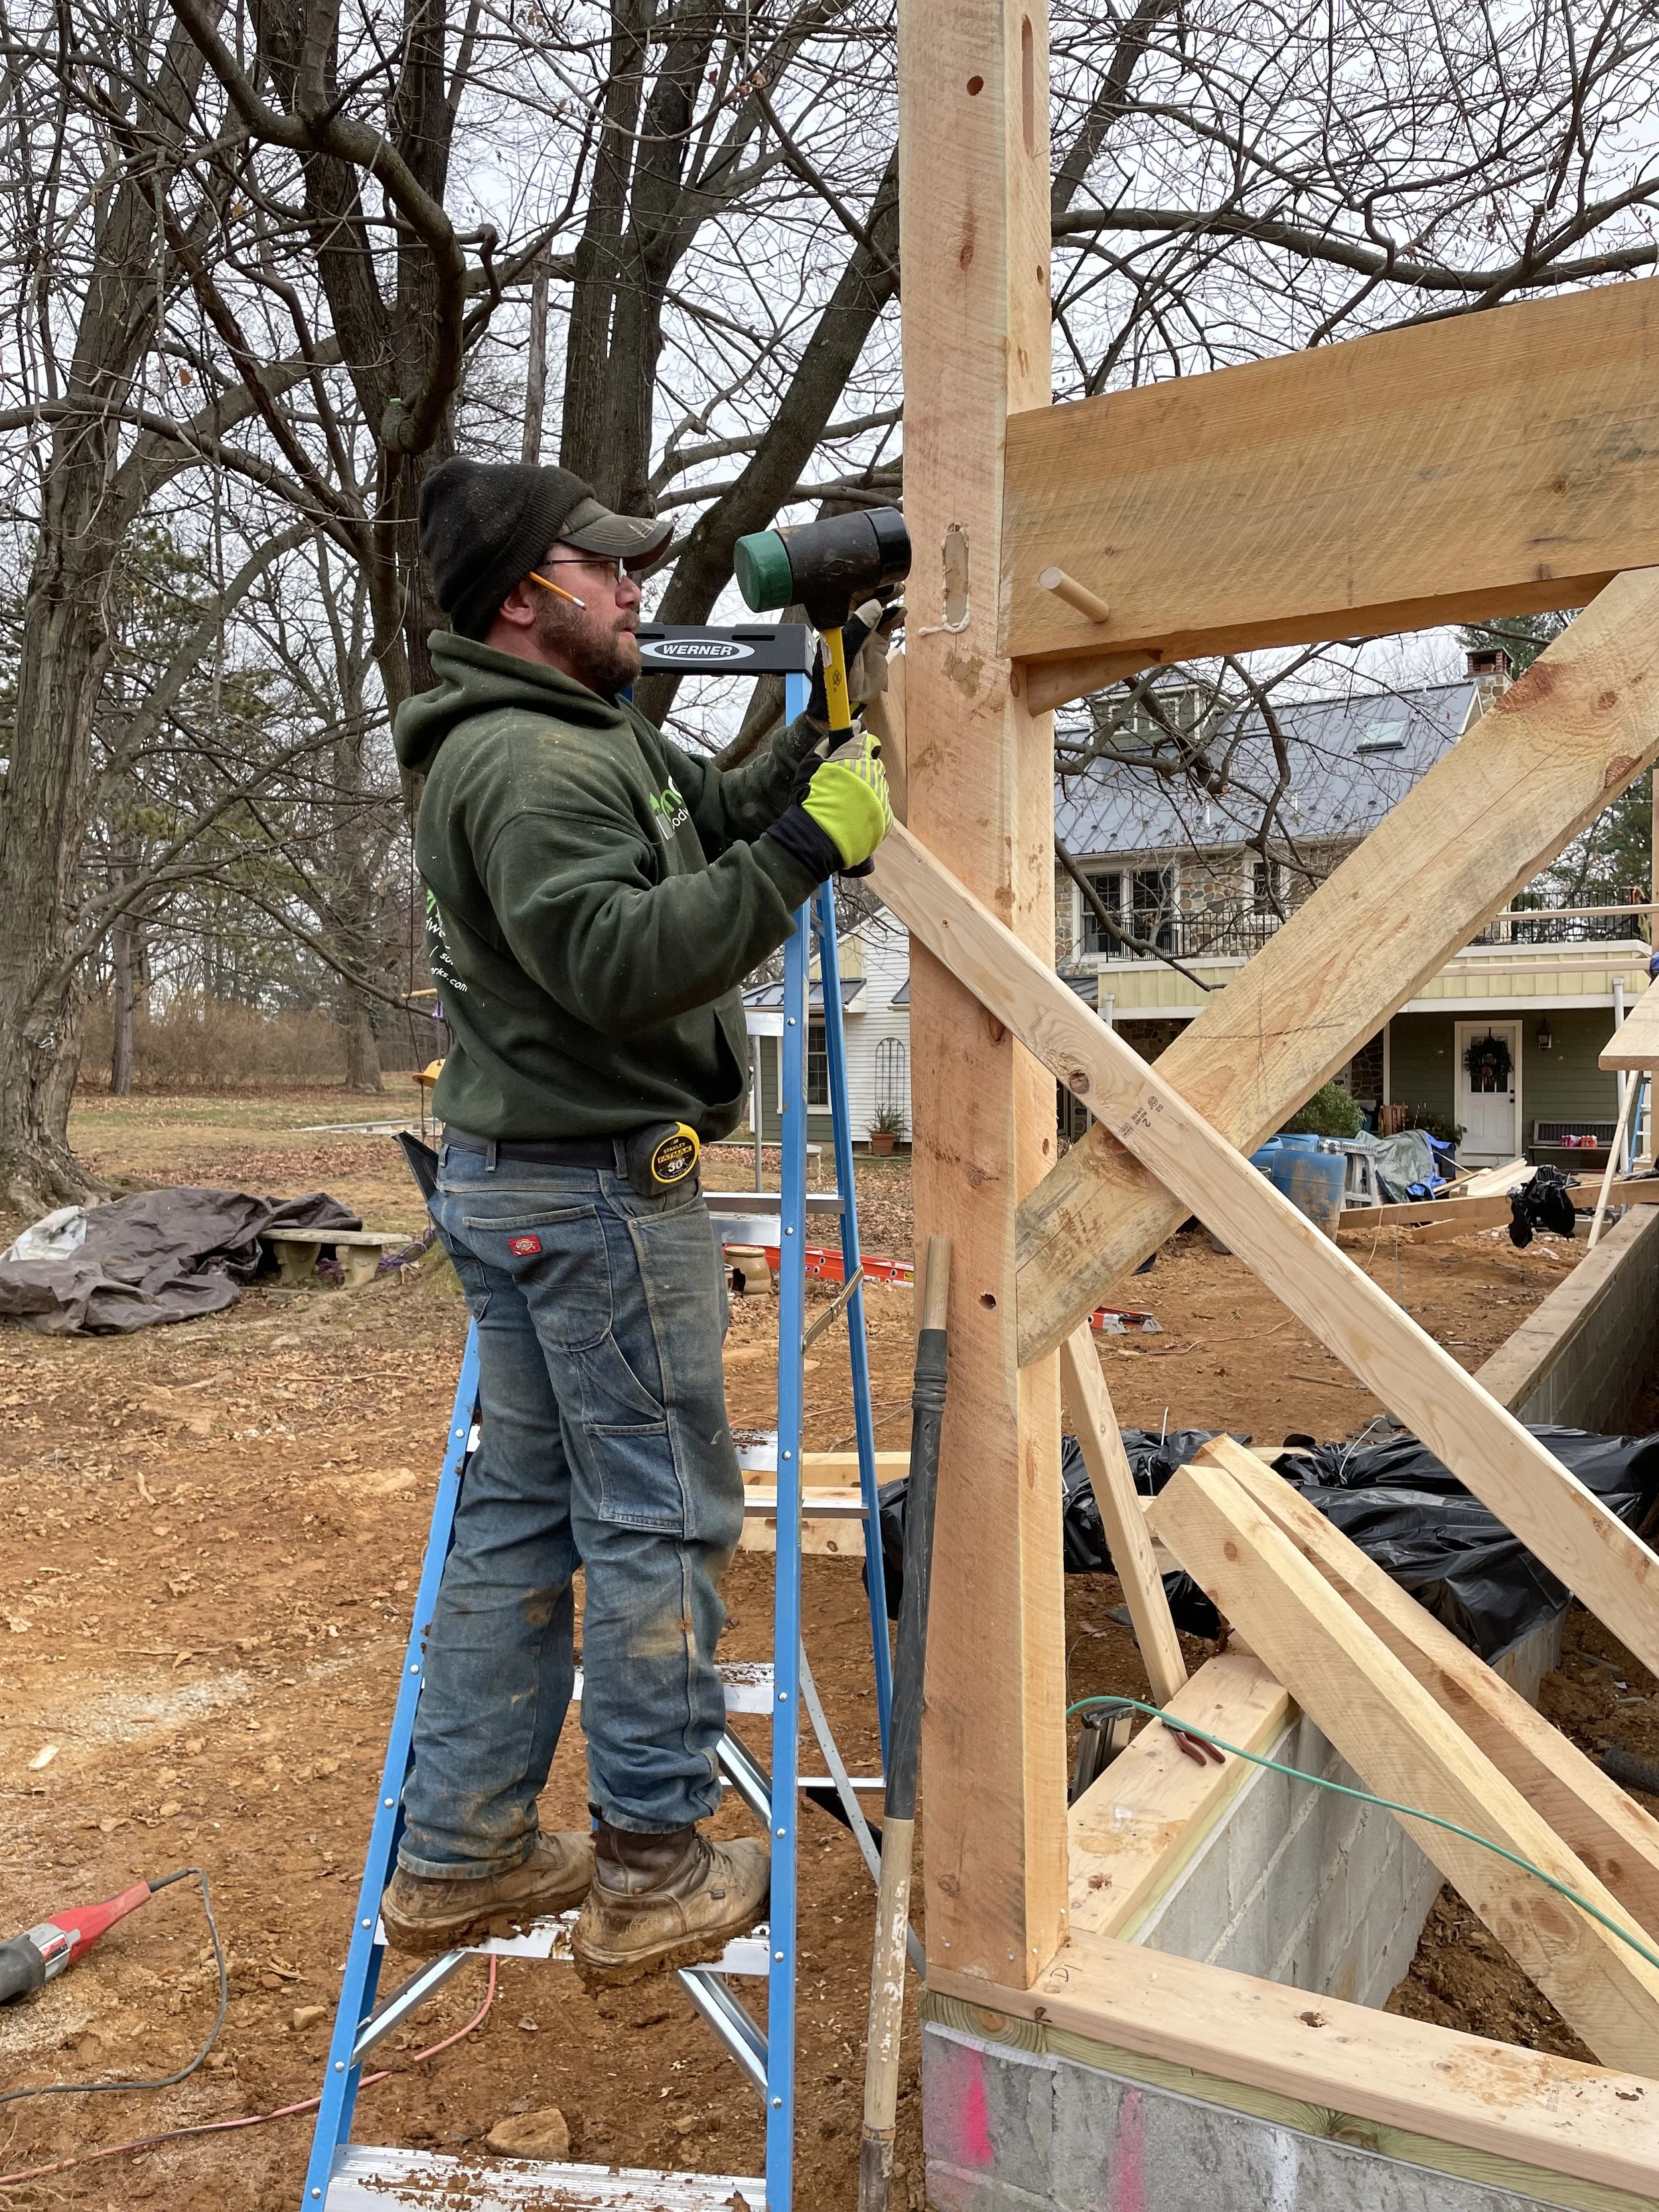
The entire timber frame kit goes together with minimal hardware, mostly its old school draw bore joints where a peg is hammered through slightly offset holes in the framing pieces to draw everything together tightly.
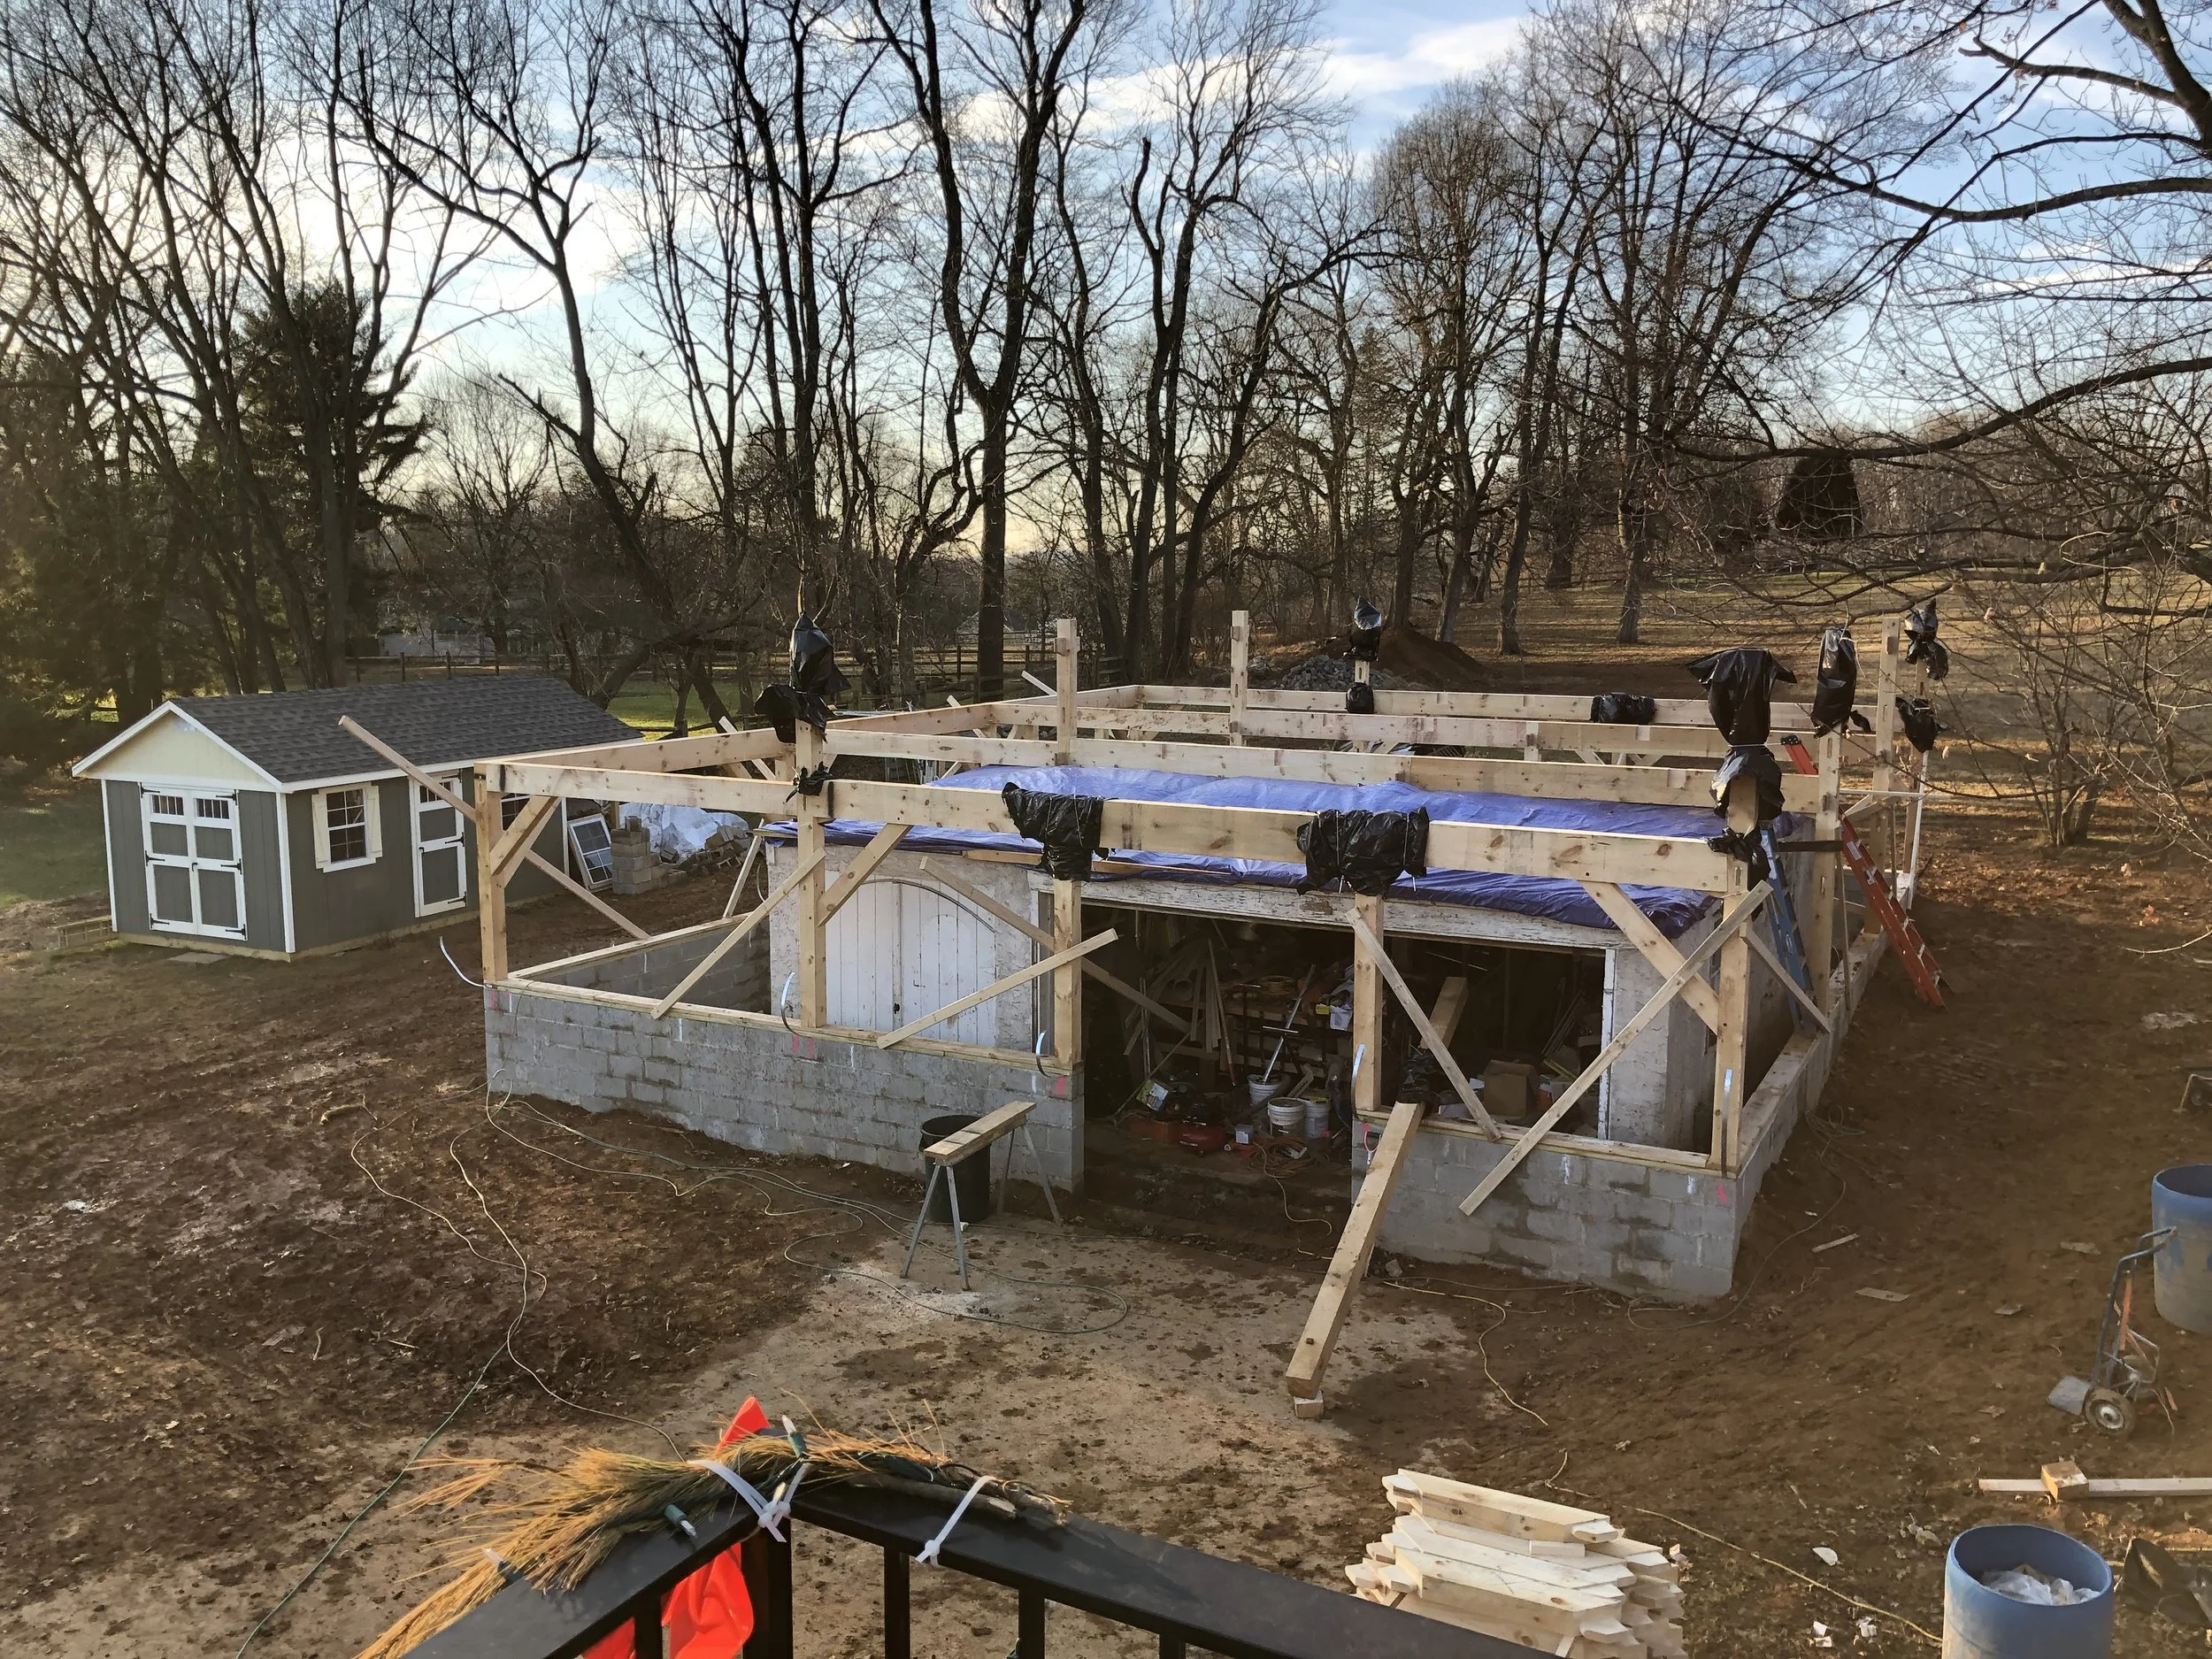
First floor timber framing complete.
Next up we installed the second floor deck and began to frame the knee walls.
Here you can see the main posts for the roof going in. We used the material lift to load all our necessary materials up to the second floor before dismantling the lift and moving it up there as well.
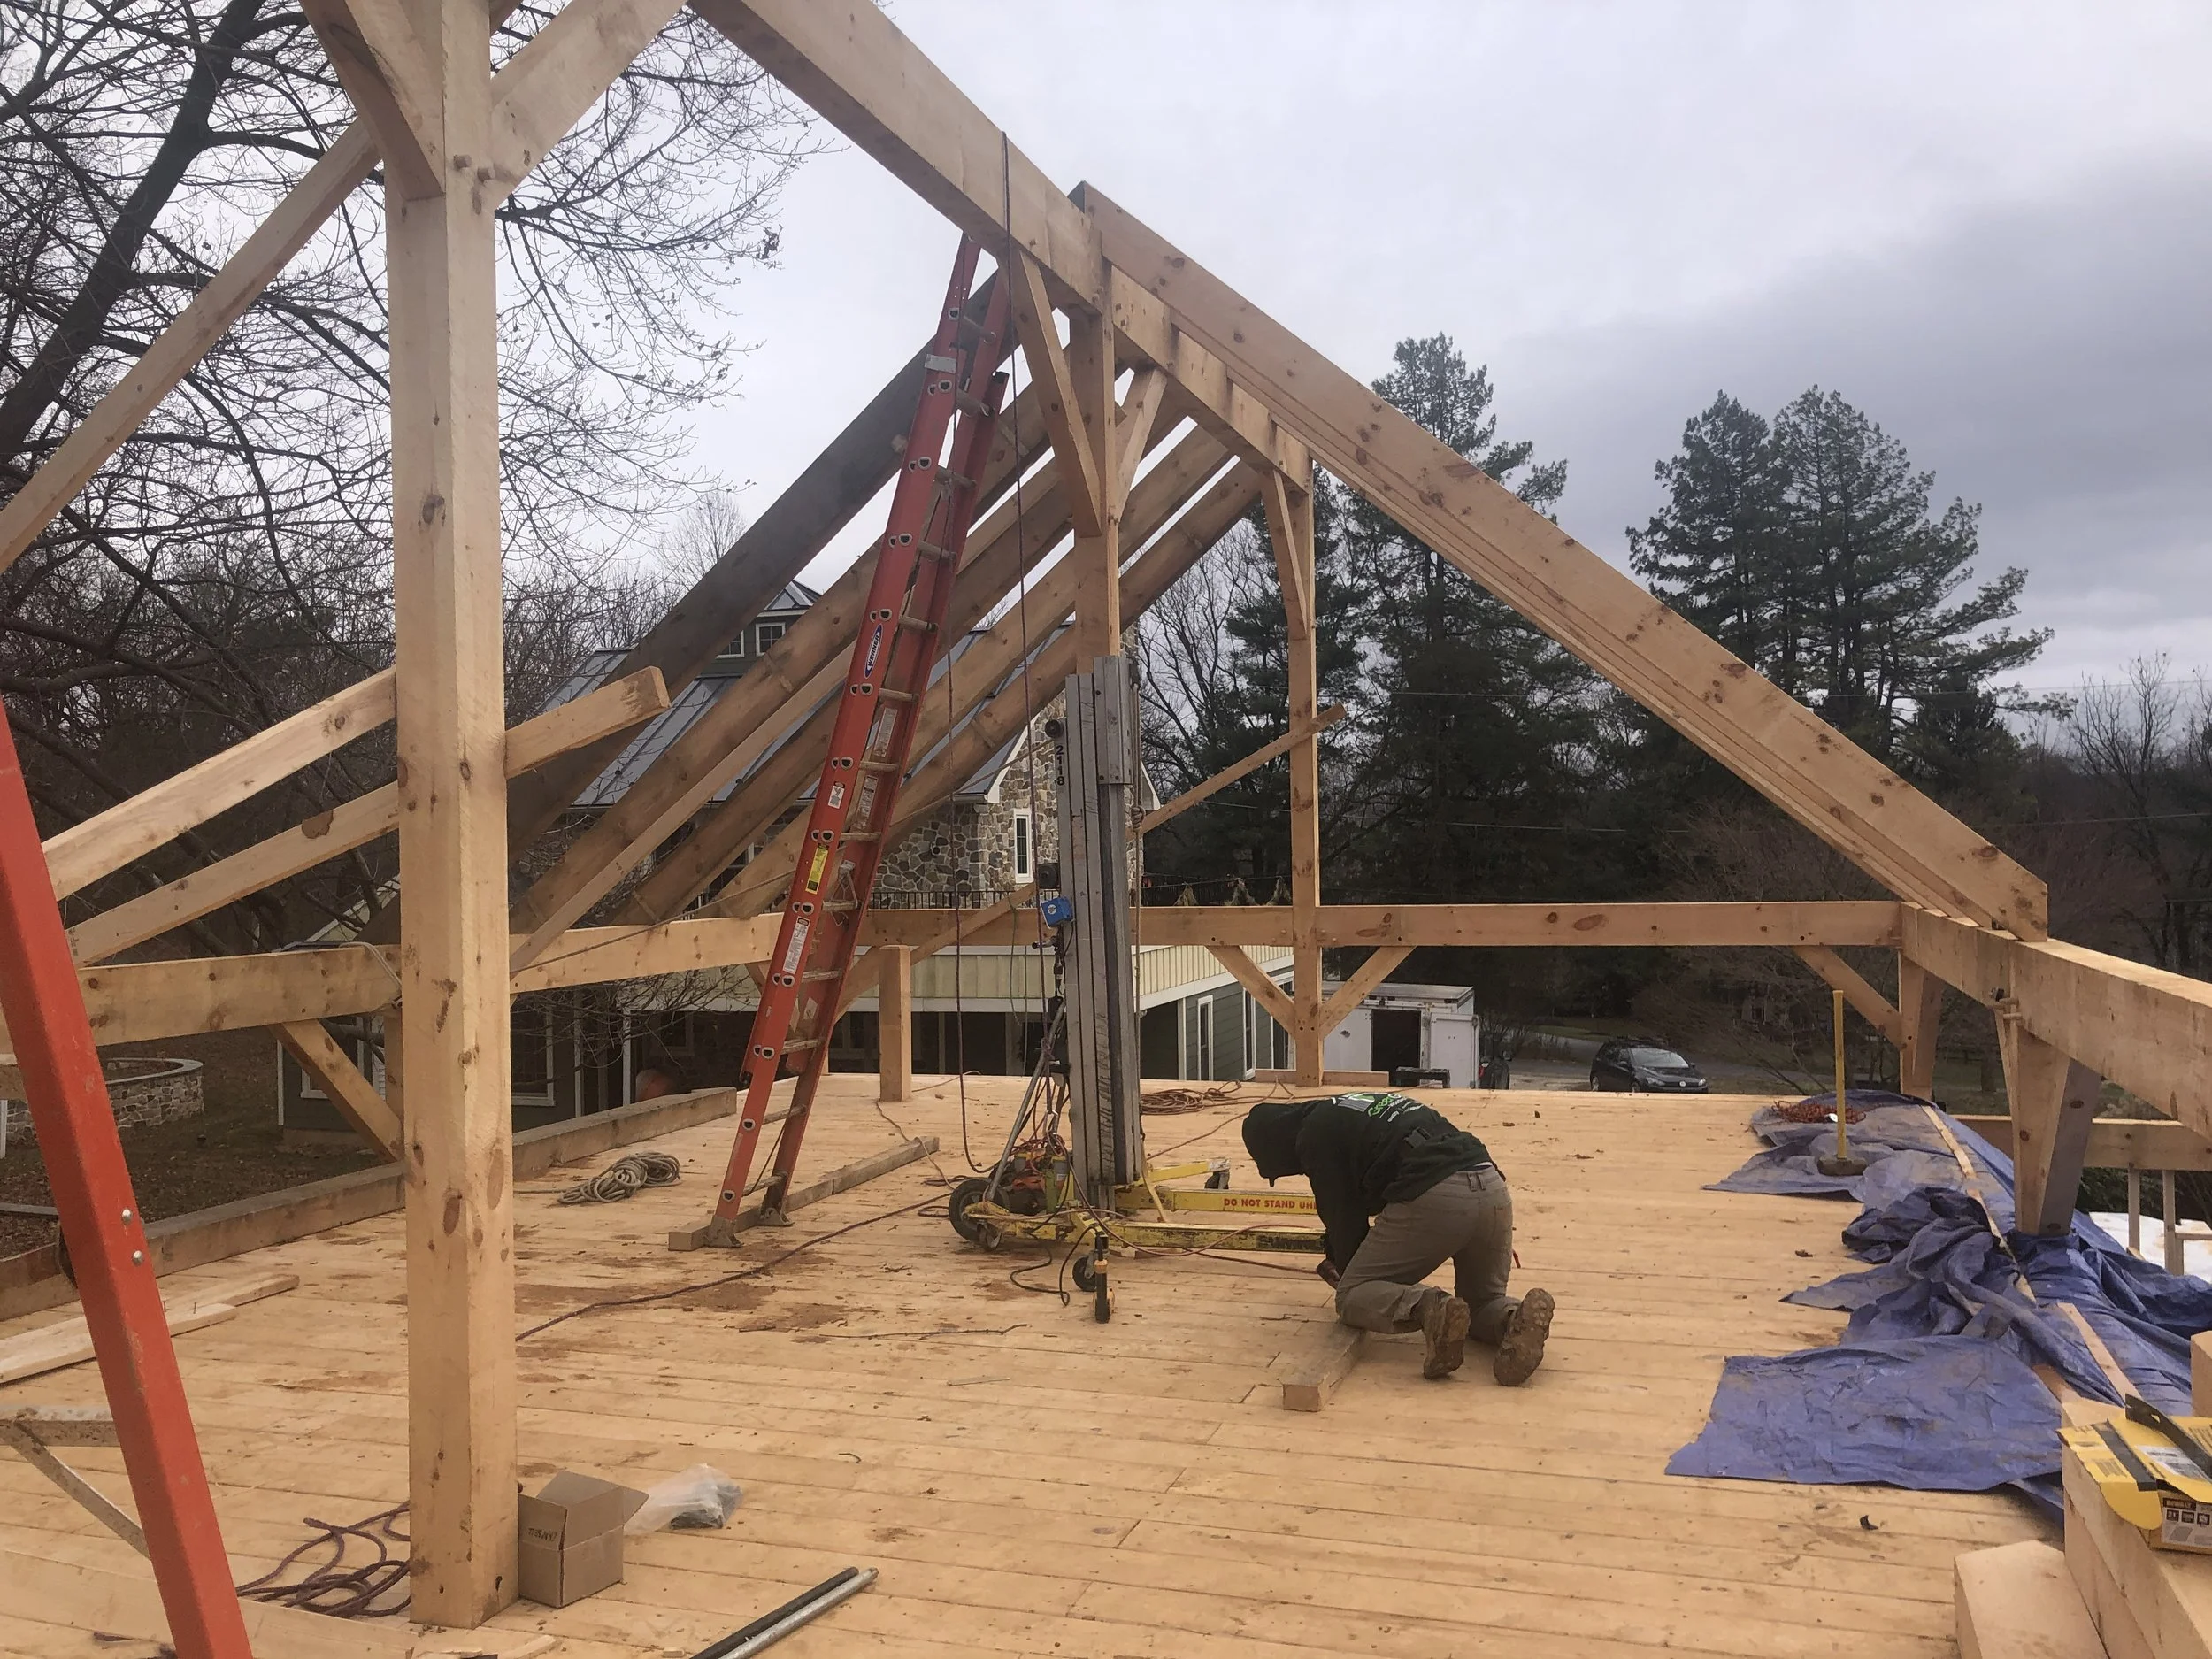
With the material lift on the second floor, we began setting the ridge beam sections.
Once the ridge beam was set, we used the material lift to help drag the rafters up into position before securing them in place.
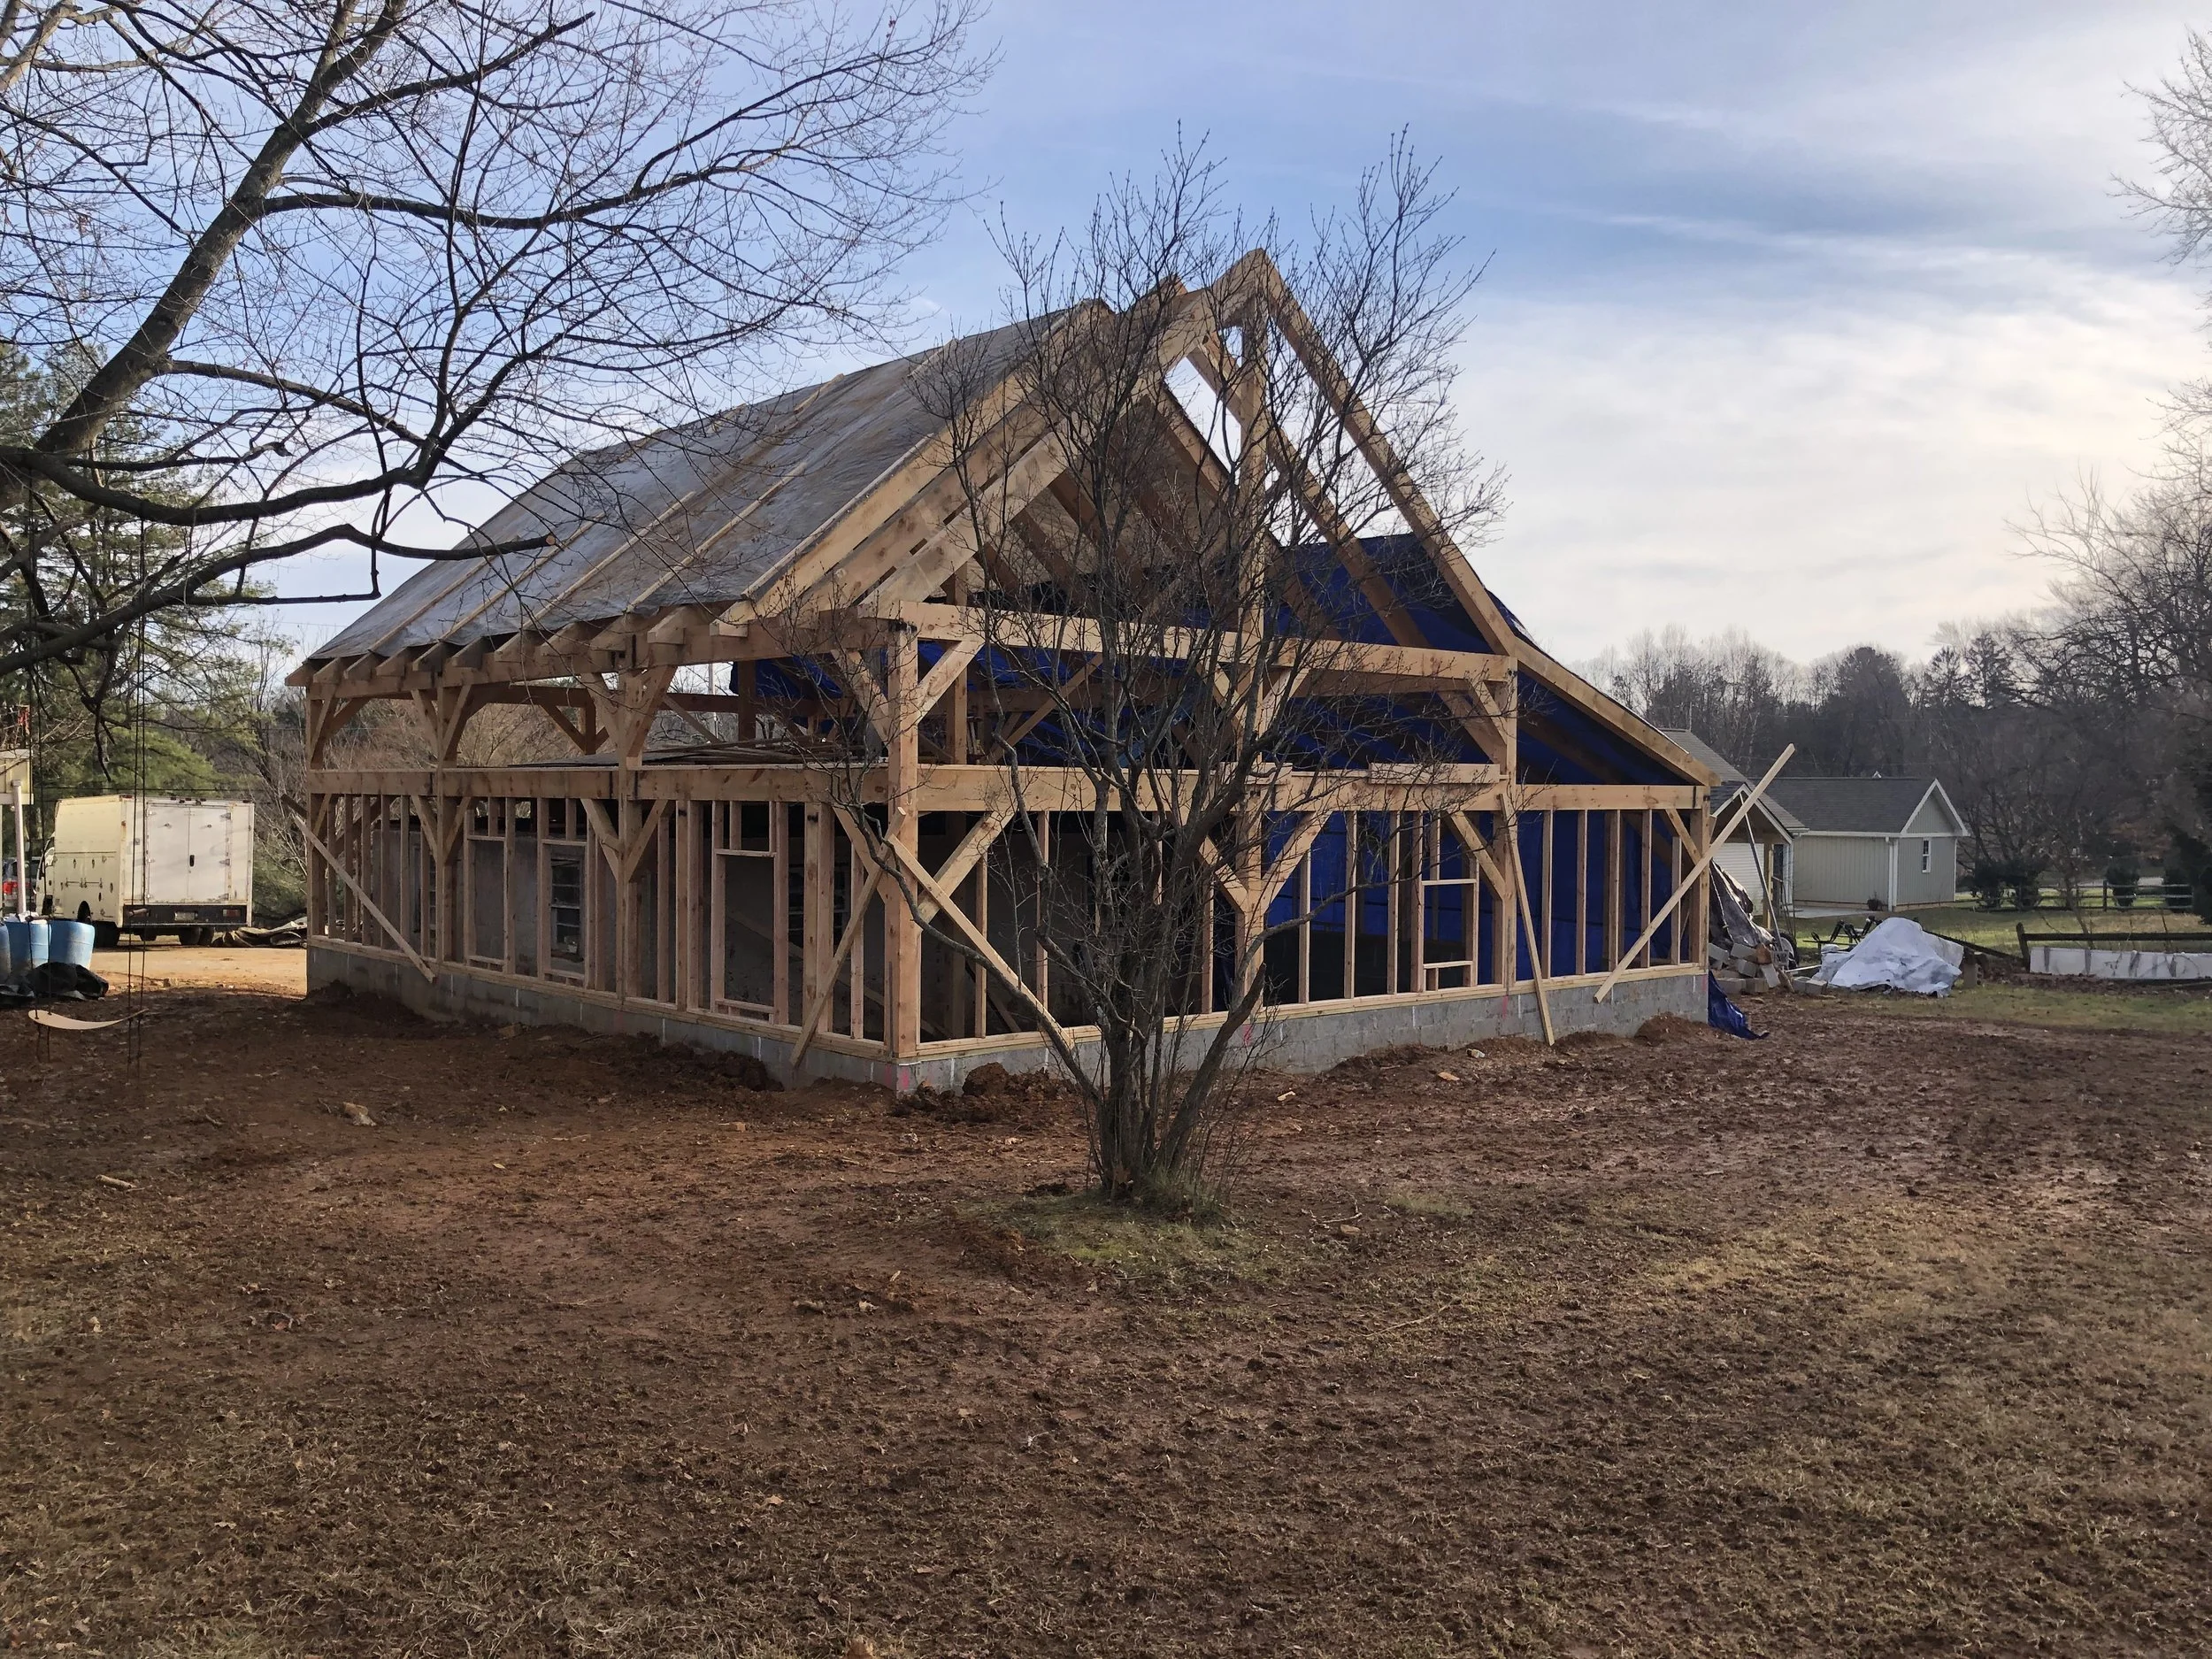
With the rafters in place we installed the in-fill framing on the first floor for windows, sheathing, etc. We also put some tarps up on the roof to help keep the rain and snow out.
Here you can see the original shop inside the new one.
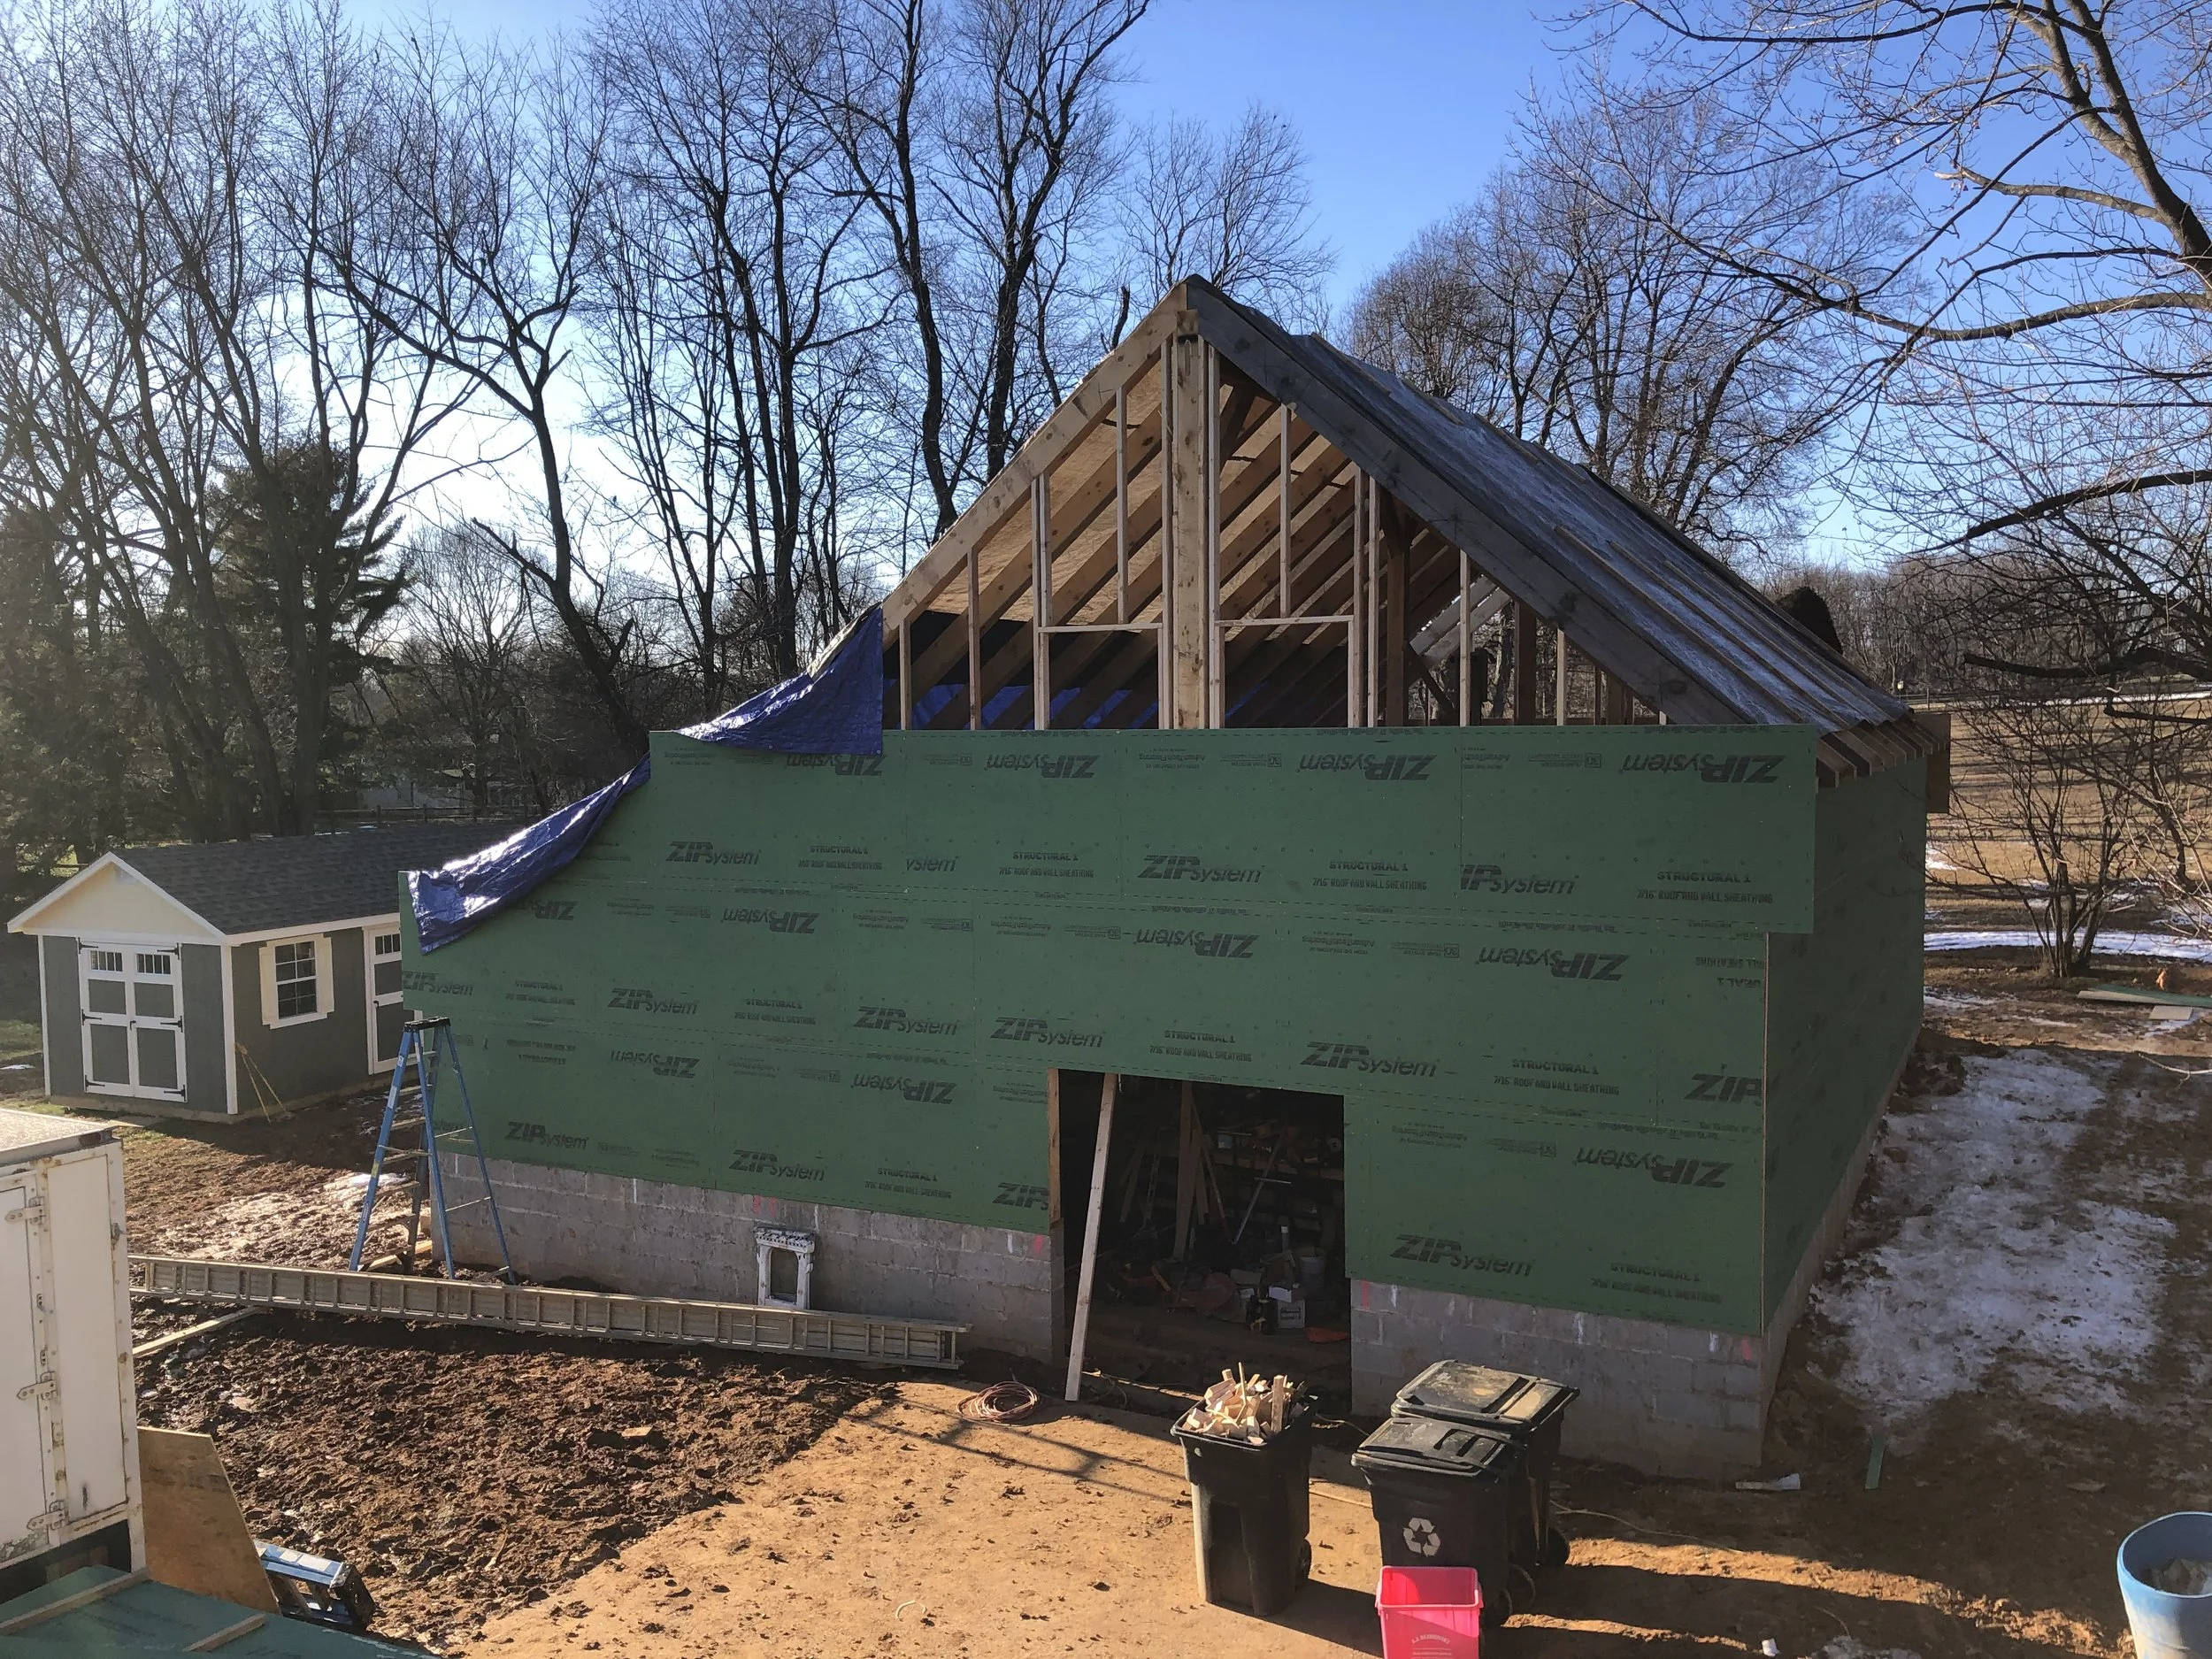
Next up we installed the second floor in-fill framing and then started on the sheathing.
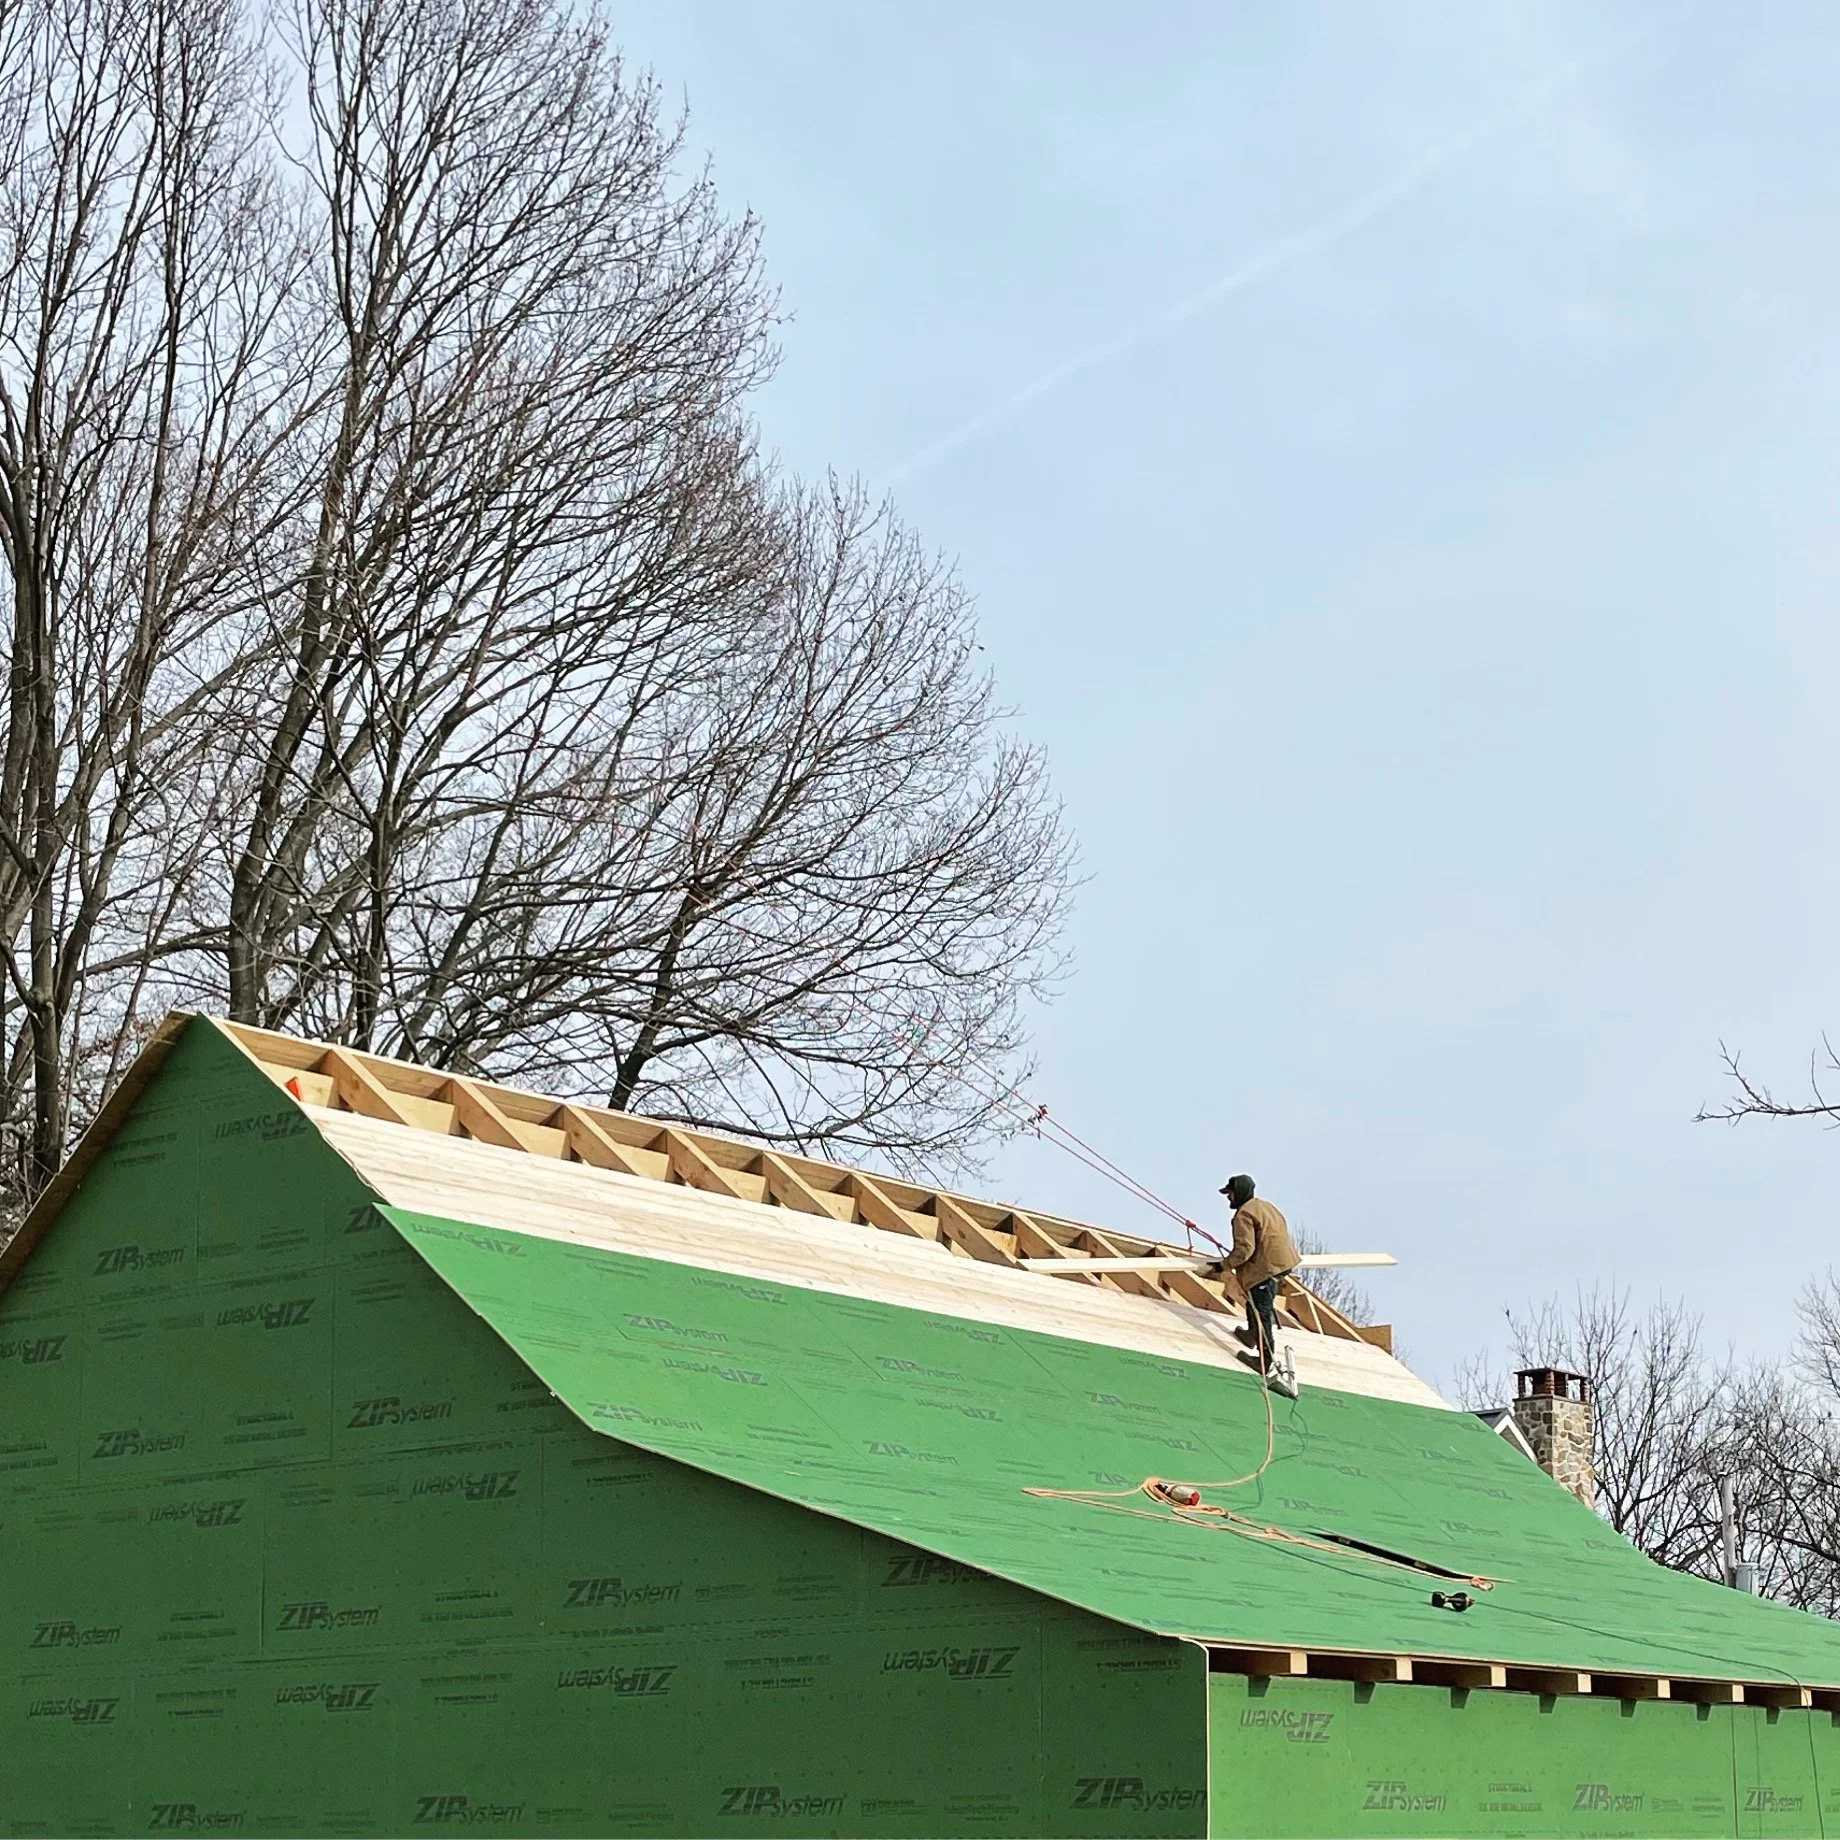
The roof consists of a layer of 2×6 framing covered in Zip Wall sheathing. In this picture I’m racing to get everything closed in before a snow storm was supposed to hit, and to keep myself secure I broke out my old tree climbing gear and tied myself off to the nearby maple tree so I could move around safely without risk of falling.
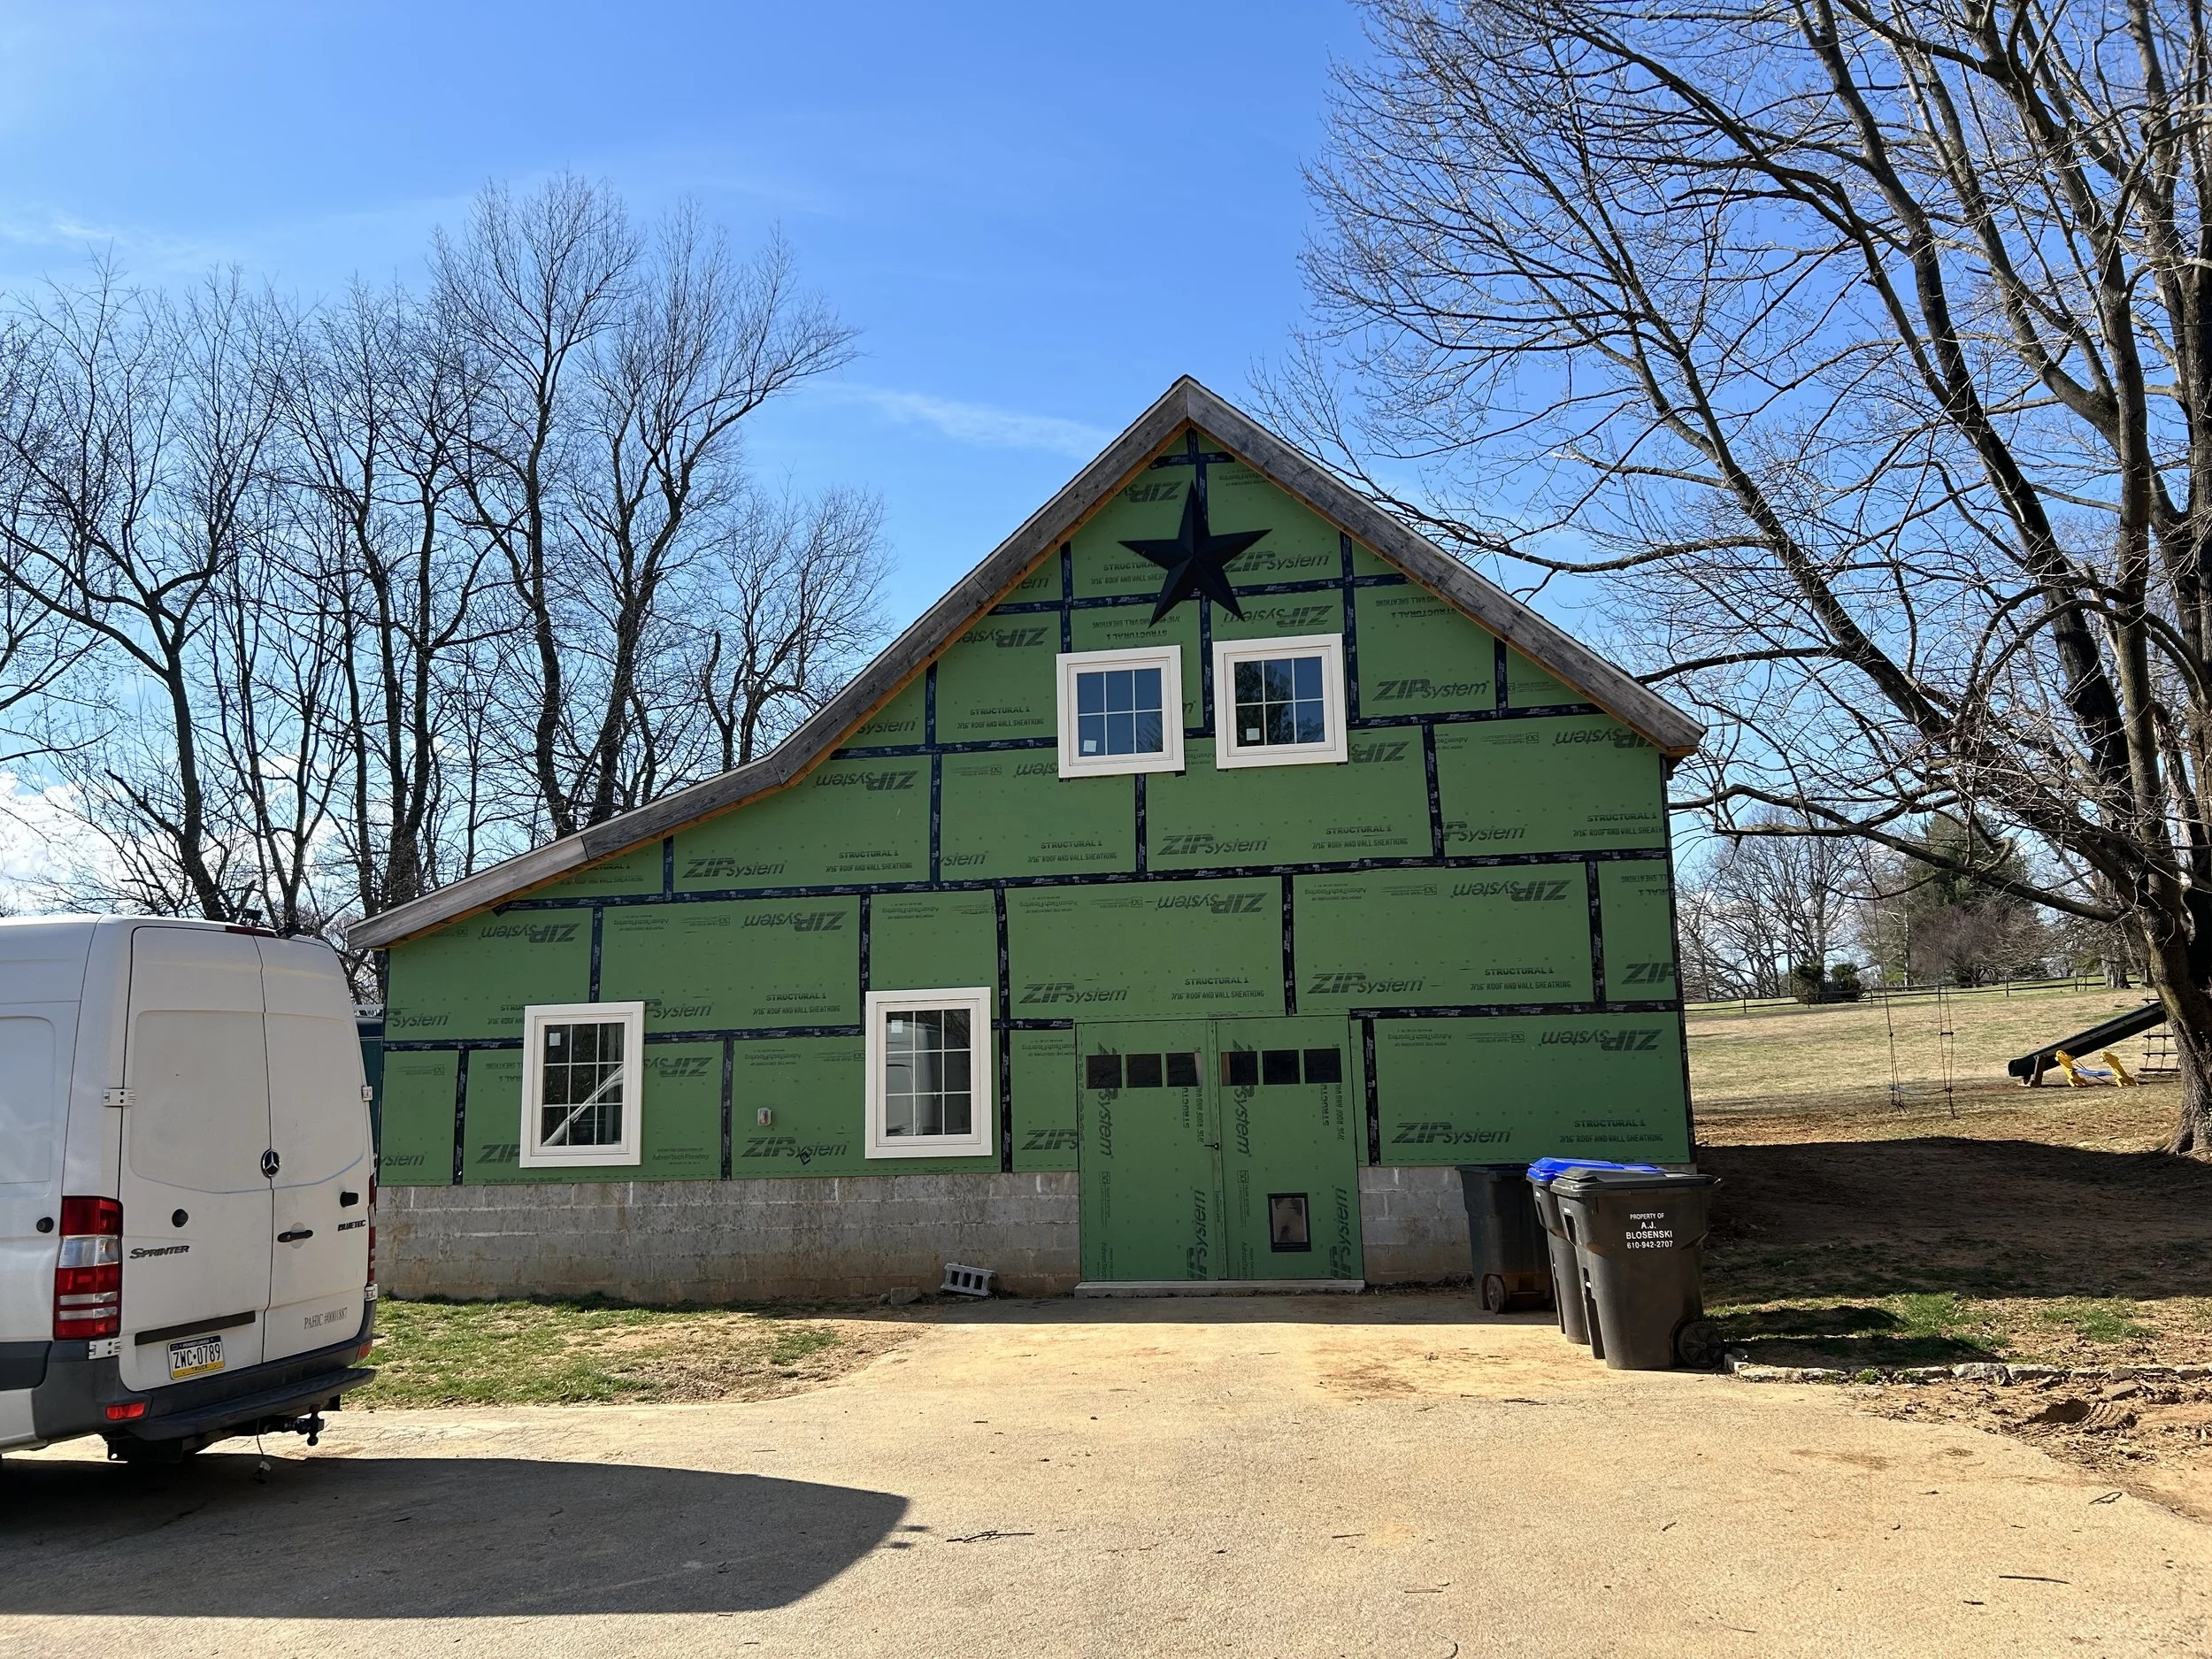
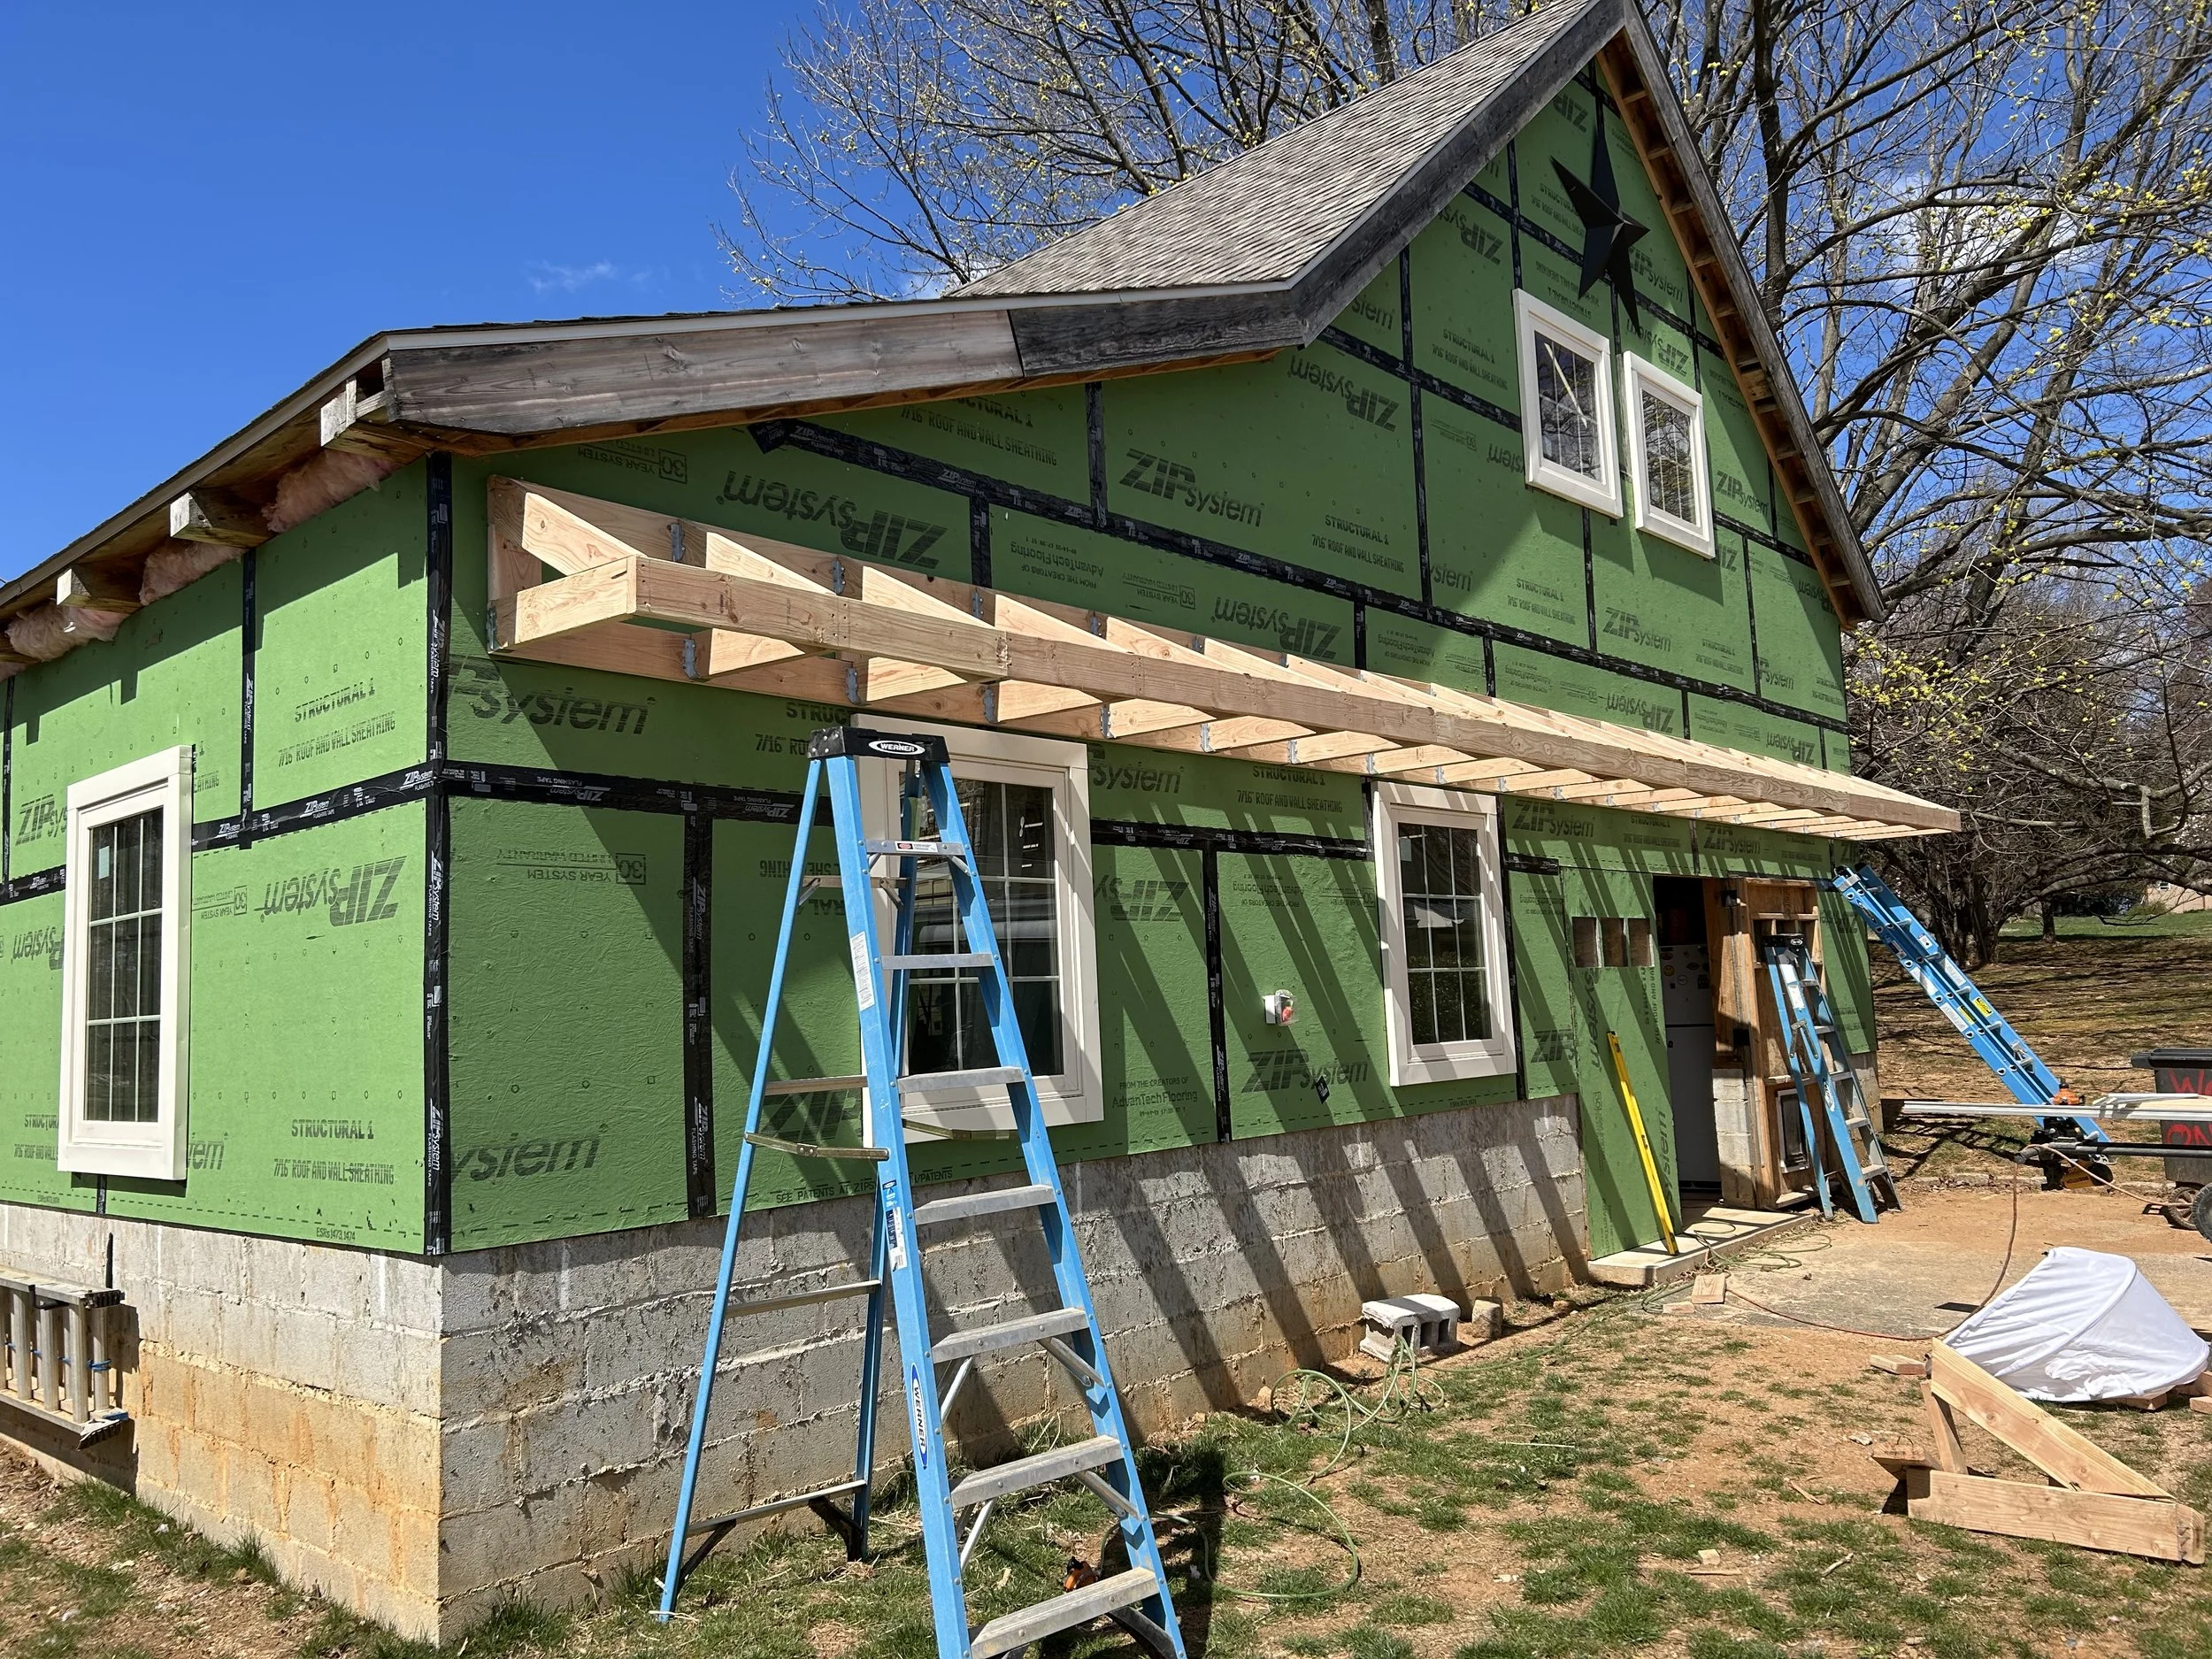
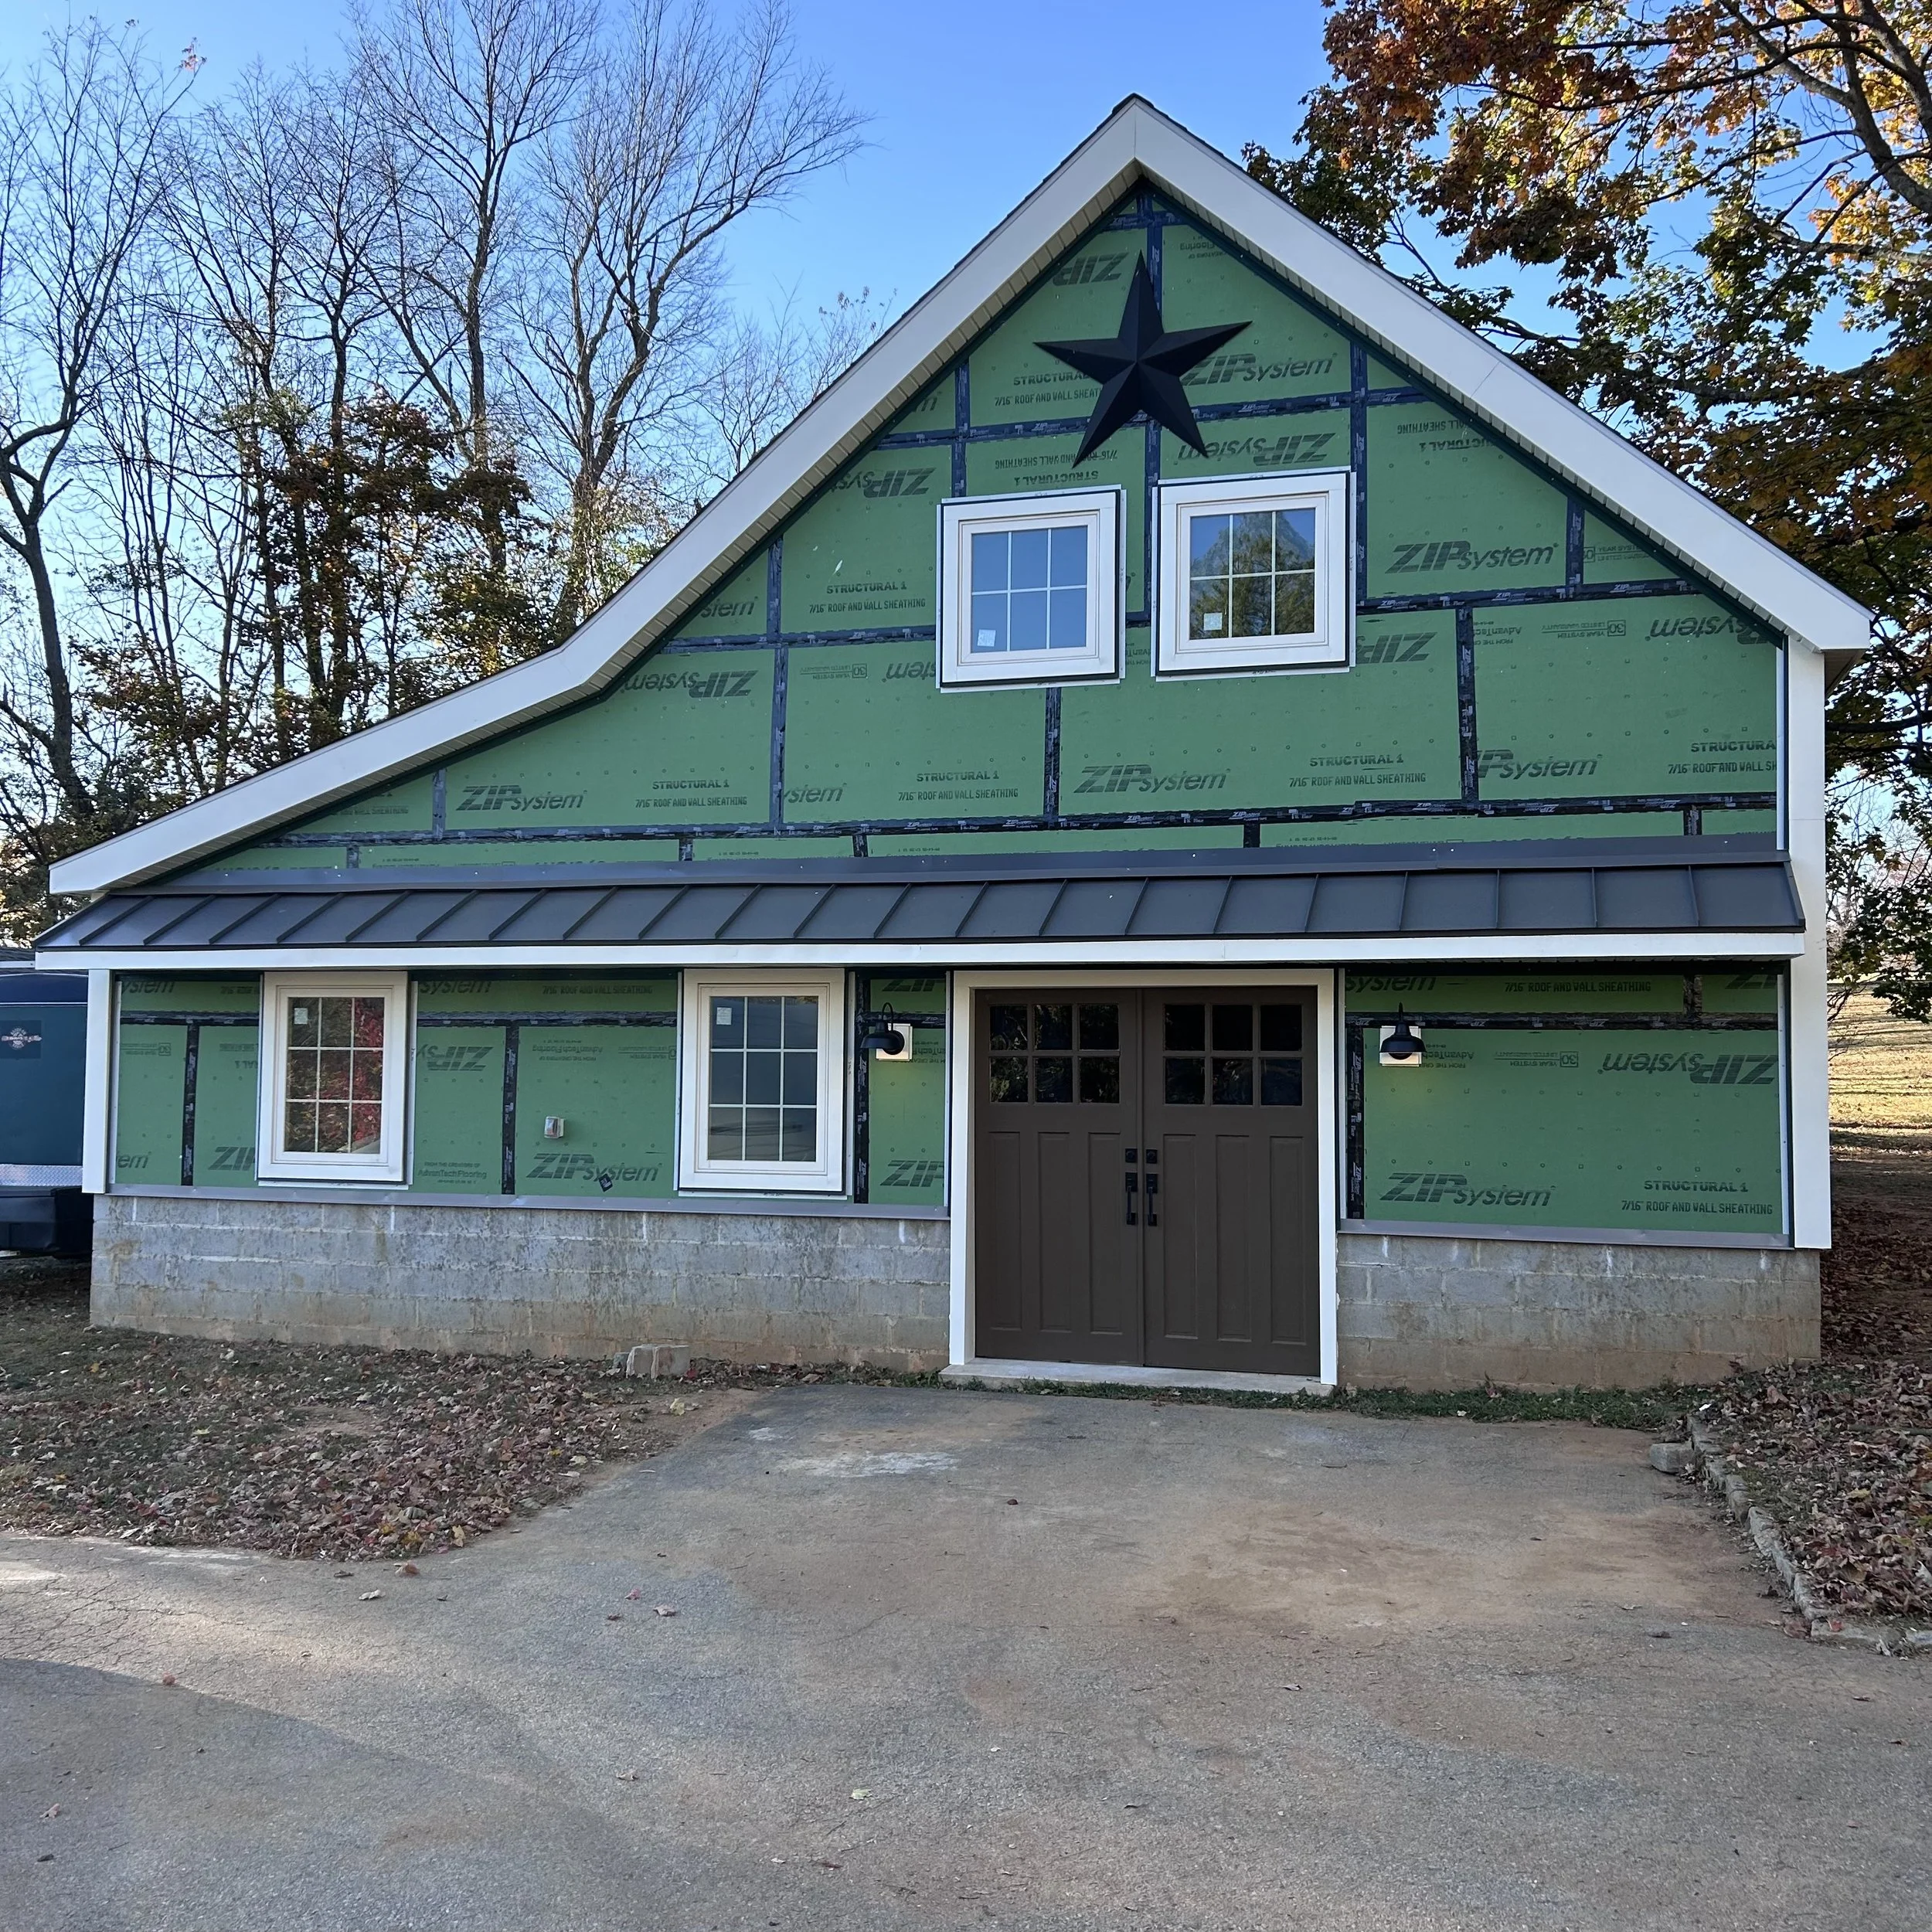
Once the sheathing was installed and taped, everything inside was pretty well protected from the elements and I was able to start installing windows and a pair of temporary doors.
While it wasn’t in the original design, my wife and I decided a pent roof across the front of the barn would look nice and would provide some protection for the new front doors I had in mind.
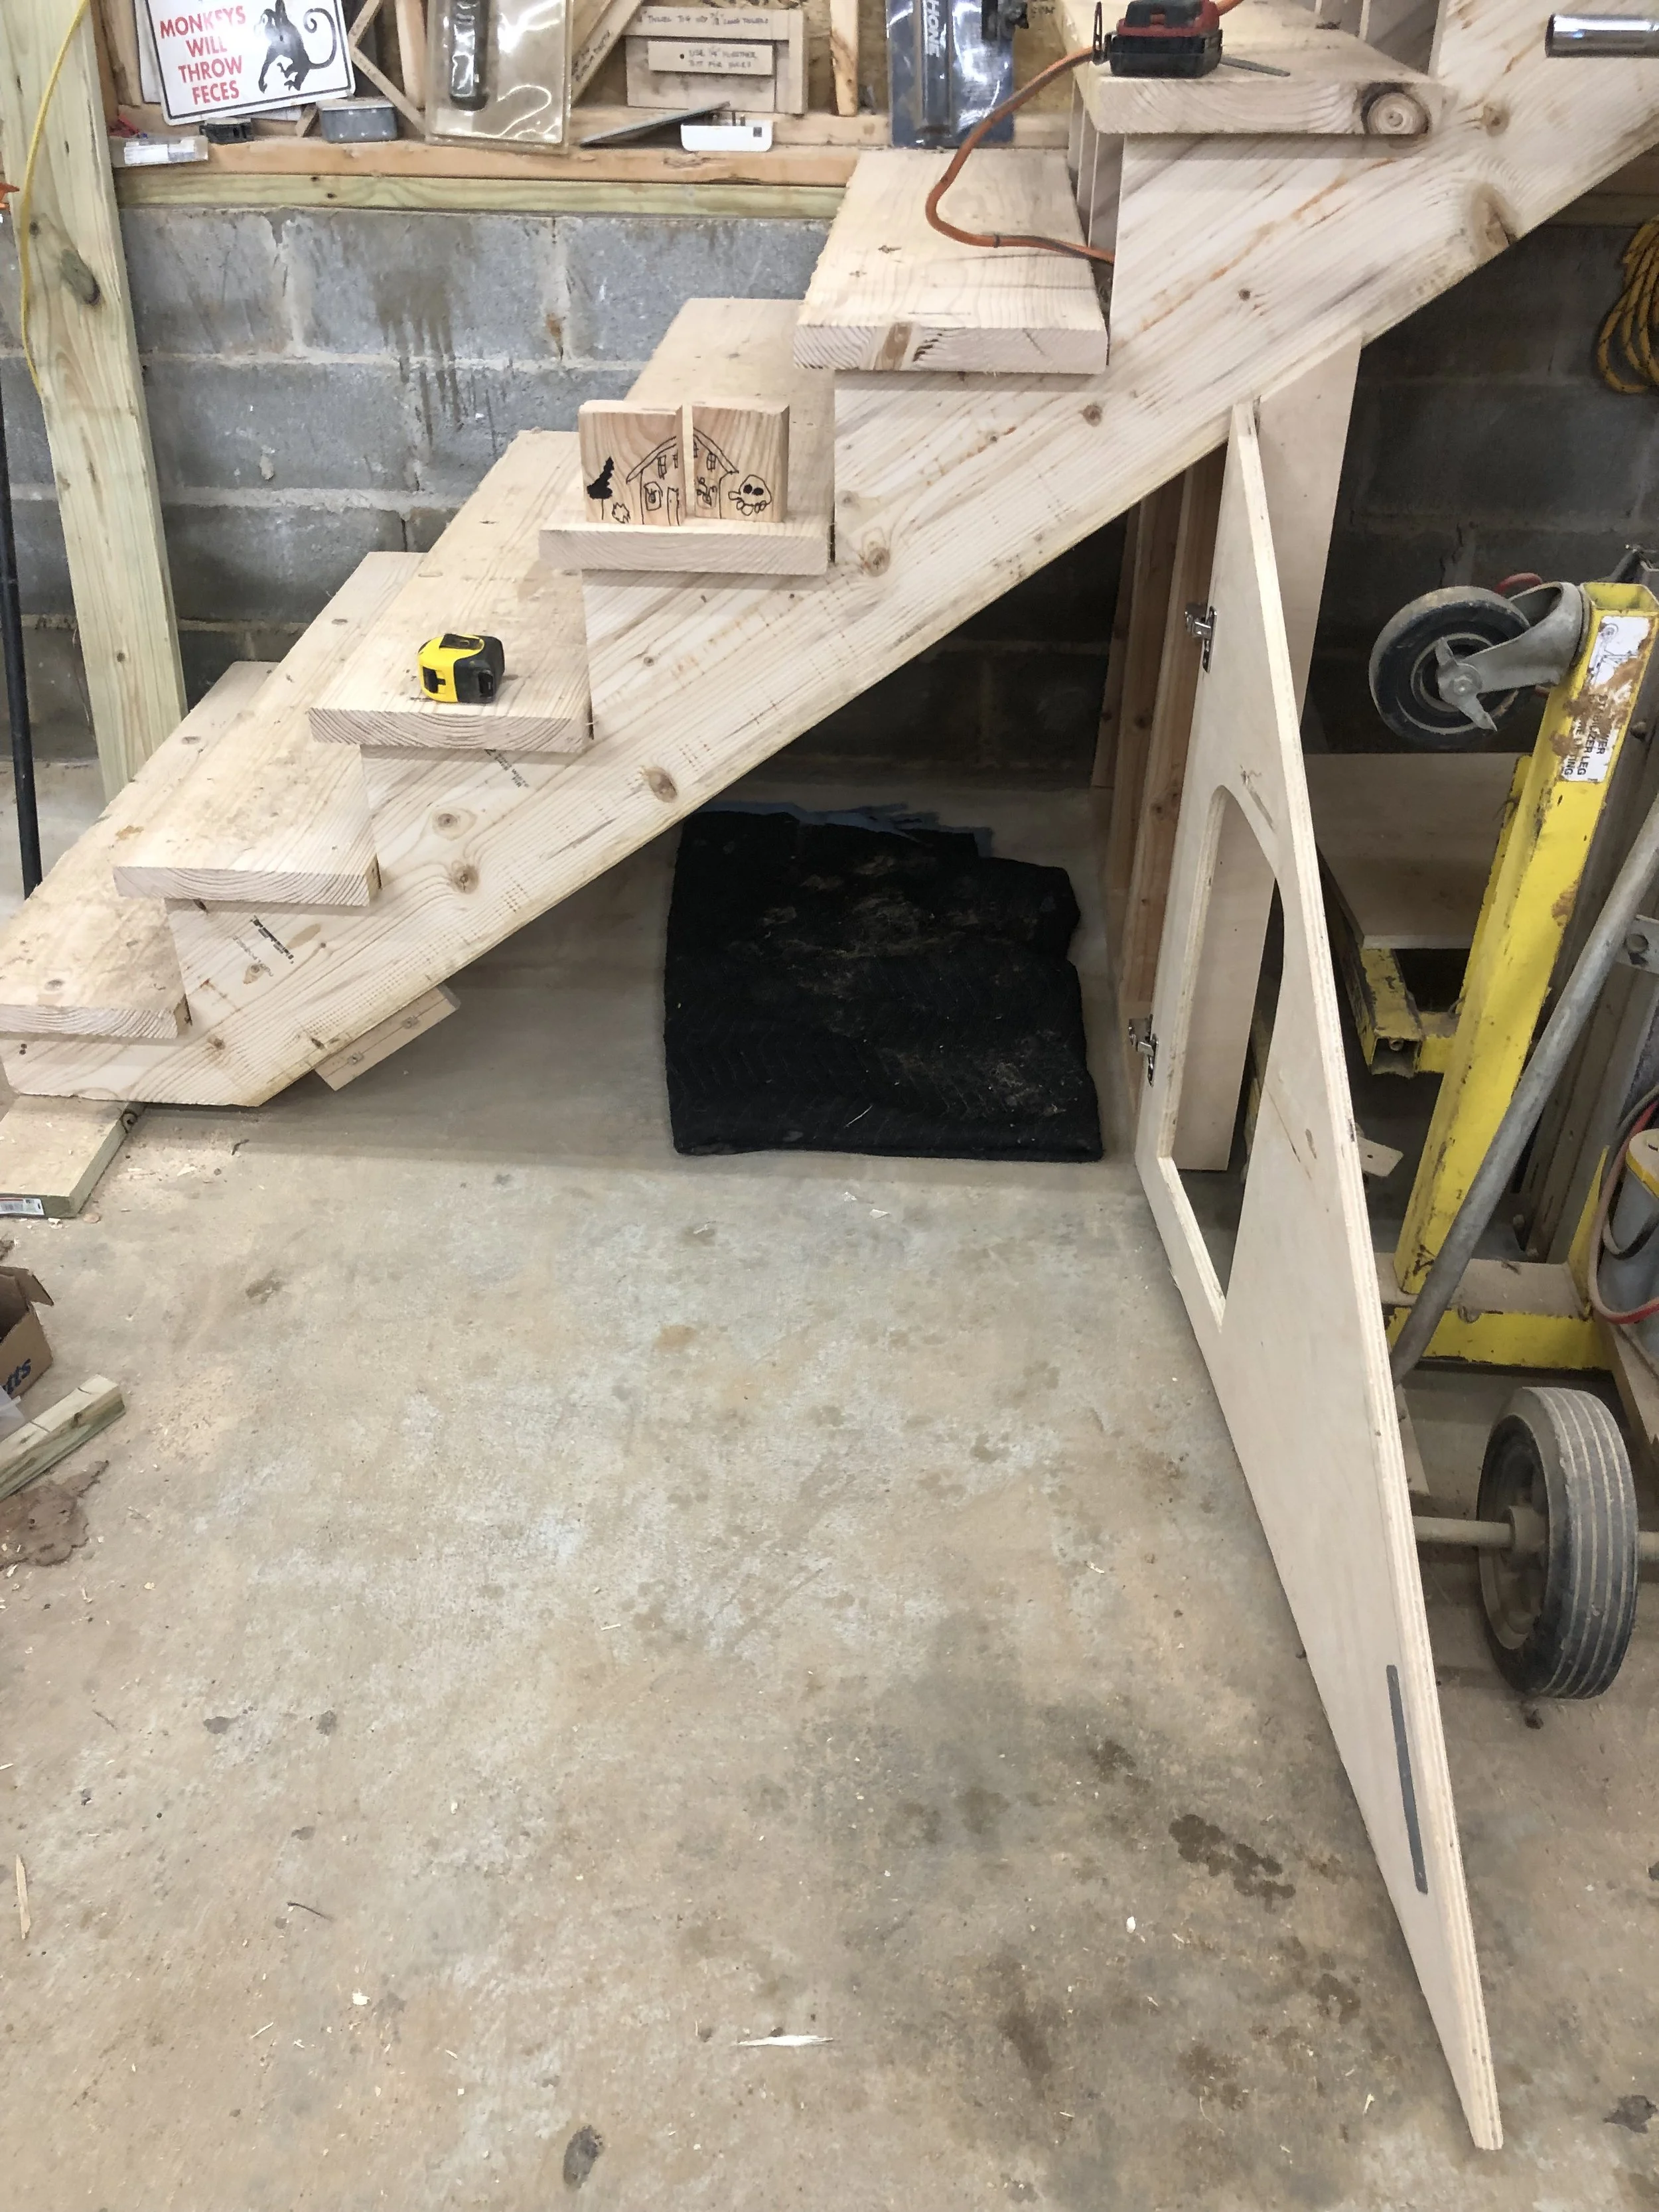
Meanwhile, inside the shop I had removed the original shop walls, poured concrete for the new floors, and framed the staircase. The area under the stairs provided an opportunity to create a little space for Sydney the dog.
Sydney in her dog house
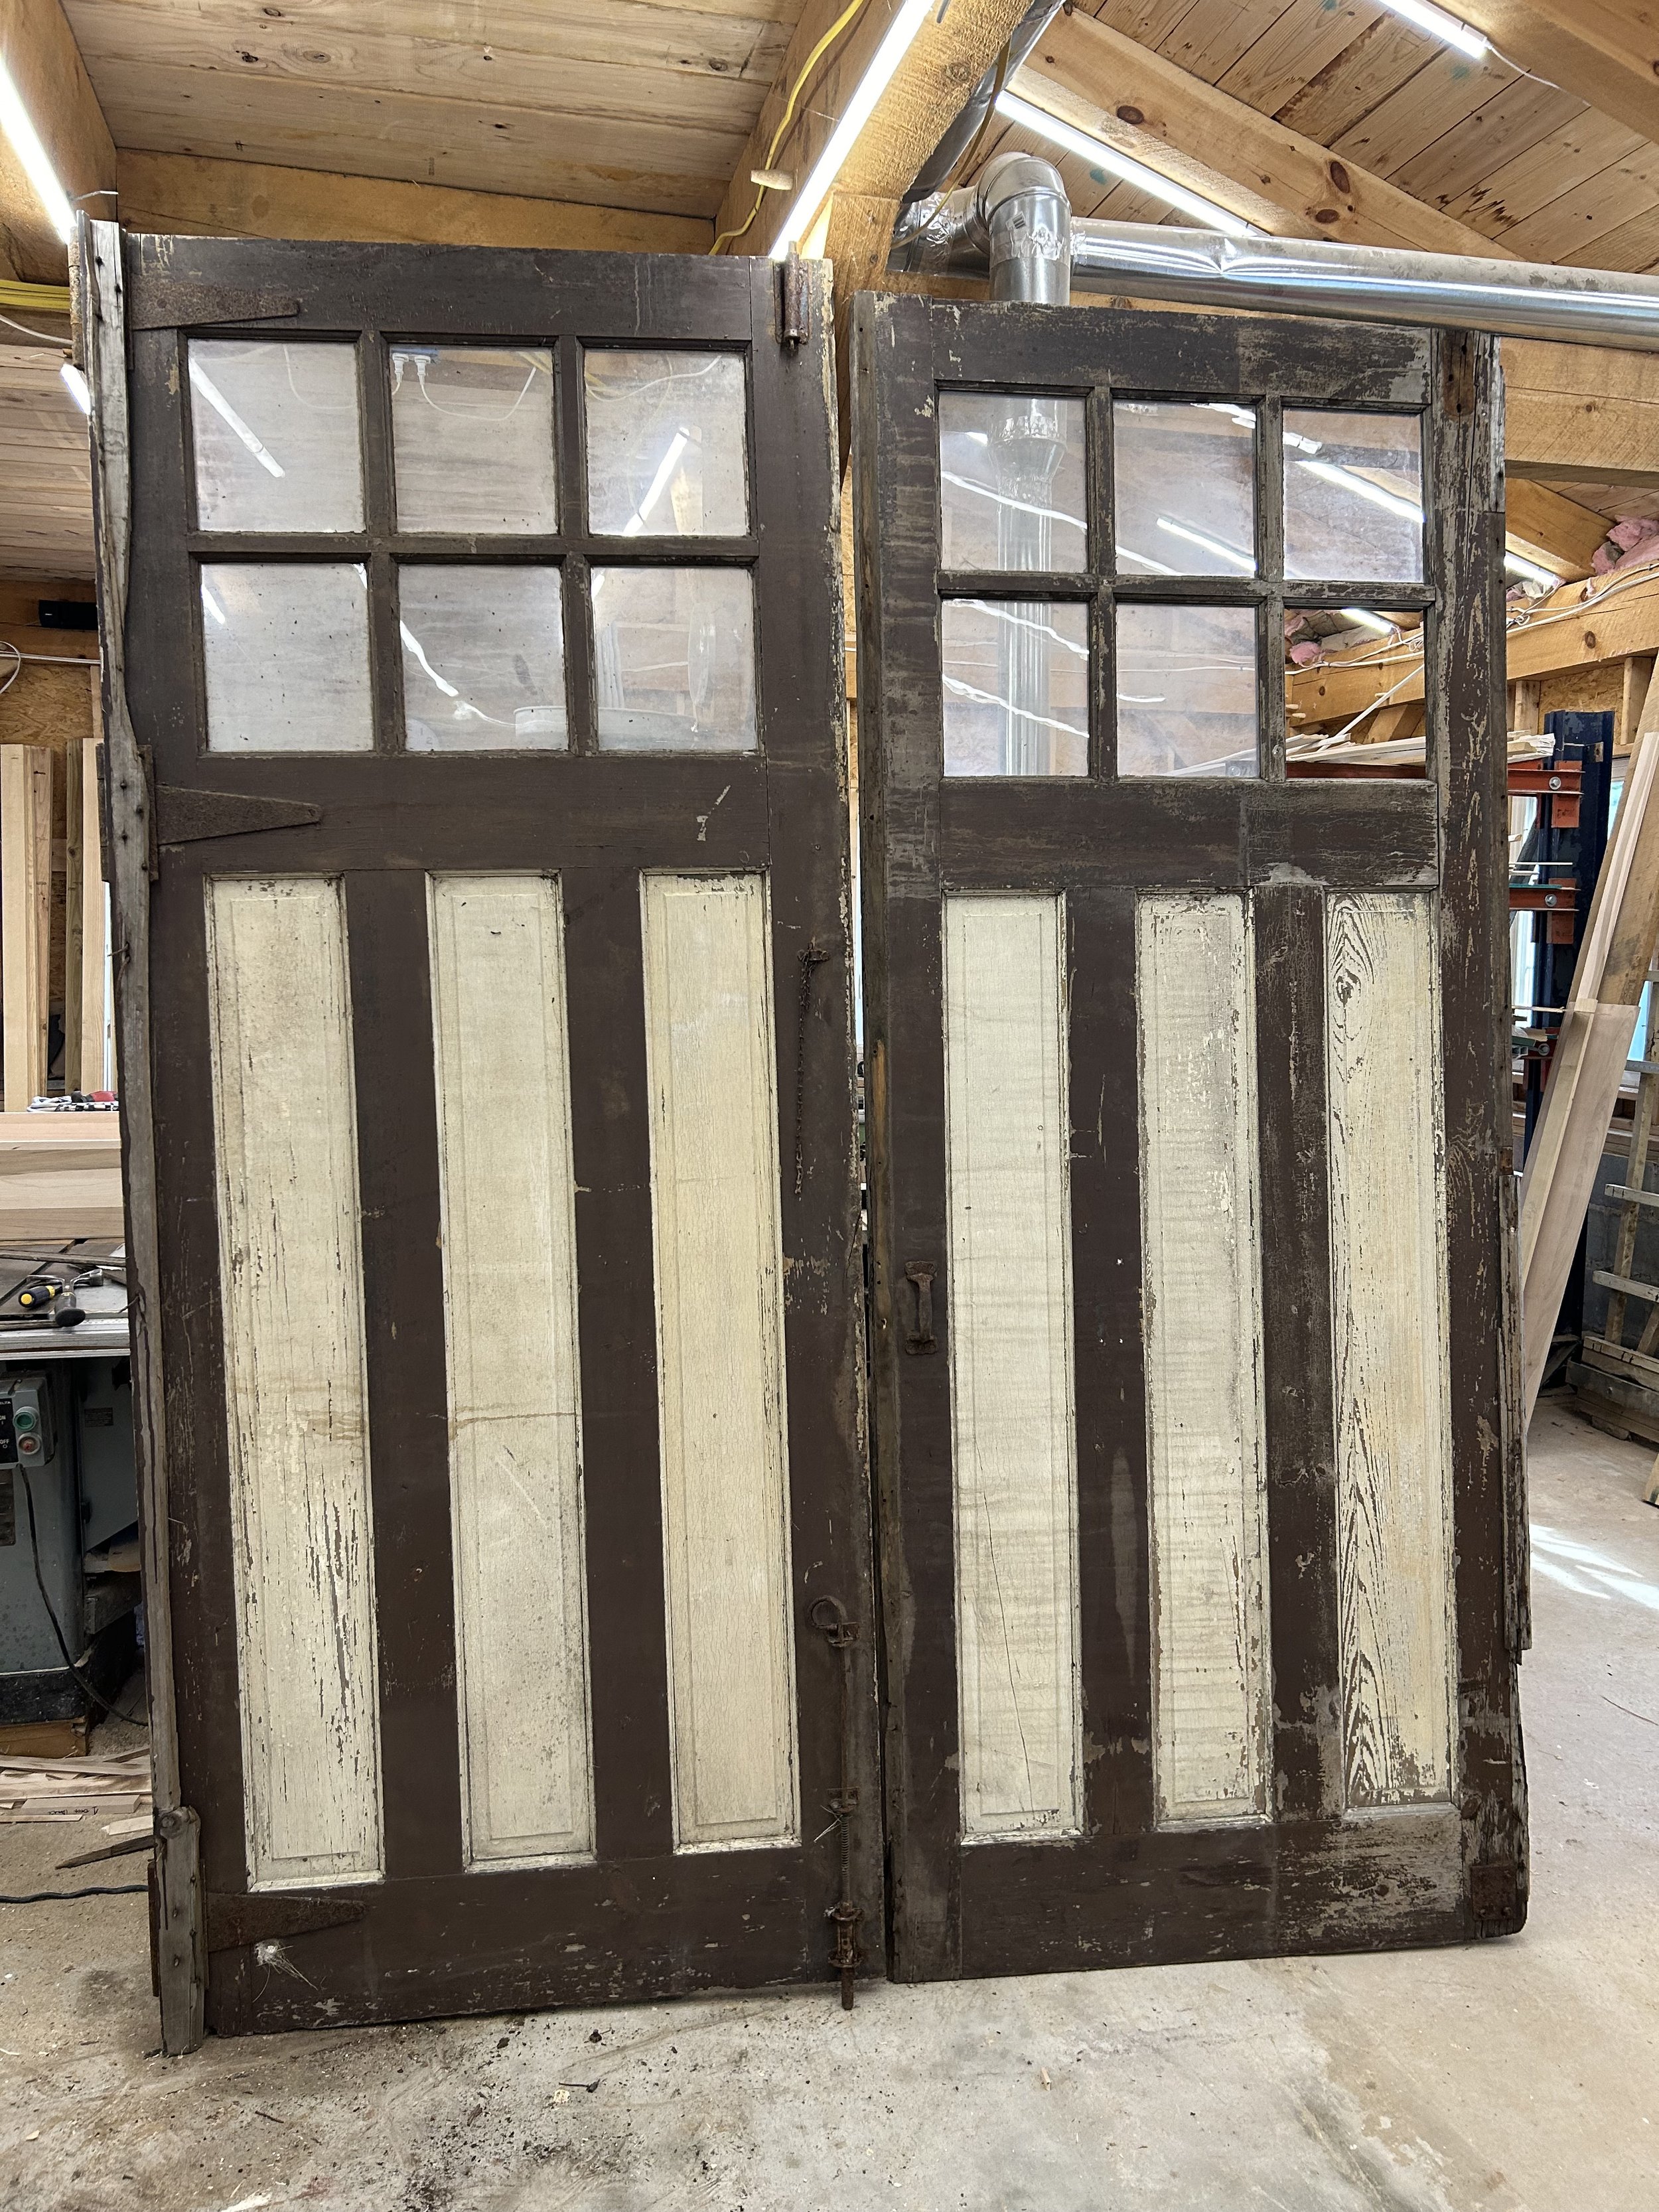
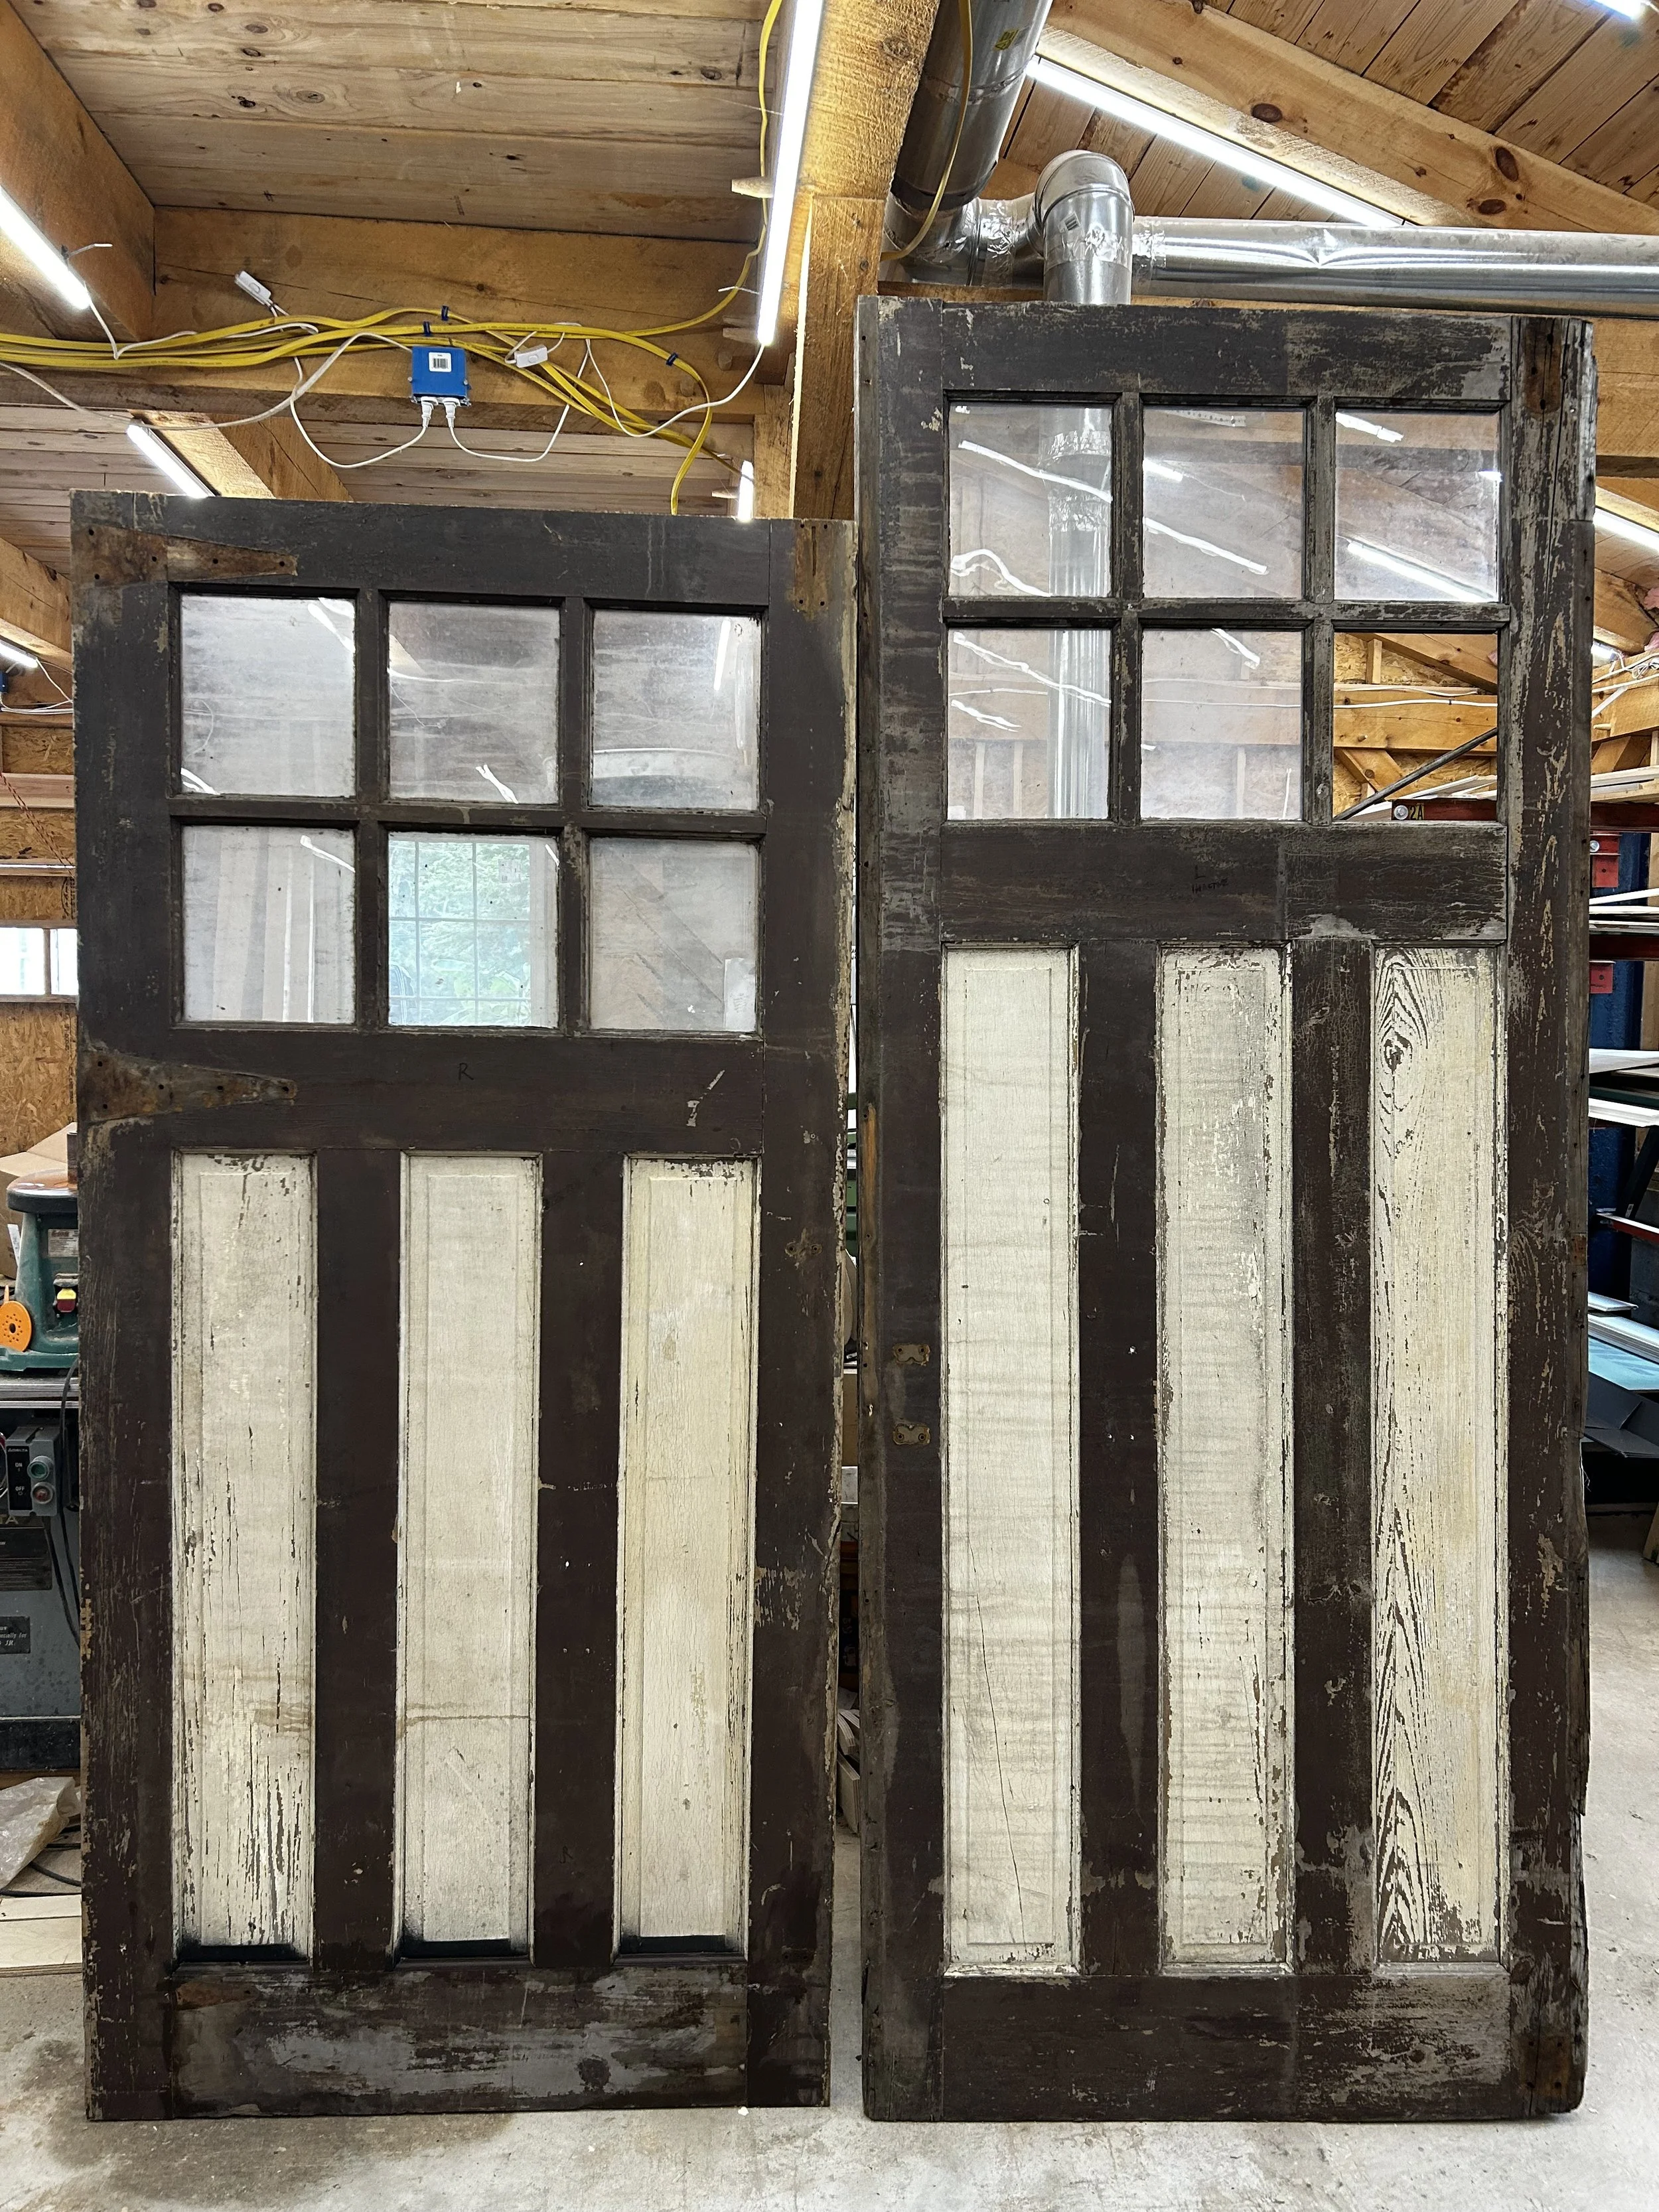
To replace the temporary set of front doors I had made, I found these reclaimed doors that were the perfect width for what I needed but were around a foot too tall.
So I rebuilt the doors to the new height I needed. It’s a little more complicated than just sawing off the bottom of the doors if you want to maintain the structural integrity of the doors, to see this project more in depth click here.
With both doors rebuilt to the correct height, I gave them a fresh coat of paint and installed them.
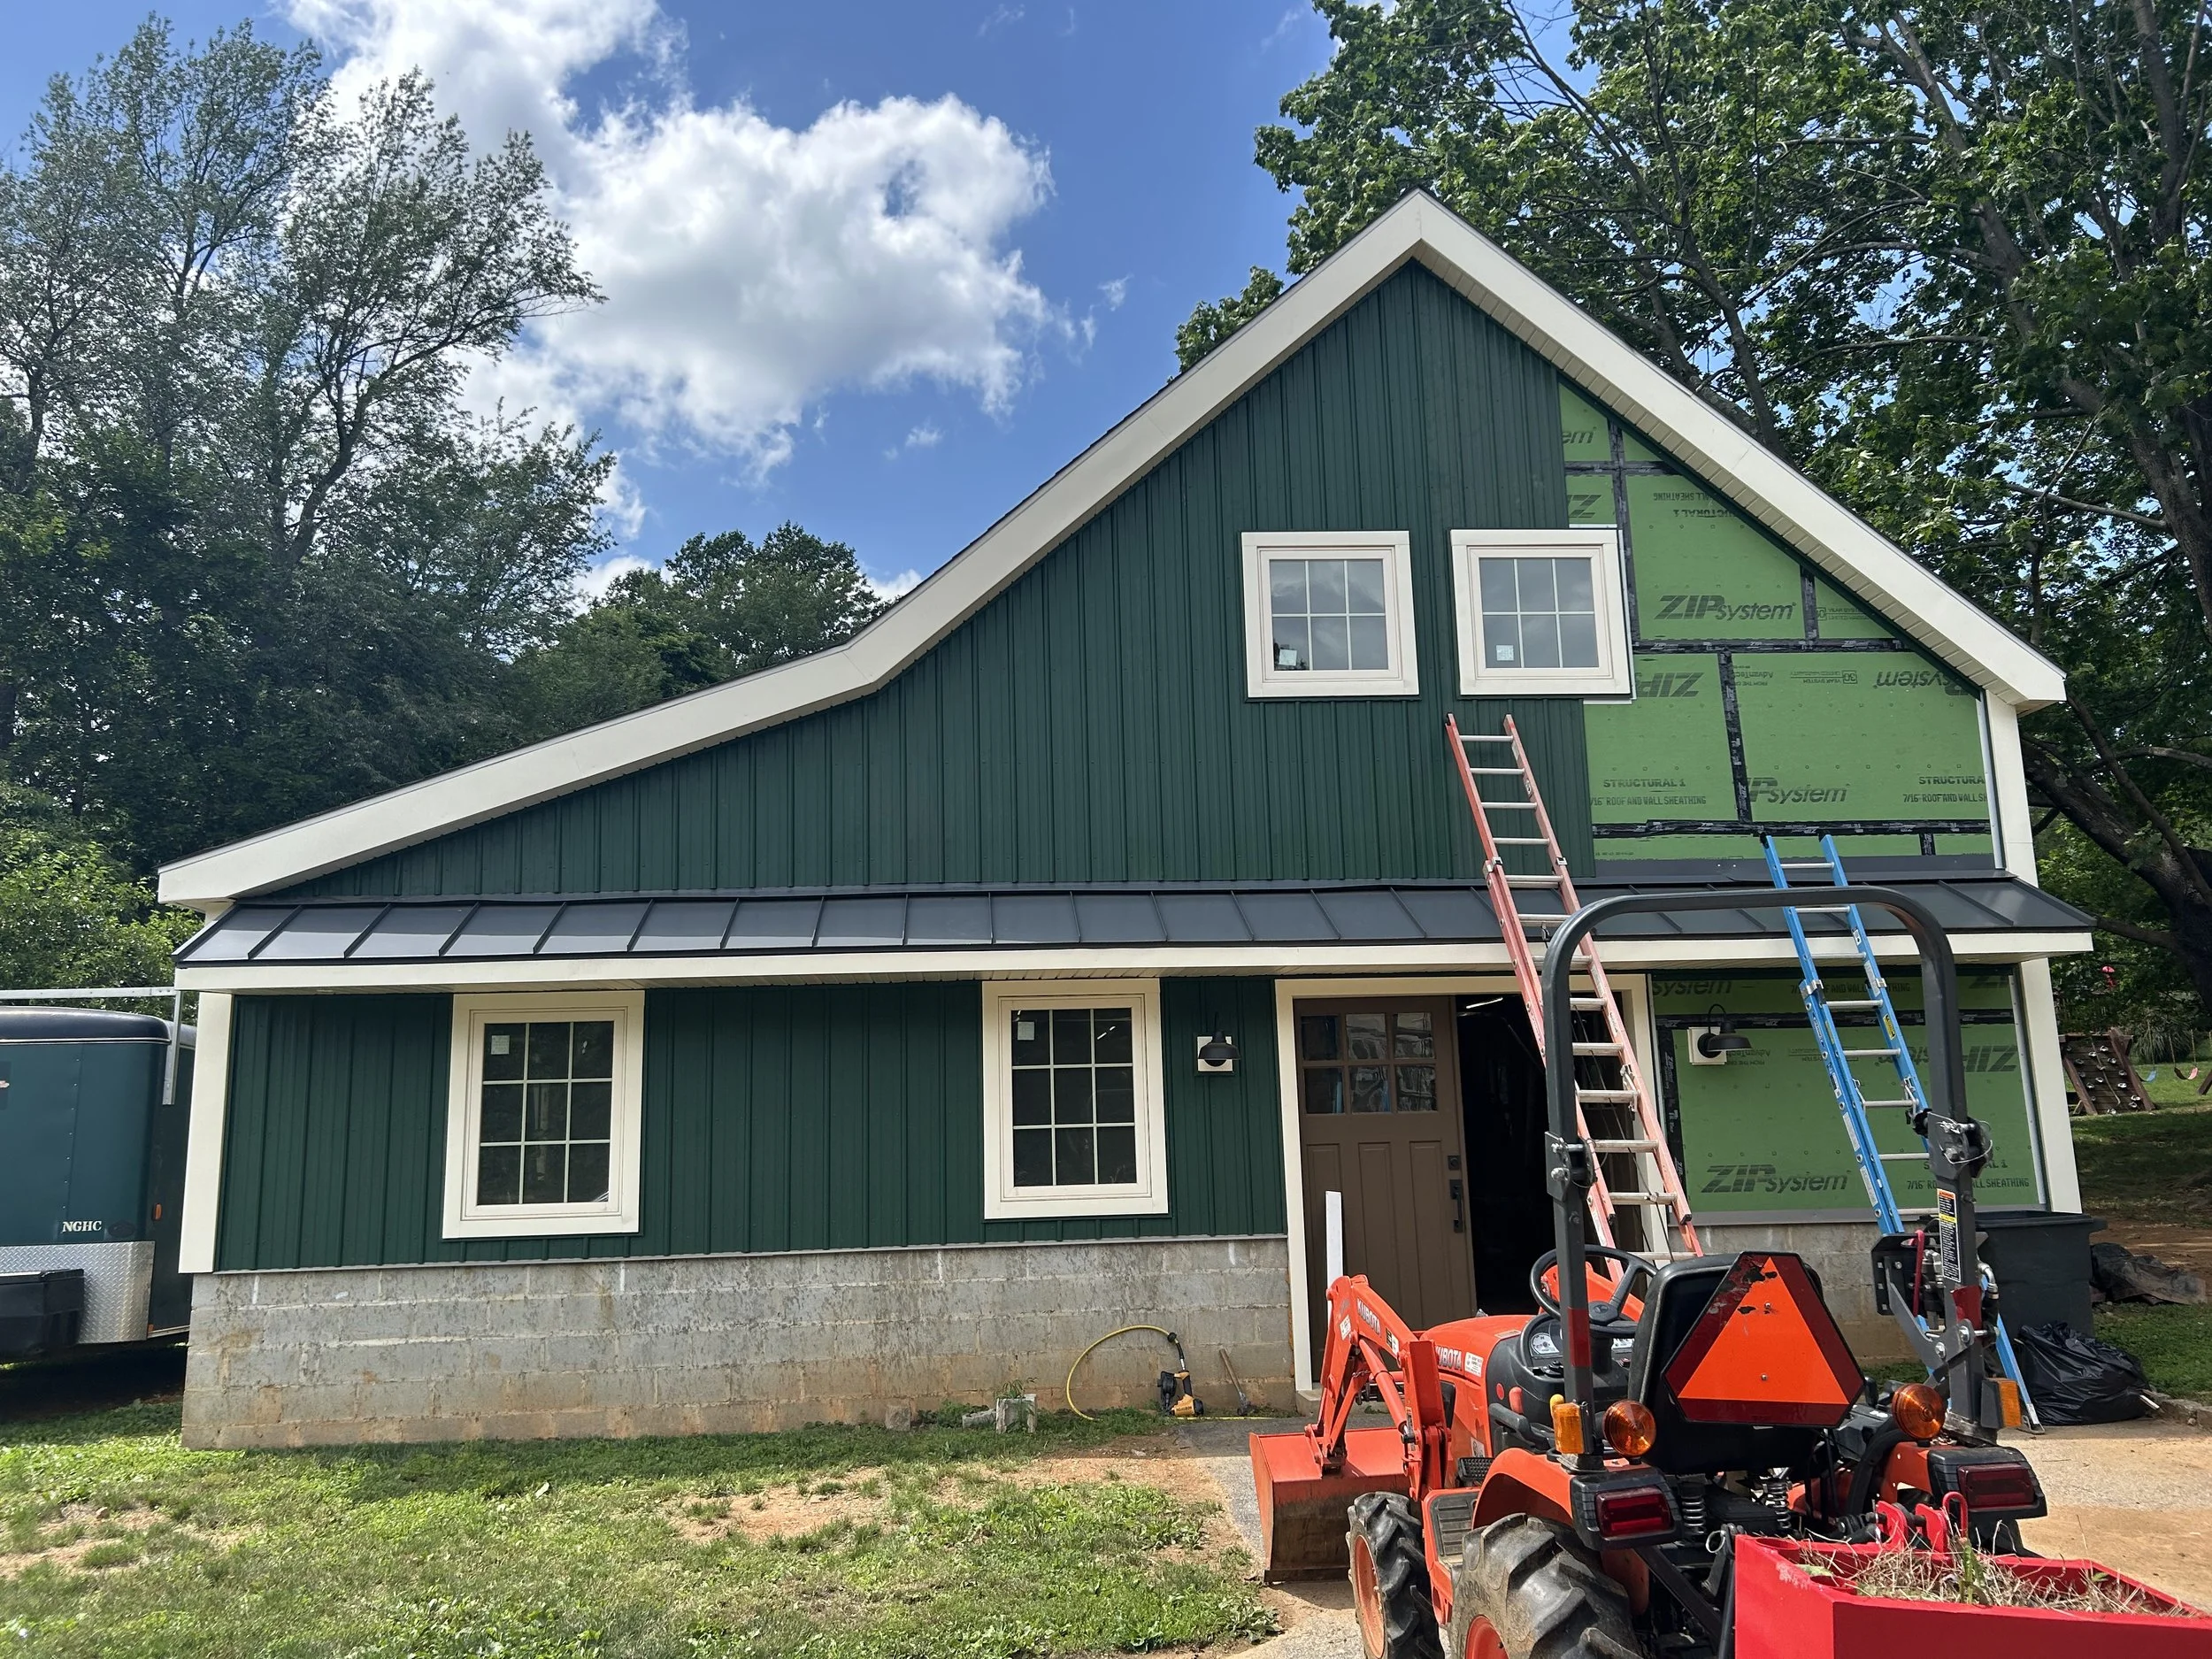
New doors installed, plus capping on the barn is complete and I installed standing seam metal on the pent roof to match the metal roof on our house.
For siding I installed ABM panel metal siding from AB Martin in textured evergreen color.
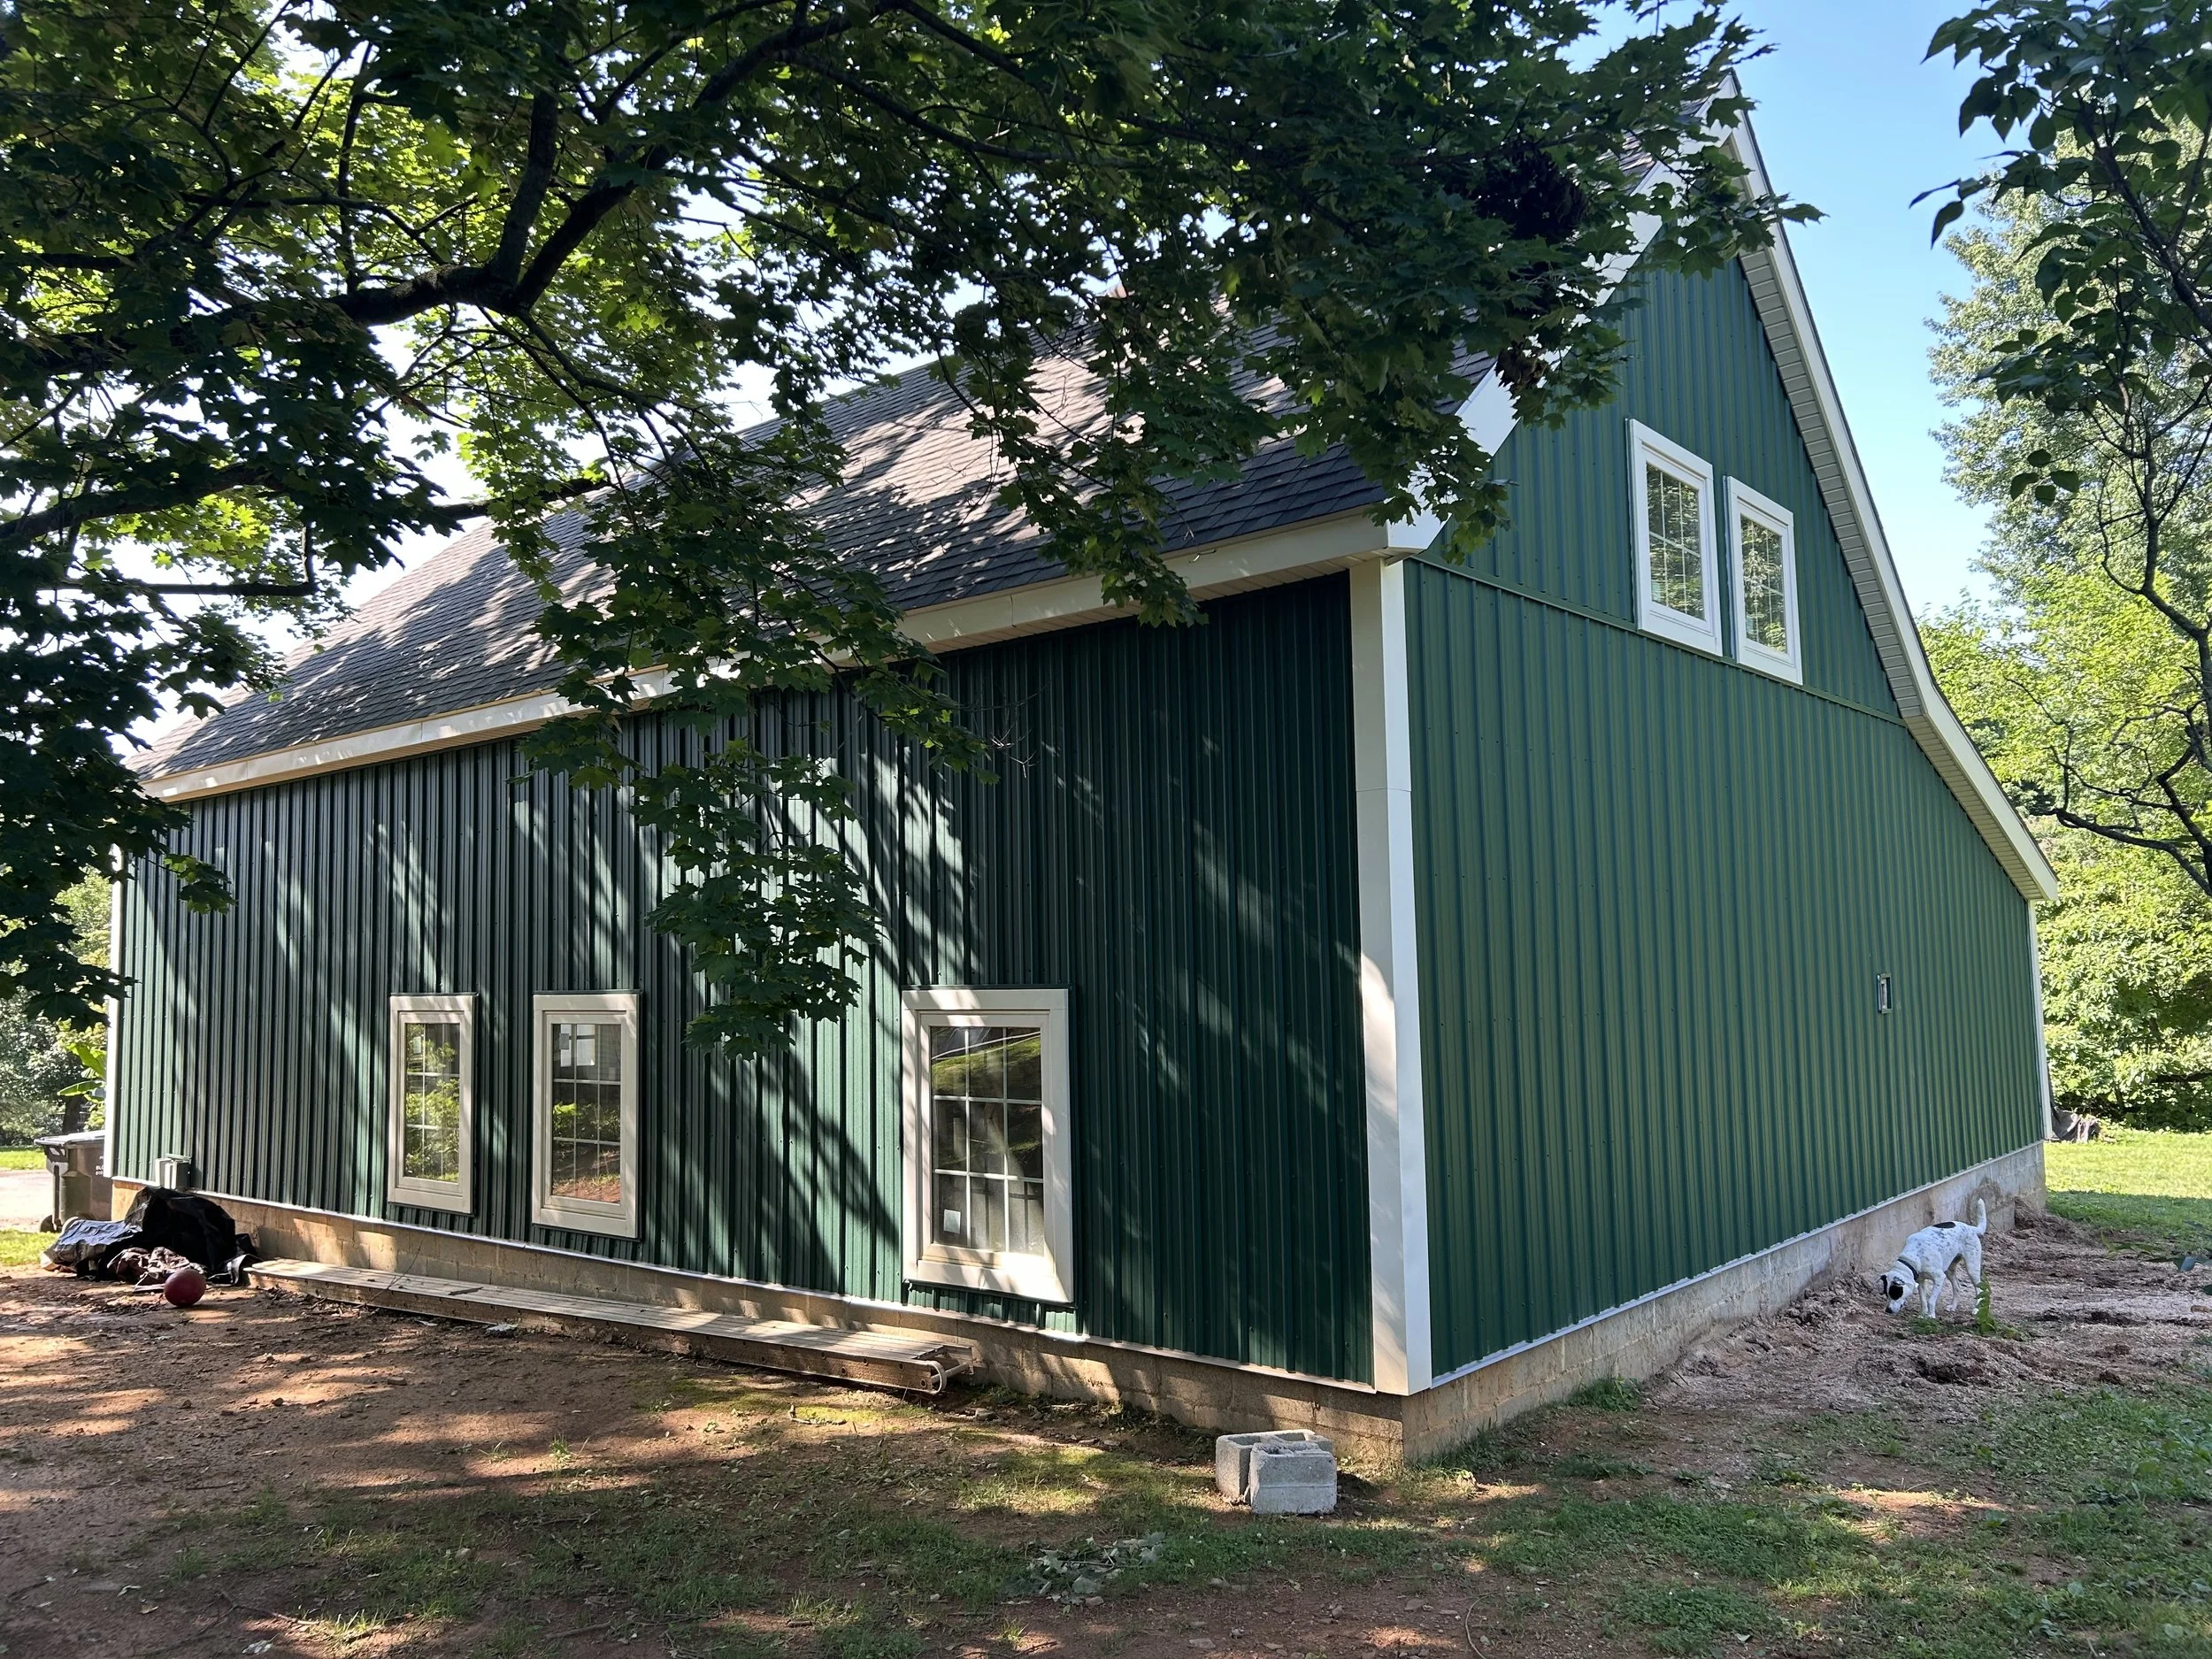
Completed siding on the side and back walls.
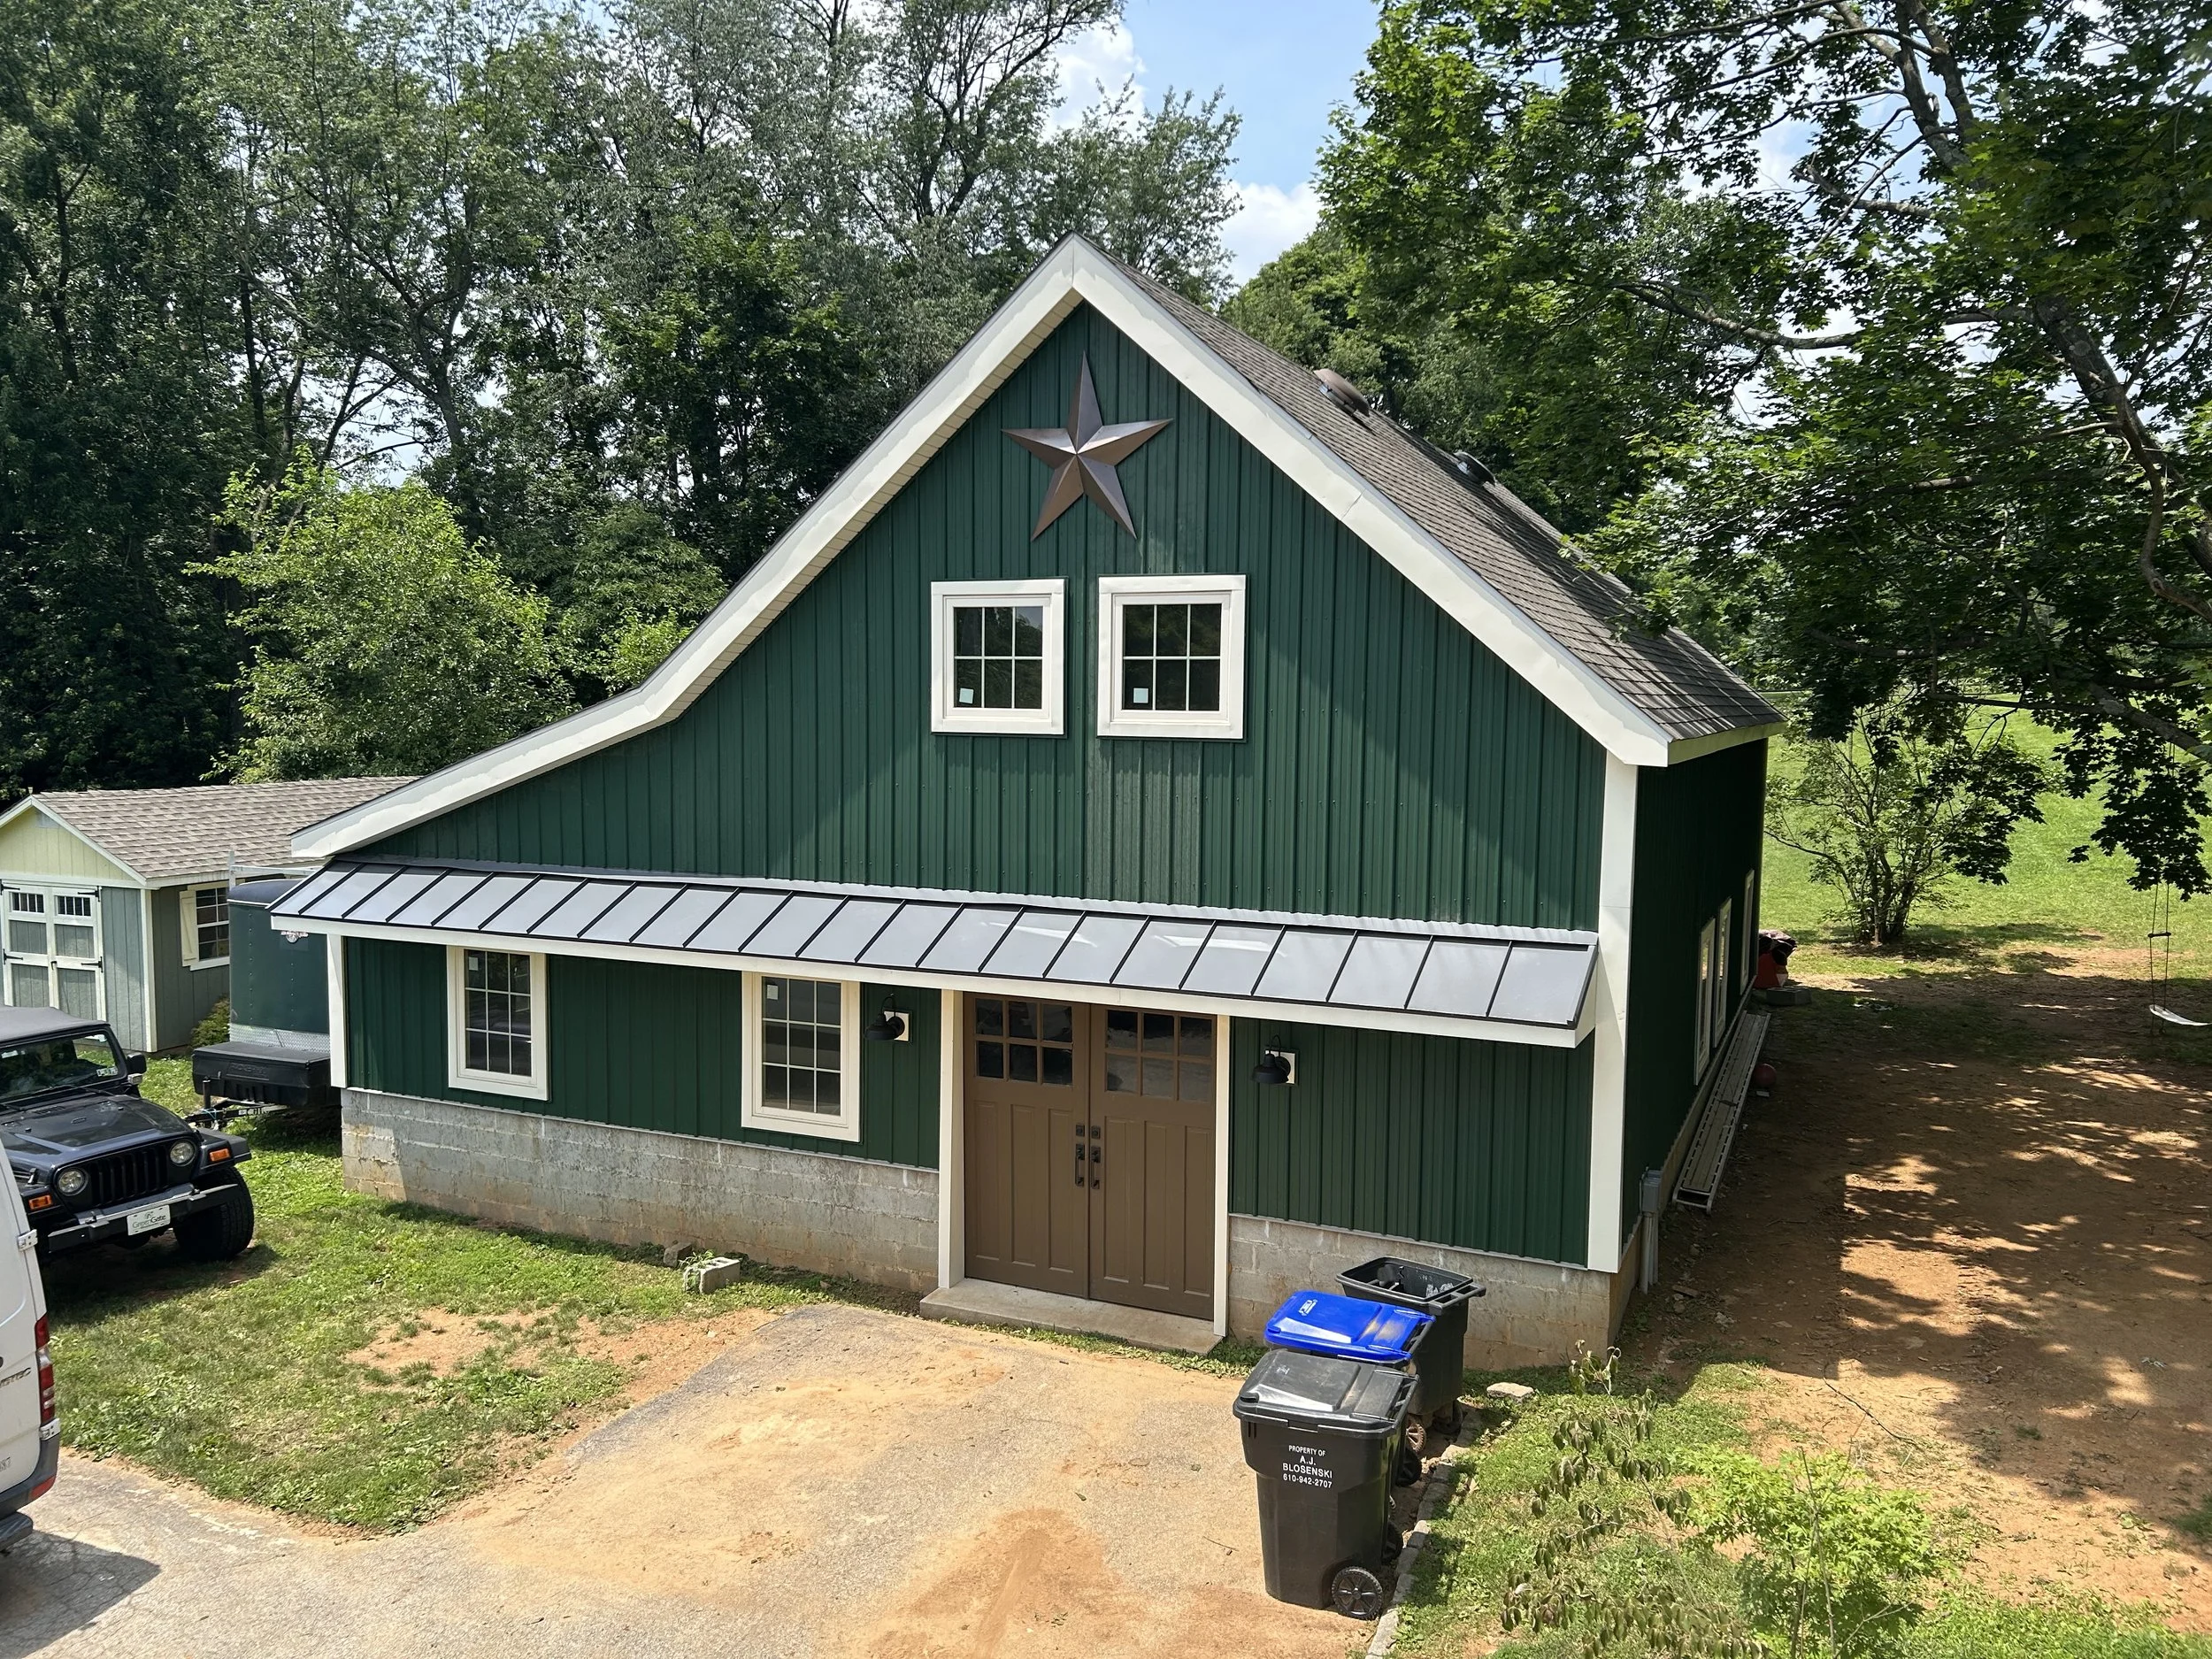
The “finished” shop as of the summer of 2025, next up will be installing gutters and then stone around the bottom of the walls to match our house.