
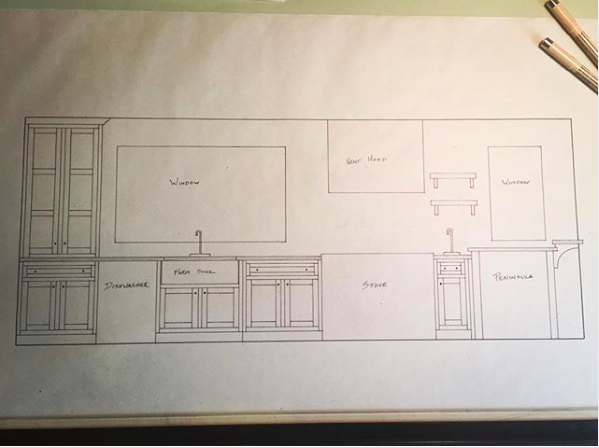
This is an elevation I drew prior to our kitchen renovation so I could show my wife what it would look like when it was finished.
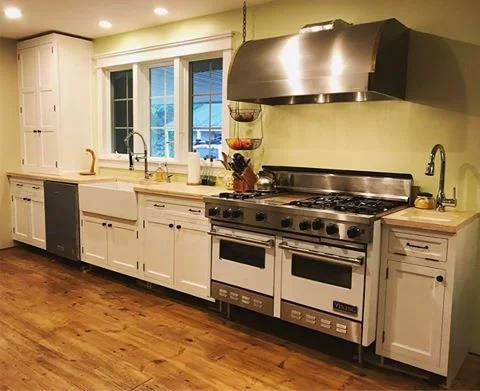
The installed kitchen. I made all the cabinets, doors, and drawers in my shop. Eventually there will be a peninsula along side the last cabinet on the right which will have a butcher block top and will serve as a prep area for when I cook. The countertops in the picture are temporary plywood ones. I milled rough lumber from a maple tree on our property and will turn that into wood countertops once it is dry, which should be sometime in mid-2018.
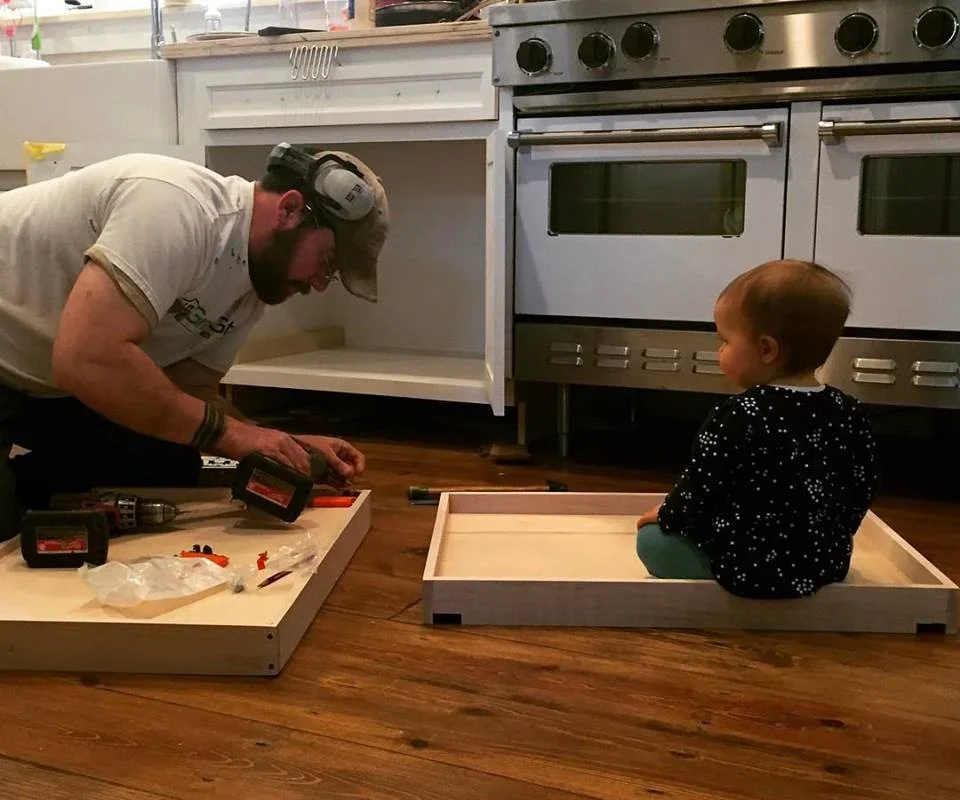
My younger daughter supervising me while I work on the kitchen installation
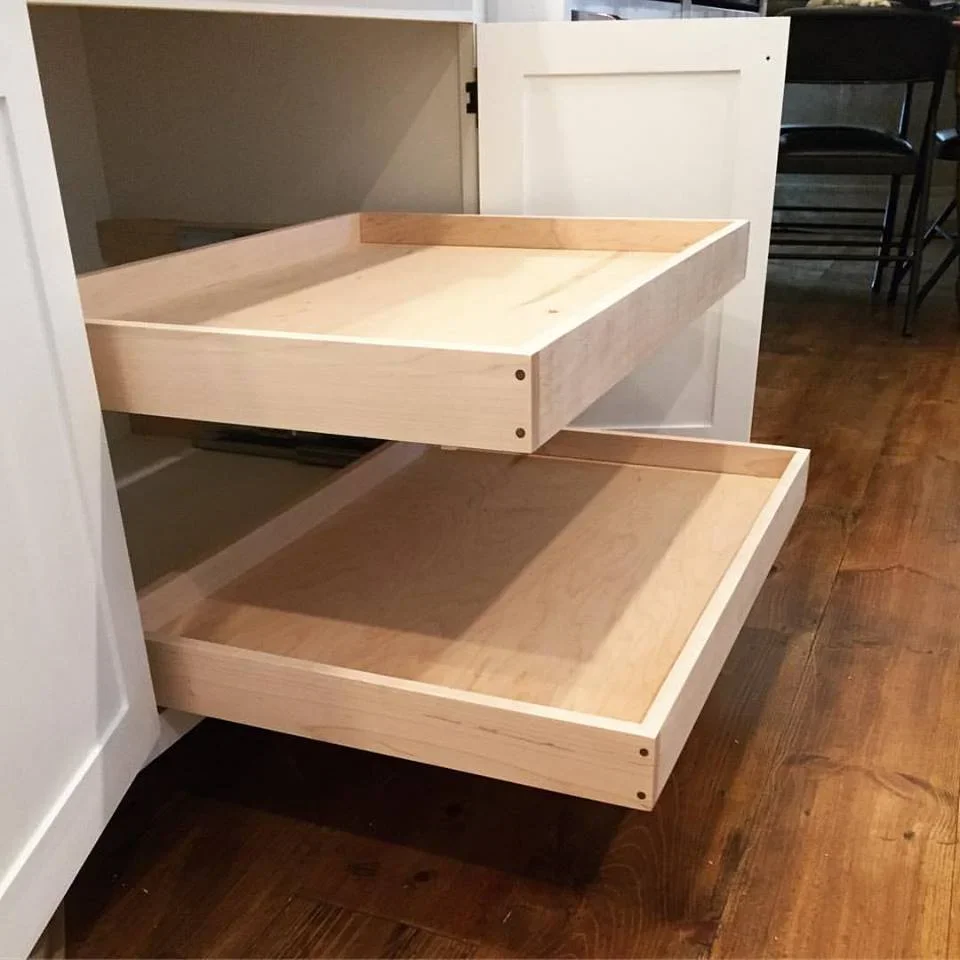
These are the pull-out shelves my daughter was sitting on in the last picture. Typically I make my drawers with dovetail joinery, but in this case I wanted to do something different, so I made them from solid maple with a housed rabbet joint in each corner, and then pinned that joint with walnut dowels. These pull-out shelves hold all my cast iron pots and pans and function perfectly under that heavy load. This design worked so well I started to include it in all my built-in projects for clients who wanted drawers or pull-out shelves.
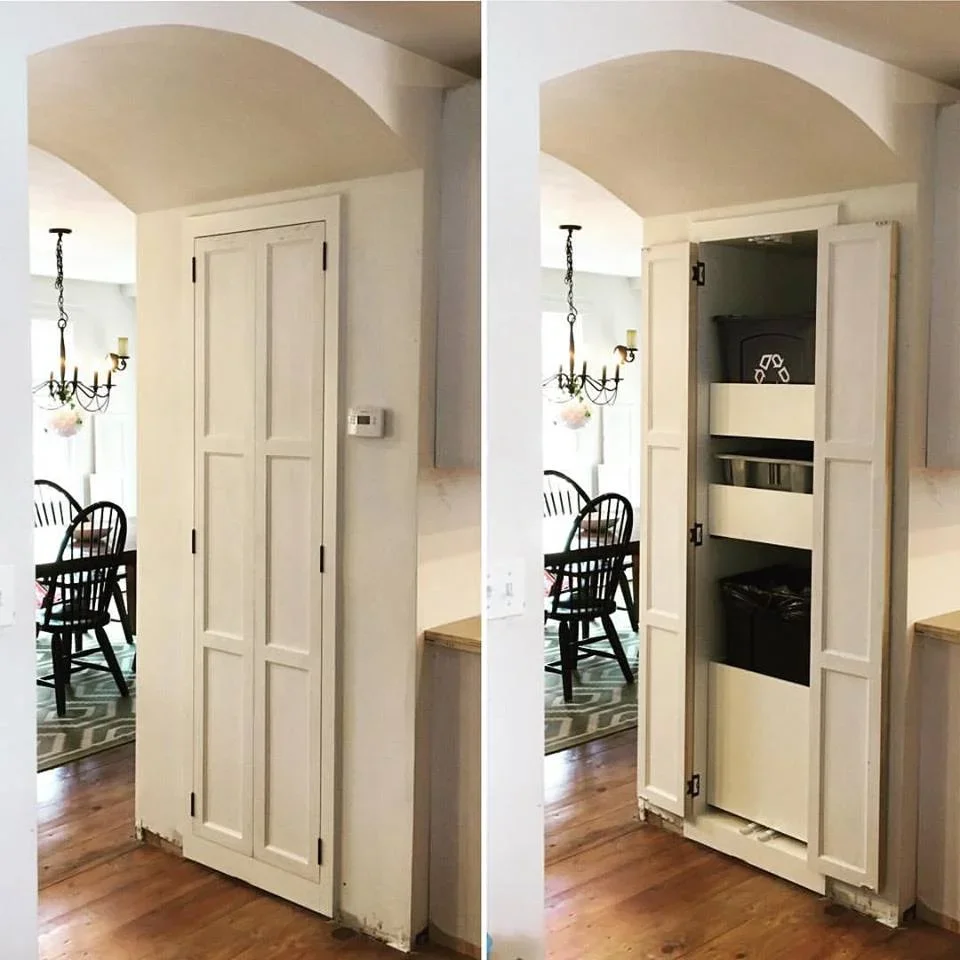
Part of the kitchen renovation included finding a place to keep our trash cans. I decided to utilize some dead space over the basement stairwell and made this recessed cabinet. With trash can on the bottom, paper recycling in the middle, and a container for bottles and cans up top, each container pulls out on drawer slides for easy access and emptying. The doors open either with traditional pulls (which were on backorder at the time of this picture), or you can push the doors in slightly which triggers a magnetic catch to push the door open if your hands are messy.
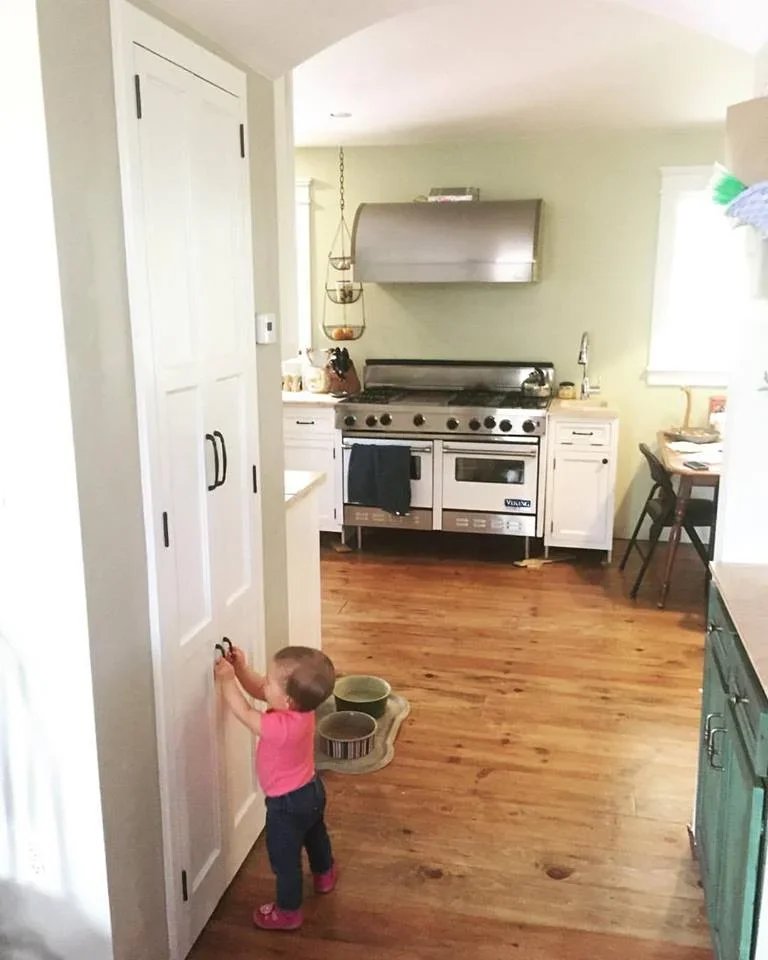
When I installed handles on the trash cabinet doors, I also installed a smaller pair down low for my kids to use. Here my younger daughter tests them out.